
Bulk Updating Asset Custom Fields Using CSV
2 min readEdit
On this page⌄
- Before You Begin
- Step-by-Step Instructions
- 1. Navigate to the Assets Page
- 2. Select Assets to Update
- 3. Access the Edit Fields Option
- 4. Choose the Upload CSV Option
- 5. Download the Sample CSV Template
- 6. Prepare Your CSV File
- 7. Upload the Completed CSV File
- 8. Map CSV Columns to Custom Fields
- 9. Save the Changes
- Outcome
This guide will walk you through the process of updating multiple asset custom fields simultaneously using a CSV file in the Strobes platform.
Before You Begin
- Define Custom Fields: Ensure that the custom fields you intend to update are already defined in the platform. You can manage custom fields by navigating to Settings > Custom Fields > Assets.
- Understand Field Types: Familiarize yourself with the expected formats for different custom field types:
- Text: Any text input.
- Number: Numeric values only.
- Date: Format should be YYYY-MM-DD.
- Boolean: True or False.
- Select: One of the predefined options.
- MultiSelect: Multiple predefined options, separated by commas.
- Email: Valid email address.
- User: User IDs of existing users in the platform, separated by commas.
- URL: Valid URL format.
Refer to the Asset Custom Fields article for detailed information on custom field types and formats.
Step-by-Step Instructions
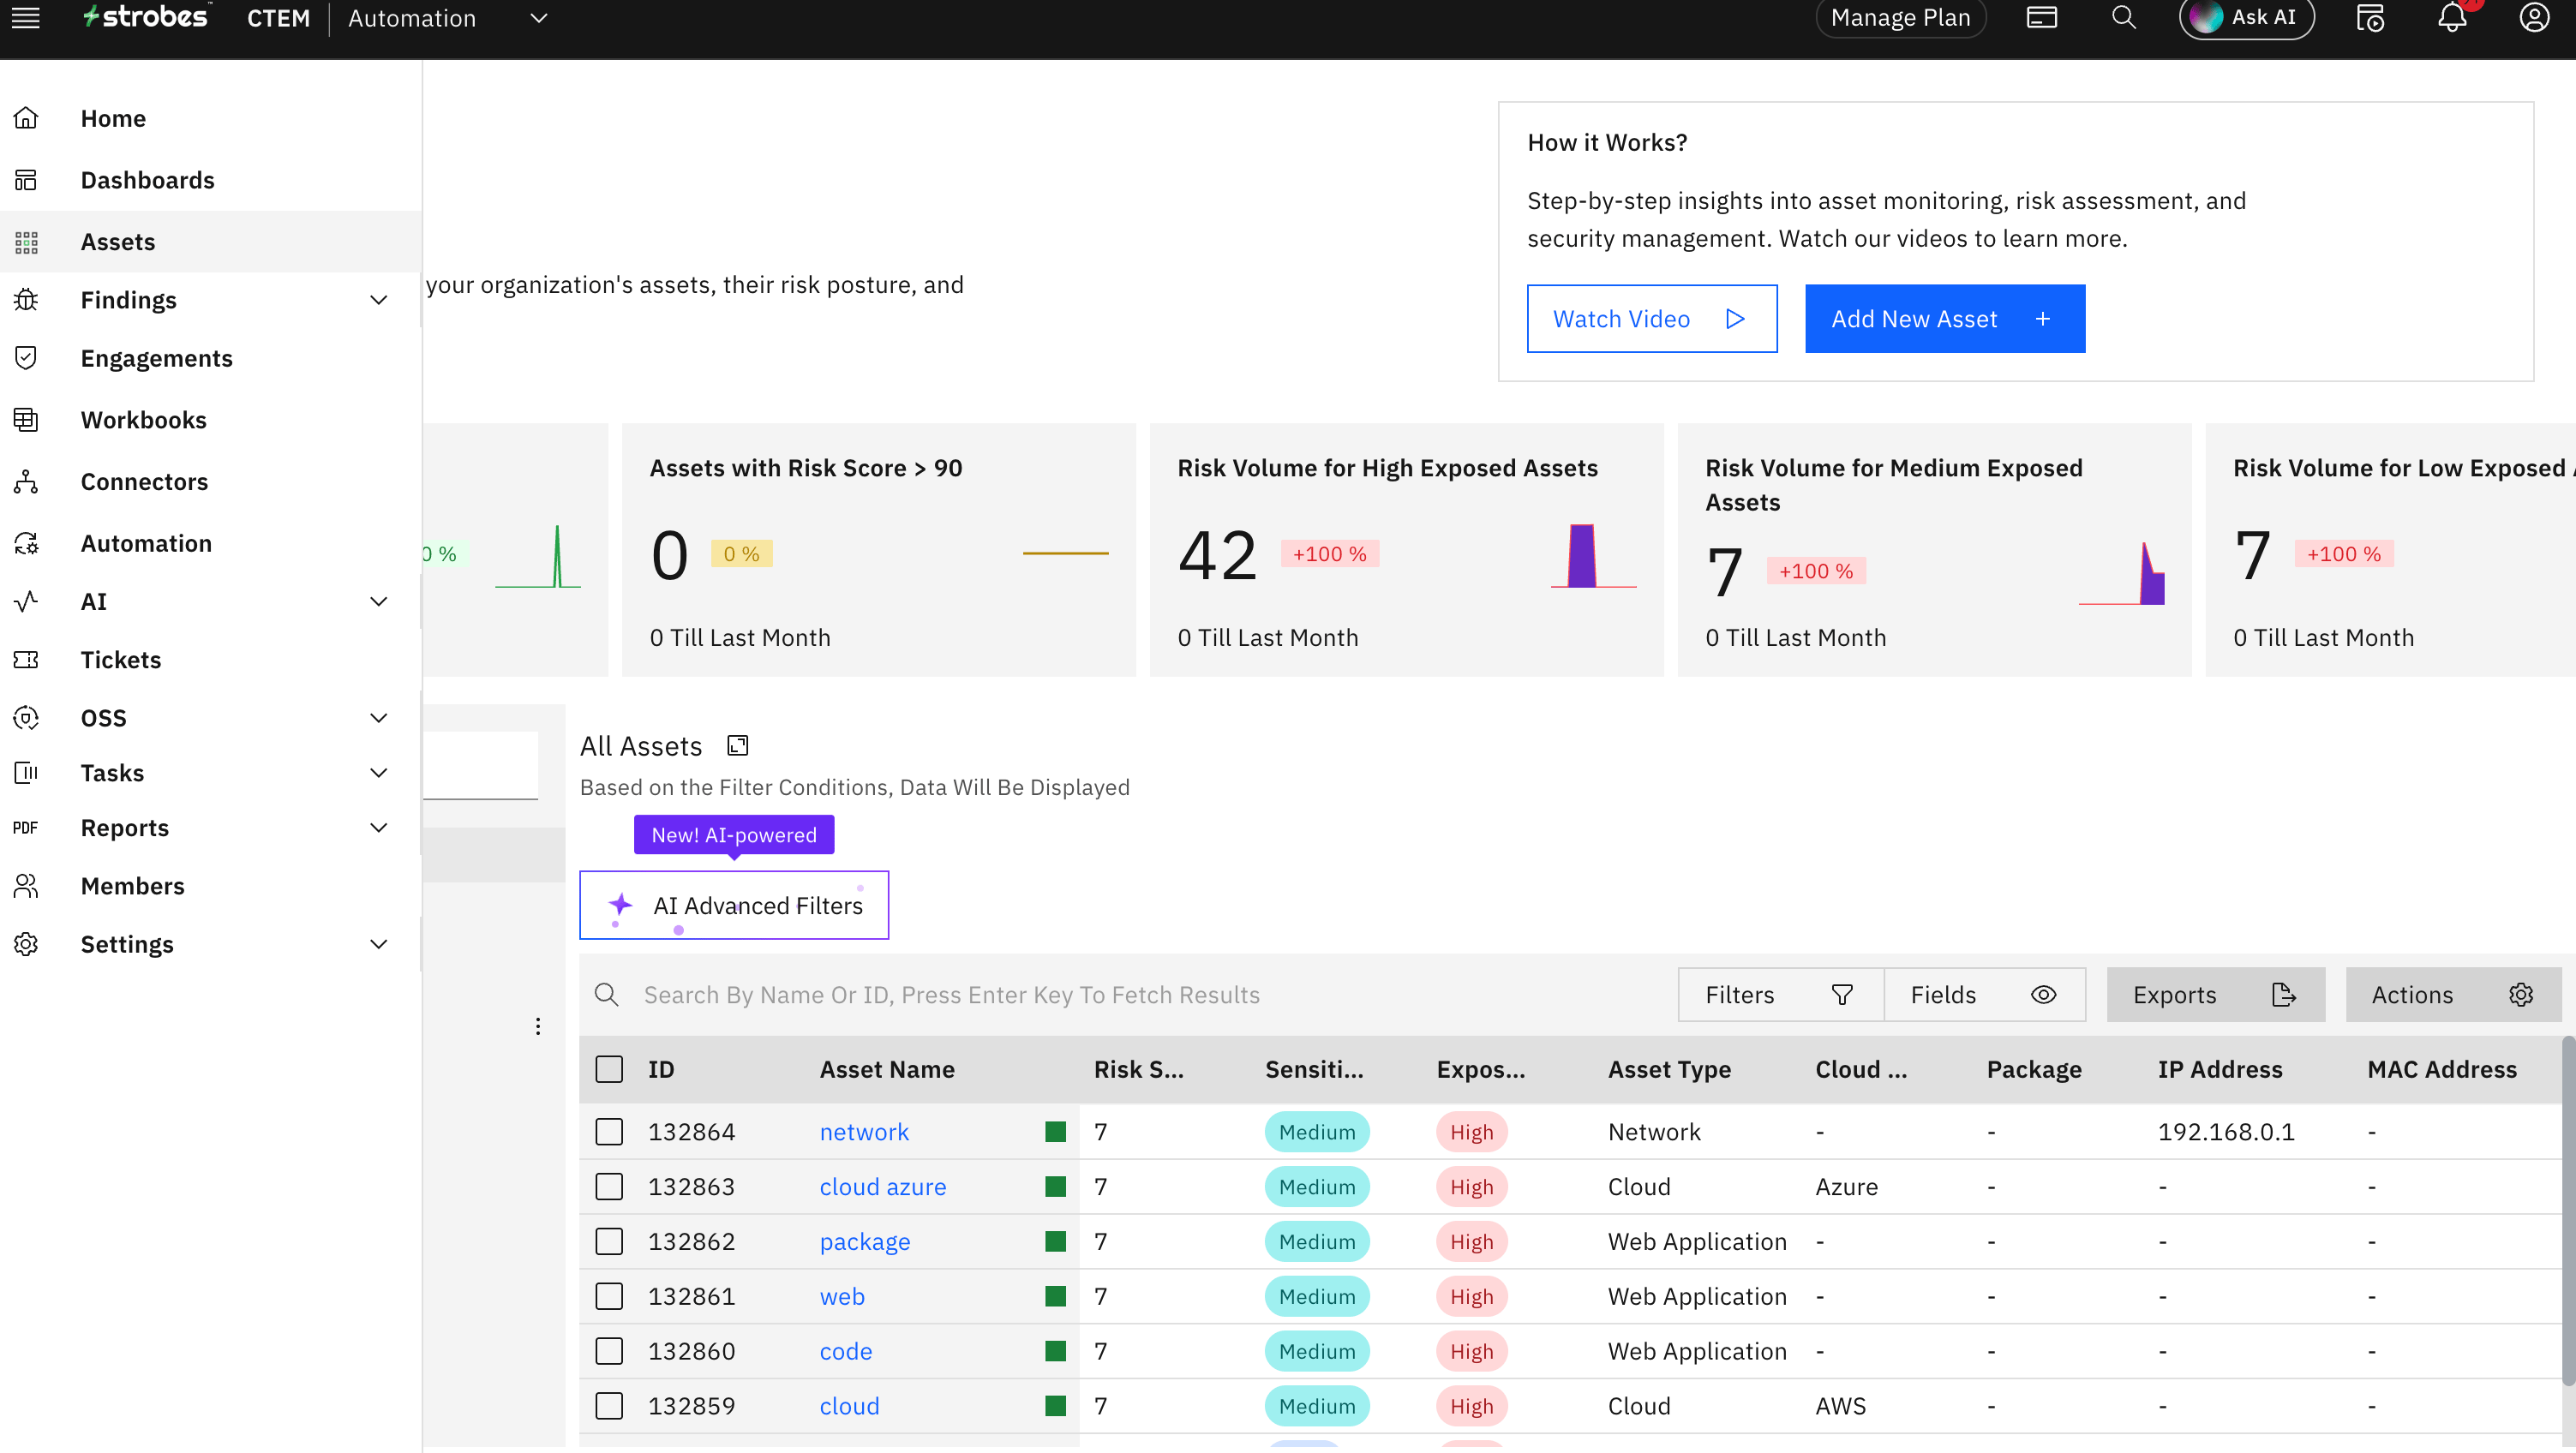
1. Navigate to the Assets Page
- From the main dashboard, click on Assets in the navigation menu.
2. Select Assets to Update
- Use the checkboxes to select one or more assets you wish to update.
3. Access the Edit Fields Option
- Click on the Edit Fields button located at the top of the asset list.
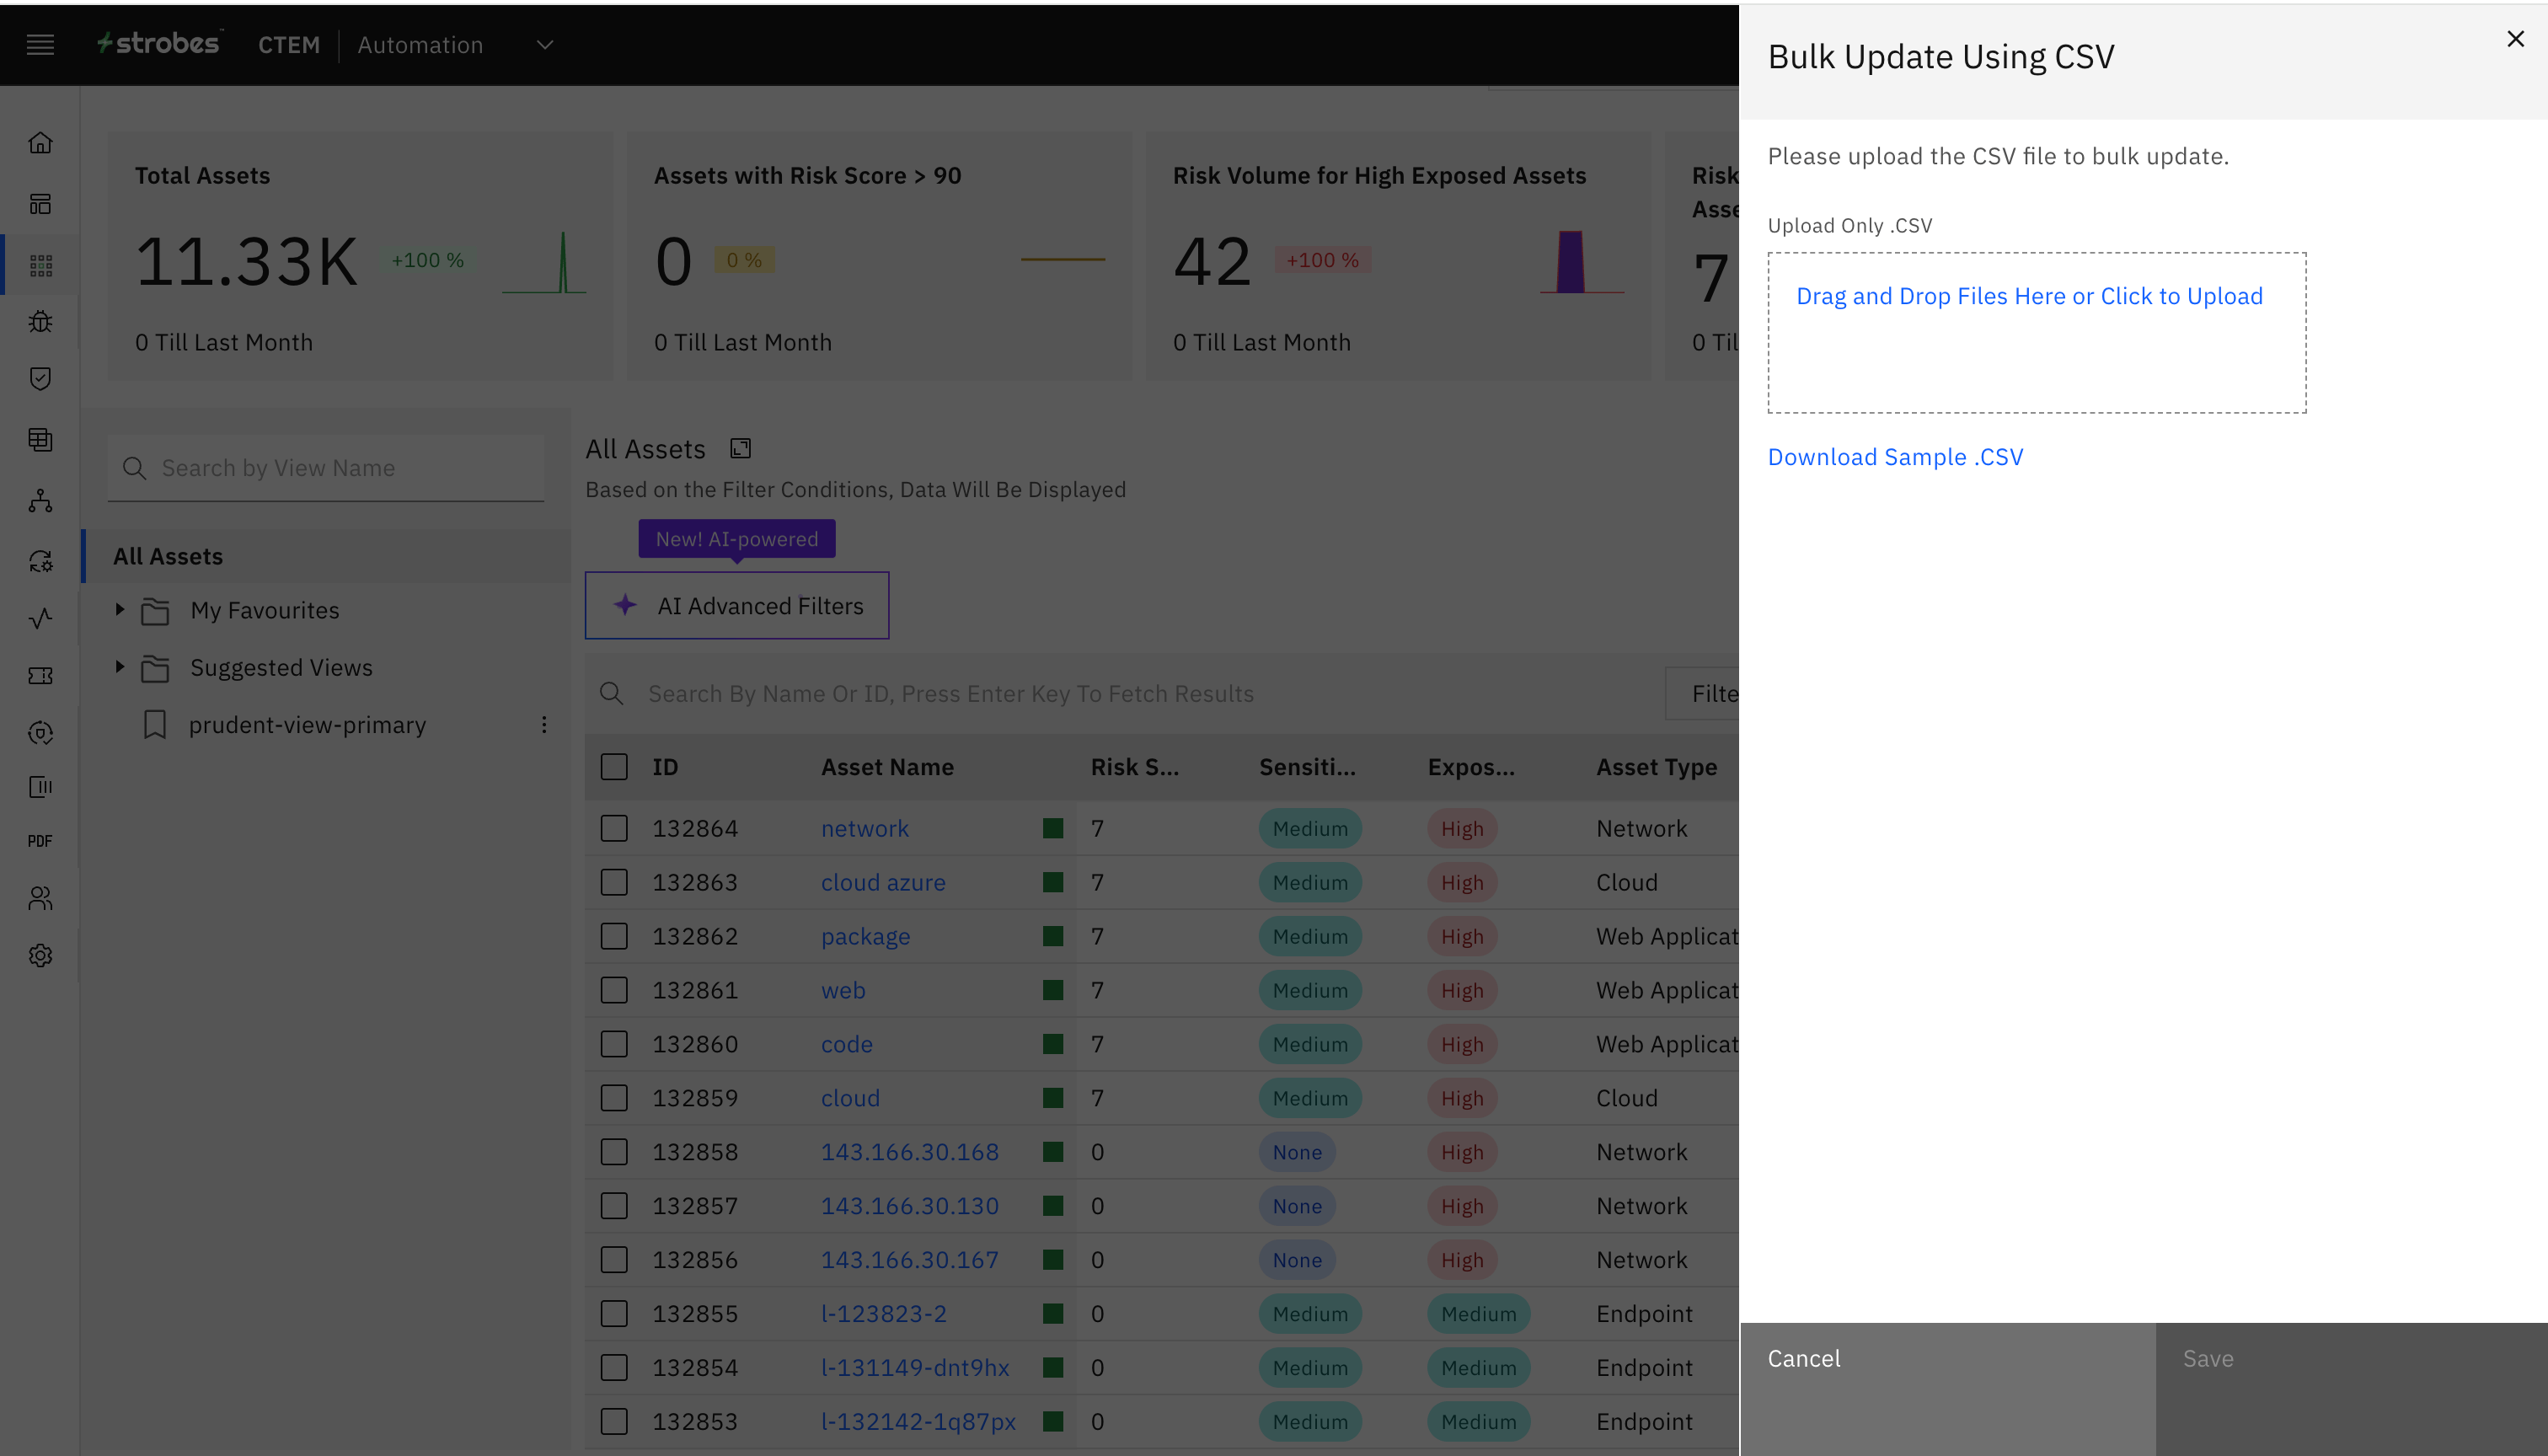
4. Choose the Upload CSV Option
- In the dropdown menu, select Upload CSV.
5. Download the Sample CSV Template
- Click on the Download Sample CSV link. This template includes headers for all your defined custom fields.
6. Prepare Your CSV File
- Open the downloaded CSV file.
- For each asset you want to update:
- Enter the asset's unique ID in the id column.
- Fill in the corresponding values for the custom fields you wish to update.help.strobes.co
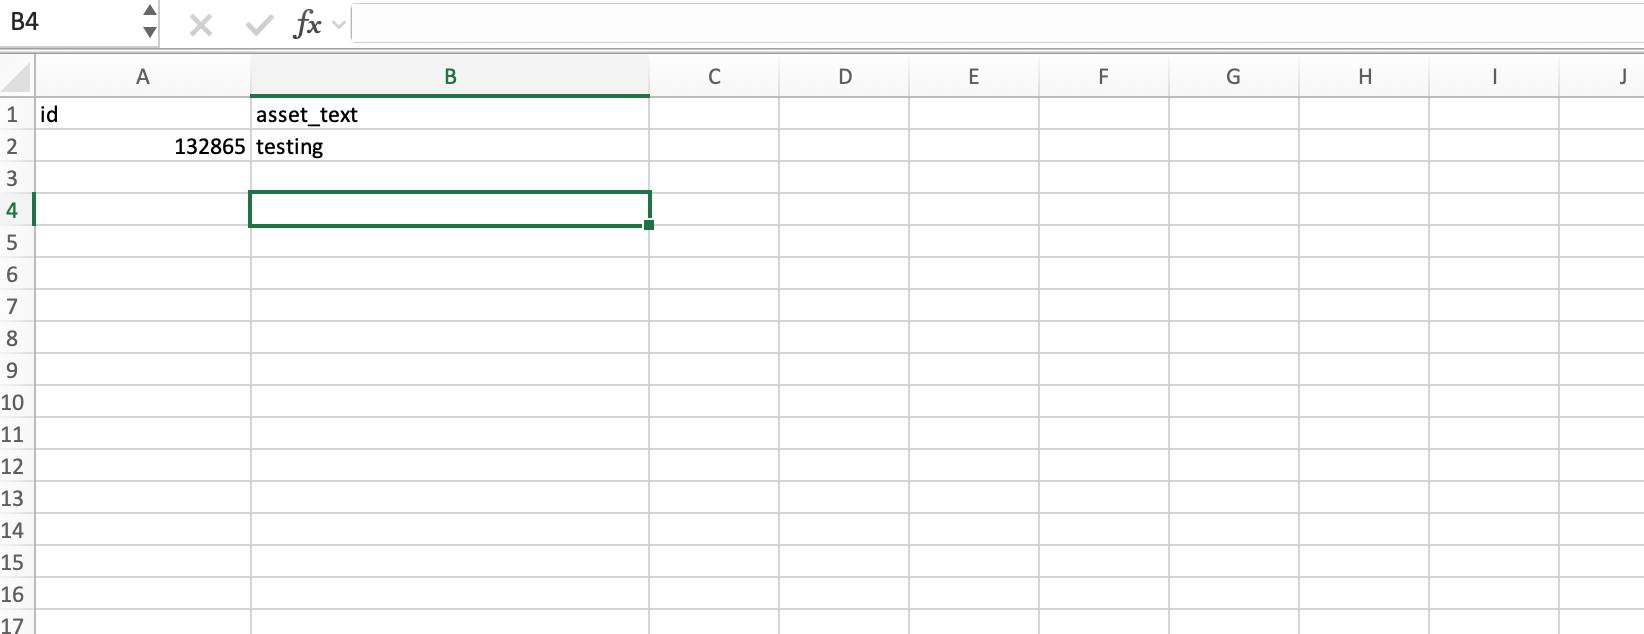
Note: The id column is mandatory and should not be mapped to any custom field during the upload process.
7. Upload the Completed CSV File
- Return to the platform and upload your filled CSV file.

8. Map CSV Columns to Custom Fields
- After uploading, you'll be prompted to map the columns in your CSV to the corresponding custom fields in the platform.
- Ensure each CSV column is accurately mapped to its respective custom field.
9. Save the Changes
- Once all mappings are correctly set, click on the Save button to apply the updates.
Outcome
Upon successful completion, the custom fields for the specified assets will be updated as per the data provided in your CSV file.
More in Asset custom fields & exports
Was this page helpful?