
Configuring Google Workspace SSO (SAML)
1 min readEdit
On this page⌄
Only the Owner of an organization has permission to enable SAML authentication. Follow the steps below to complete the setup using Google Workspace:
Step 1: Access Authentication Settings
- Log in to the Strobes platform.
- Go to Settings.
- Click on Authentication Settings.
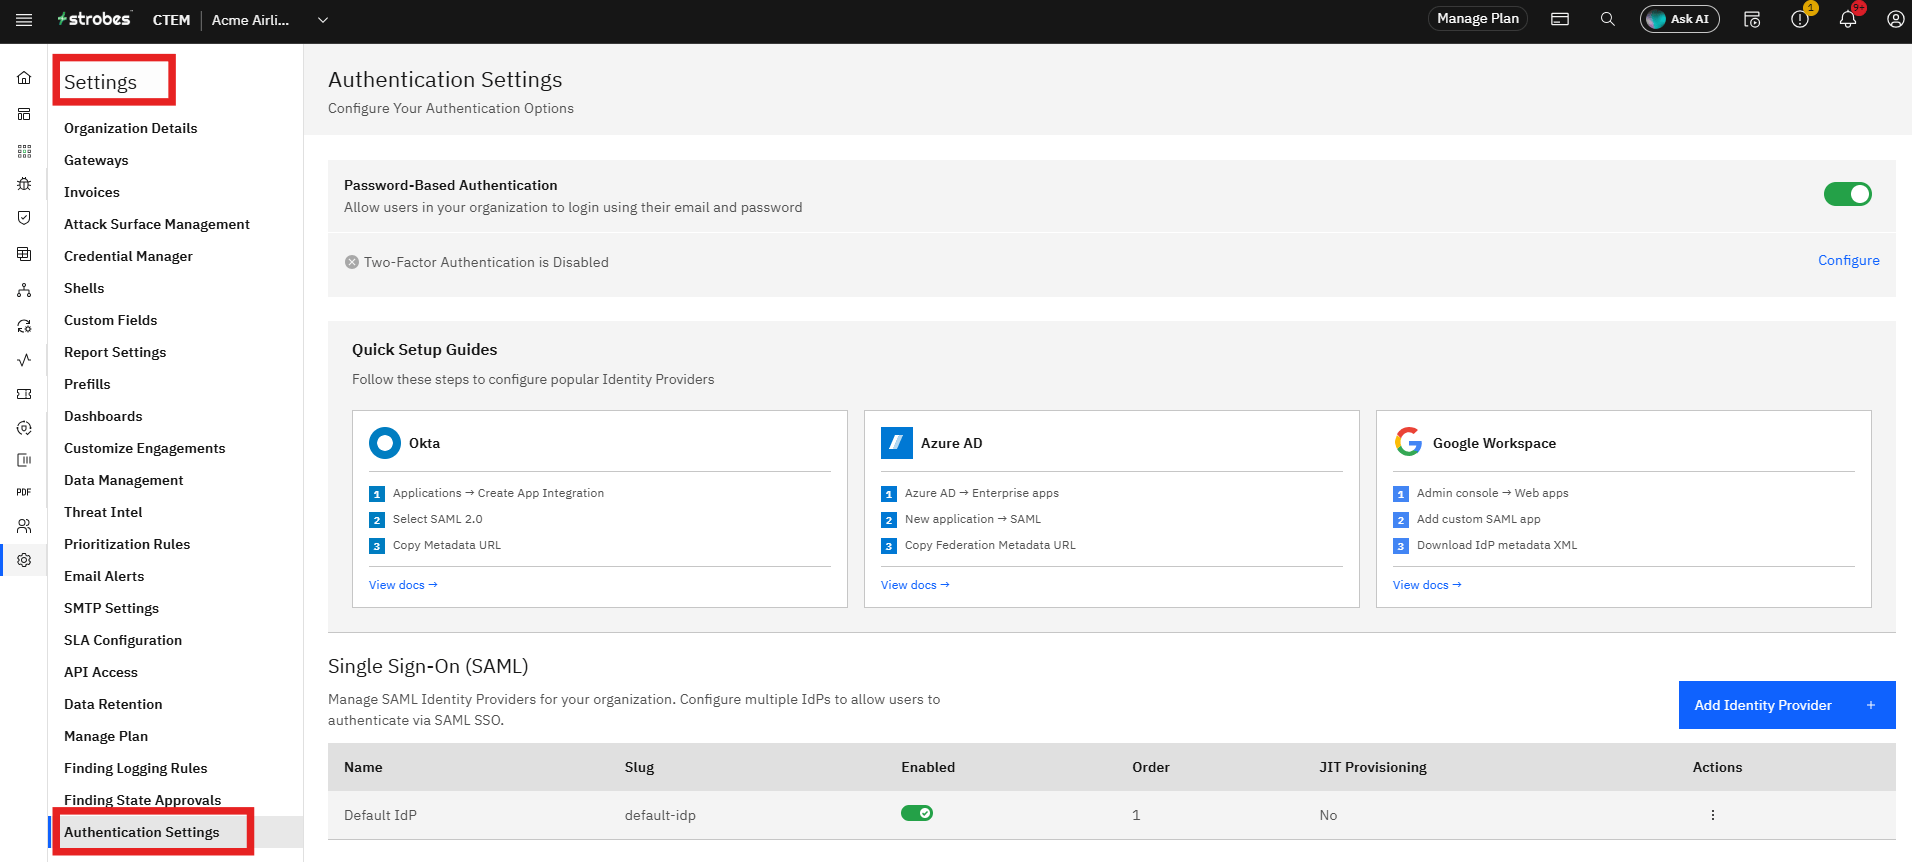
Step 2: Use the Setup guides
- Click on the "View docs" Under Google Workspaces.
- Make sure you follow all the steps and get all the data that is required for creating the Identity Provides.
- Obtain your SAML IDP metadata file from Google Workspace.
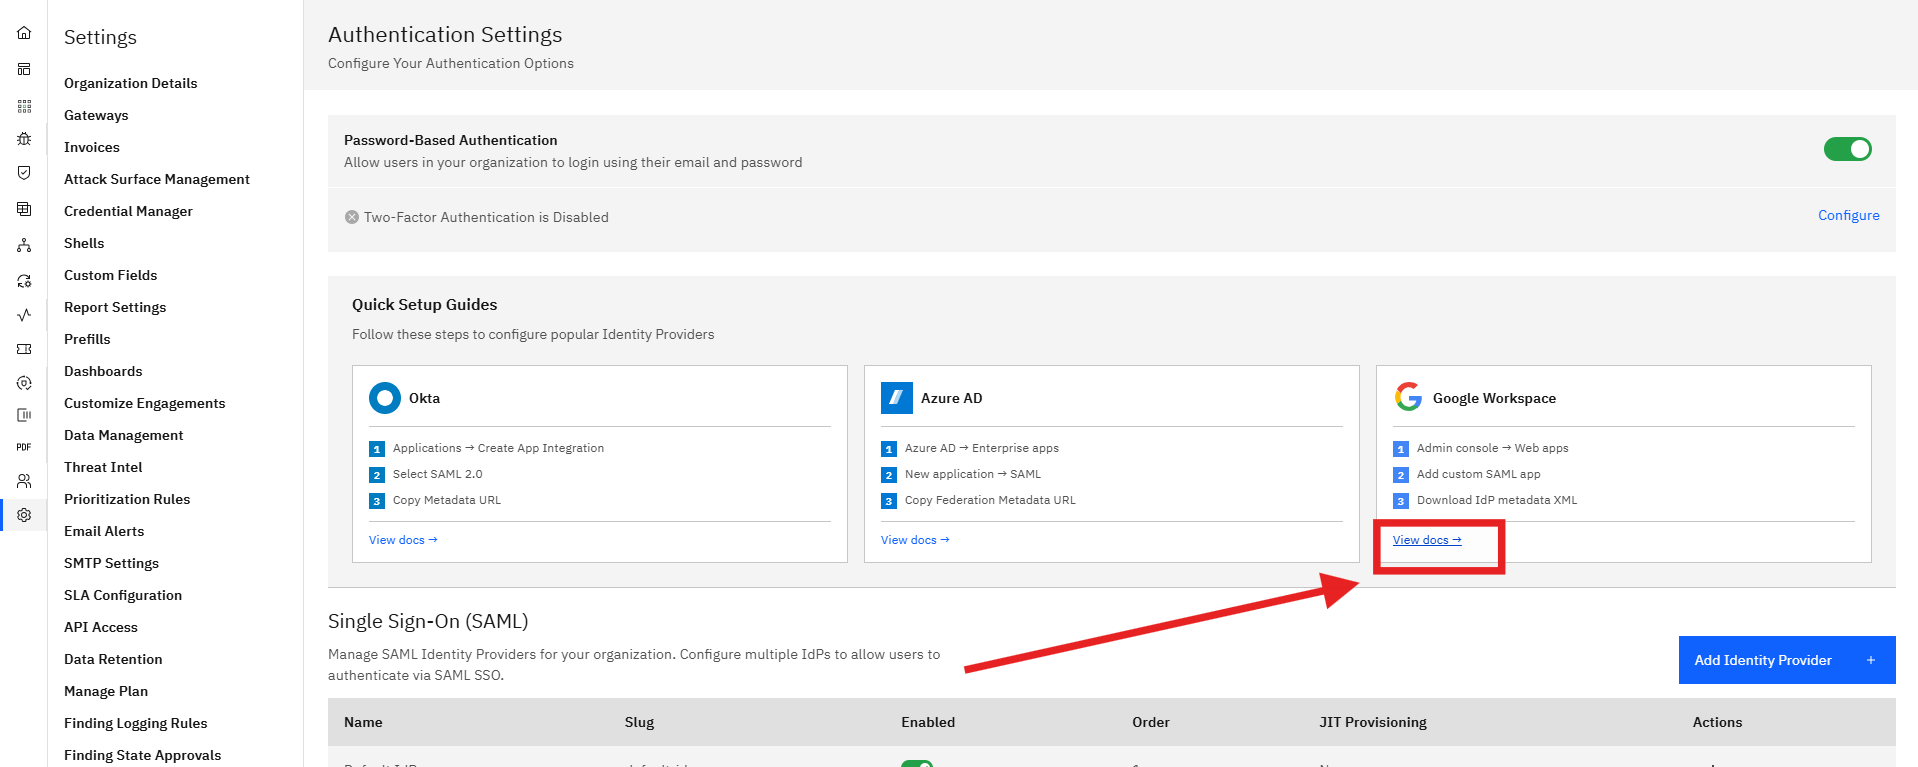
Step 3: Upload the Google Workspace Metadata File
- CLick on "Add Identity Provider"
- Upload the metadata file in the provided field.
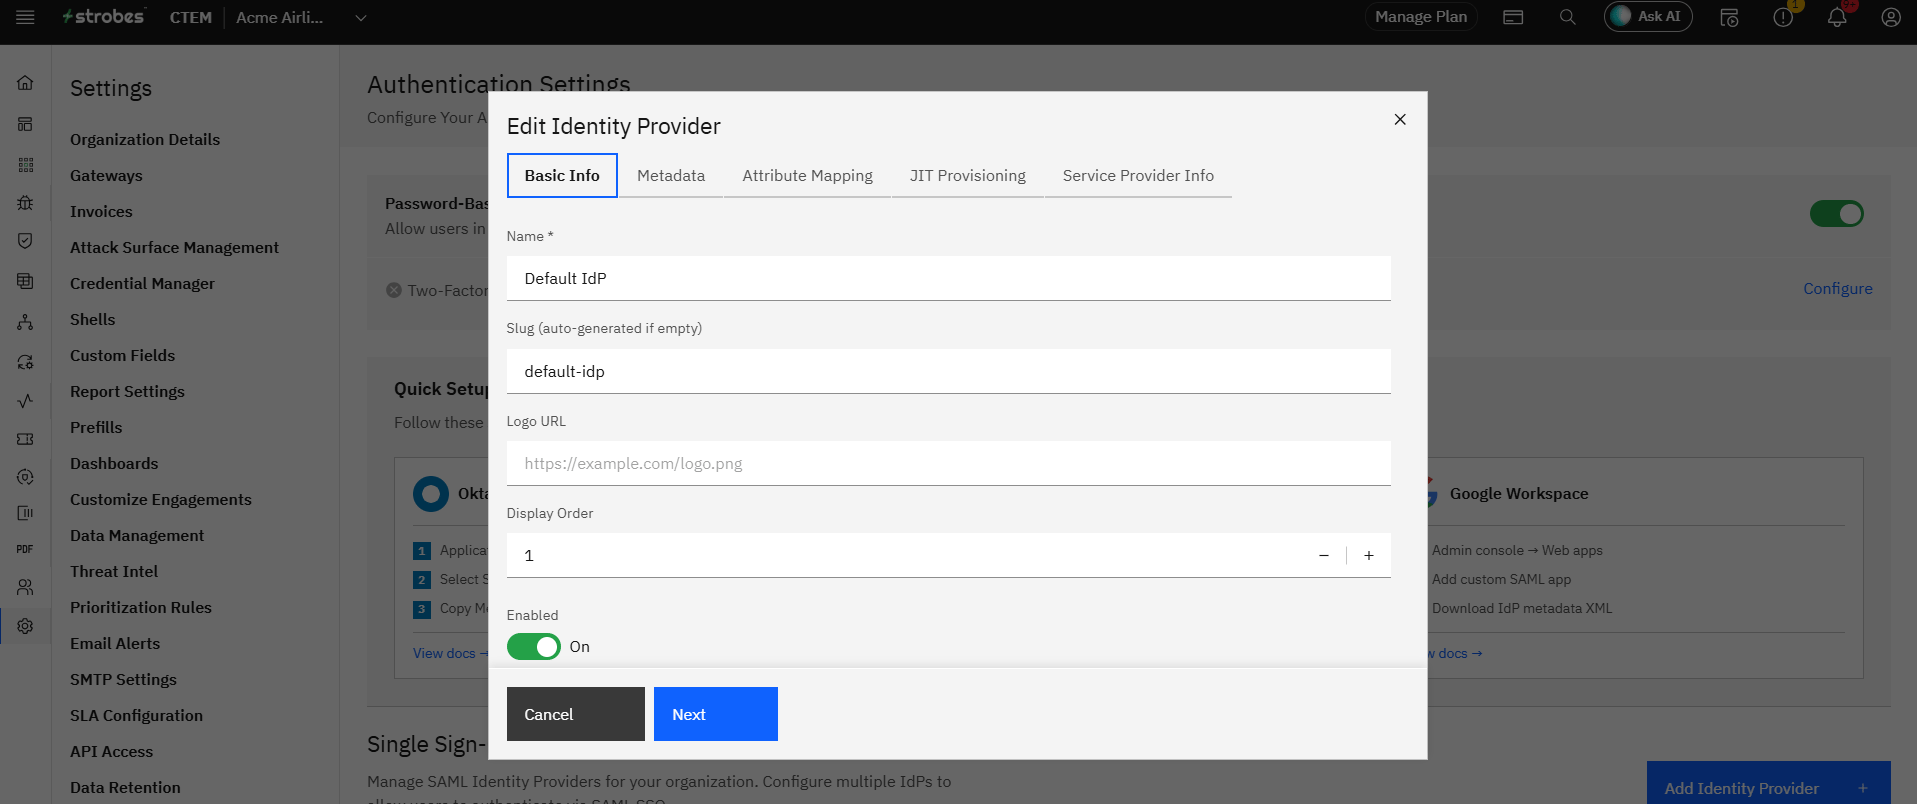
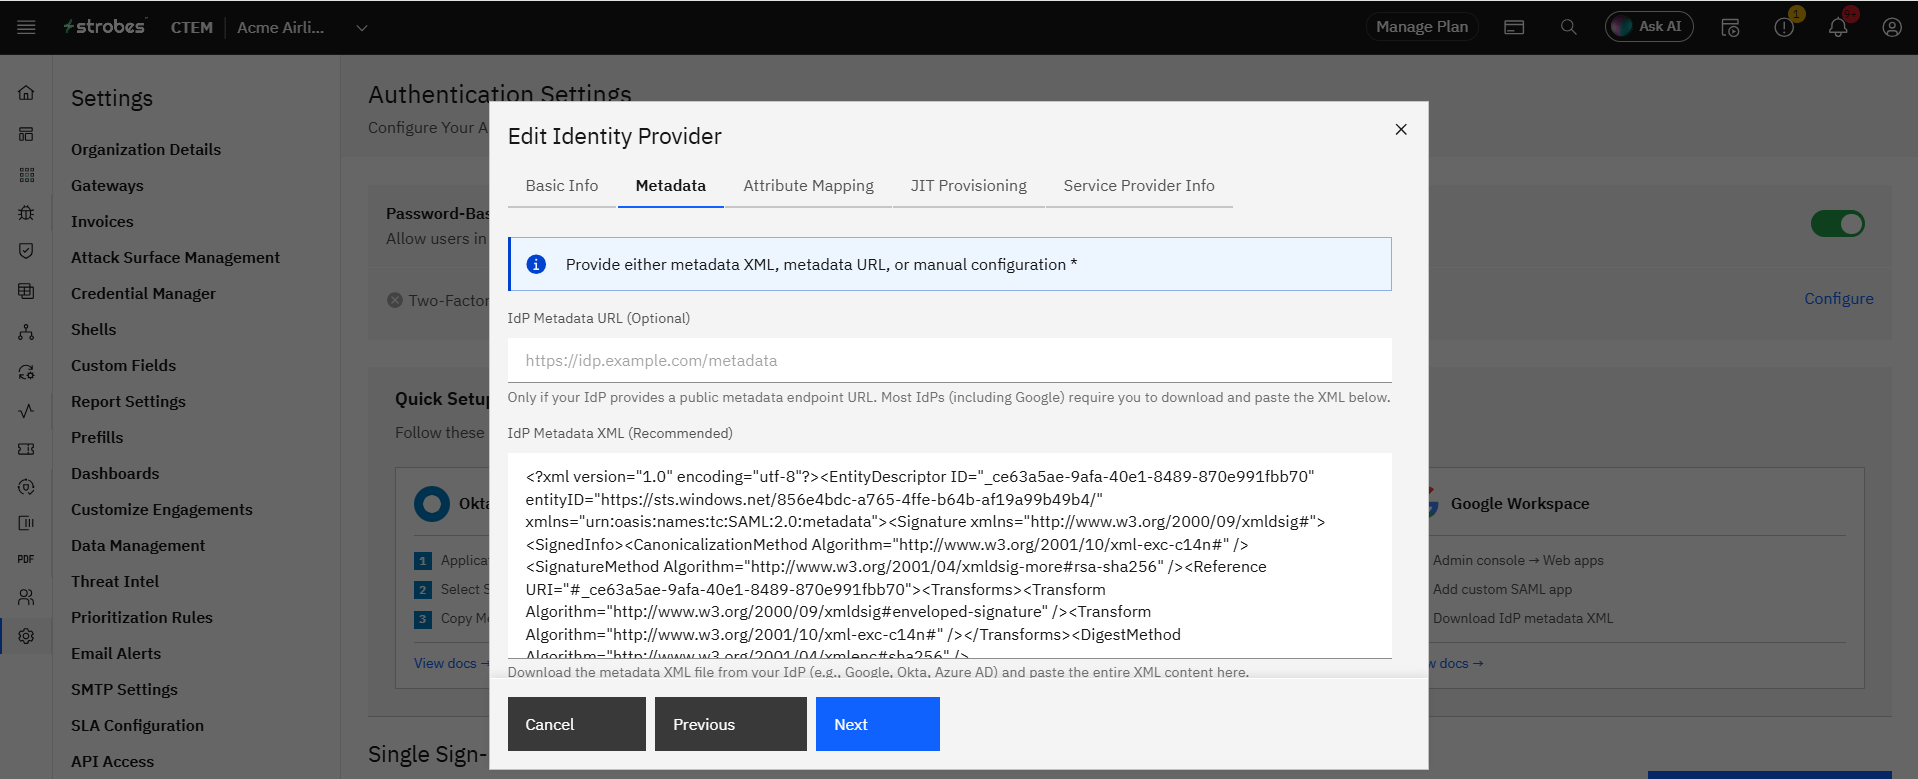
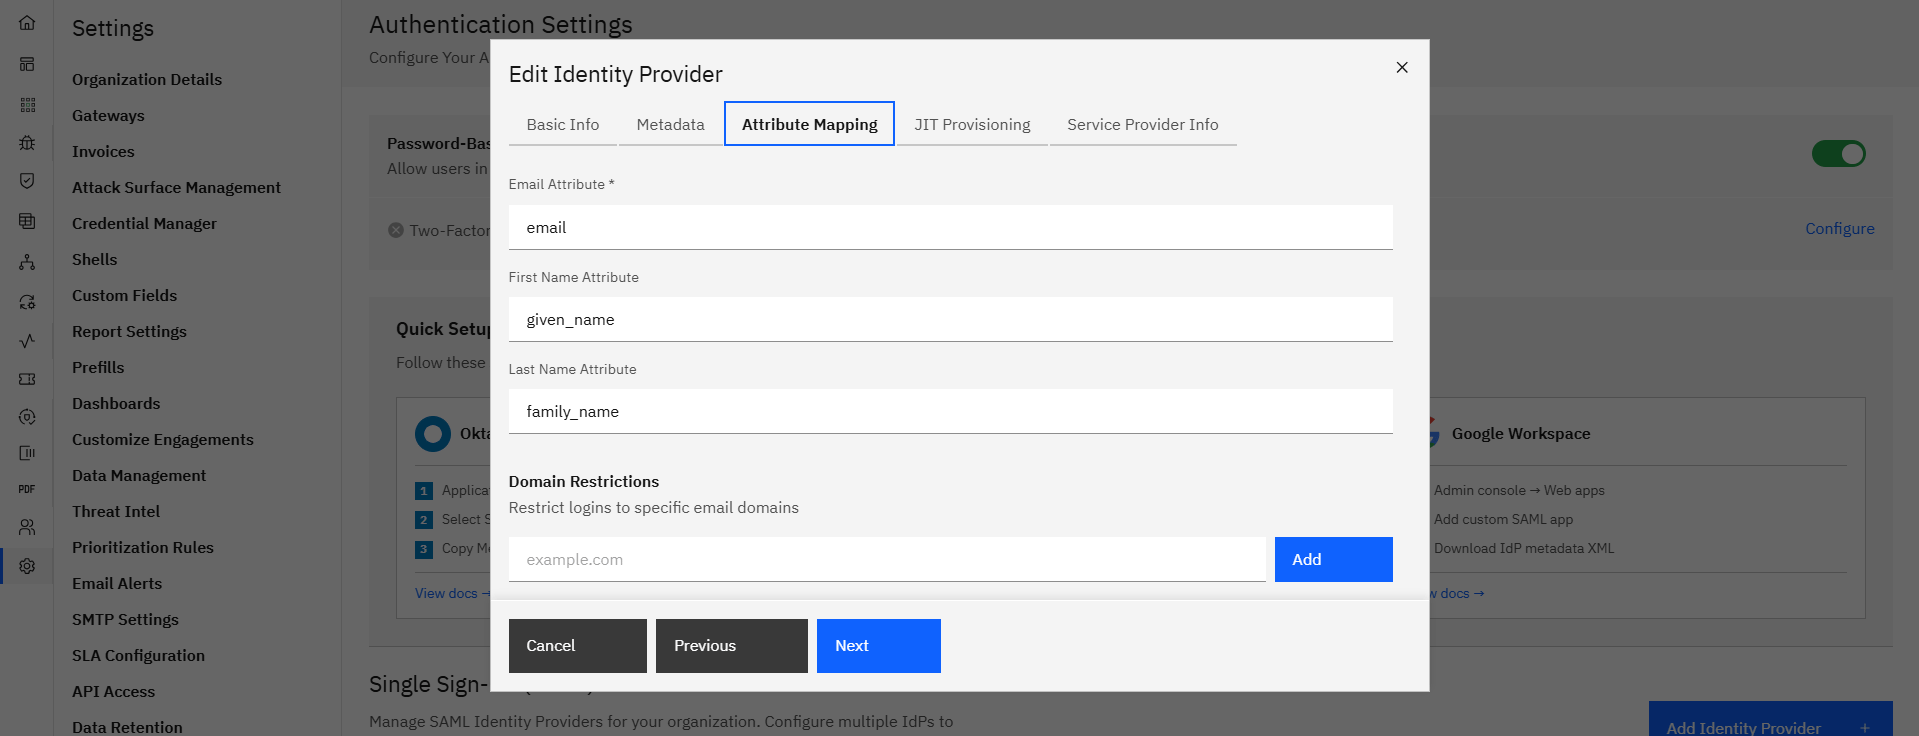
Step 4: Submit Configuration
- Click Update to complete the setup.
SAML authentication will now be active for your organization. Users will be able to log in using Google Workspace credentials.
More in Administration
Was this page helpful?