
Generating an SBOM for all your GitHub repositories
1 min readEdit
In order to generate an SBOM for all your Github Repositories, you will need to configure your Github credentials first. More about how to configure GitHub credentials here. Once you have configured your credentials, the following are the steps that need to be followed:
- Navigate to ’SBOM Asset Inventory’ under the connectors page and click on ‘Add Workflow’.
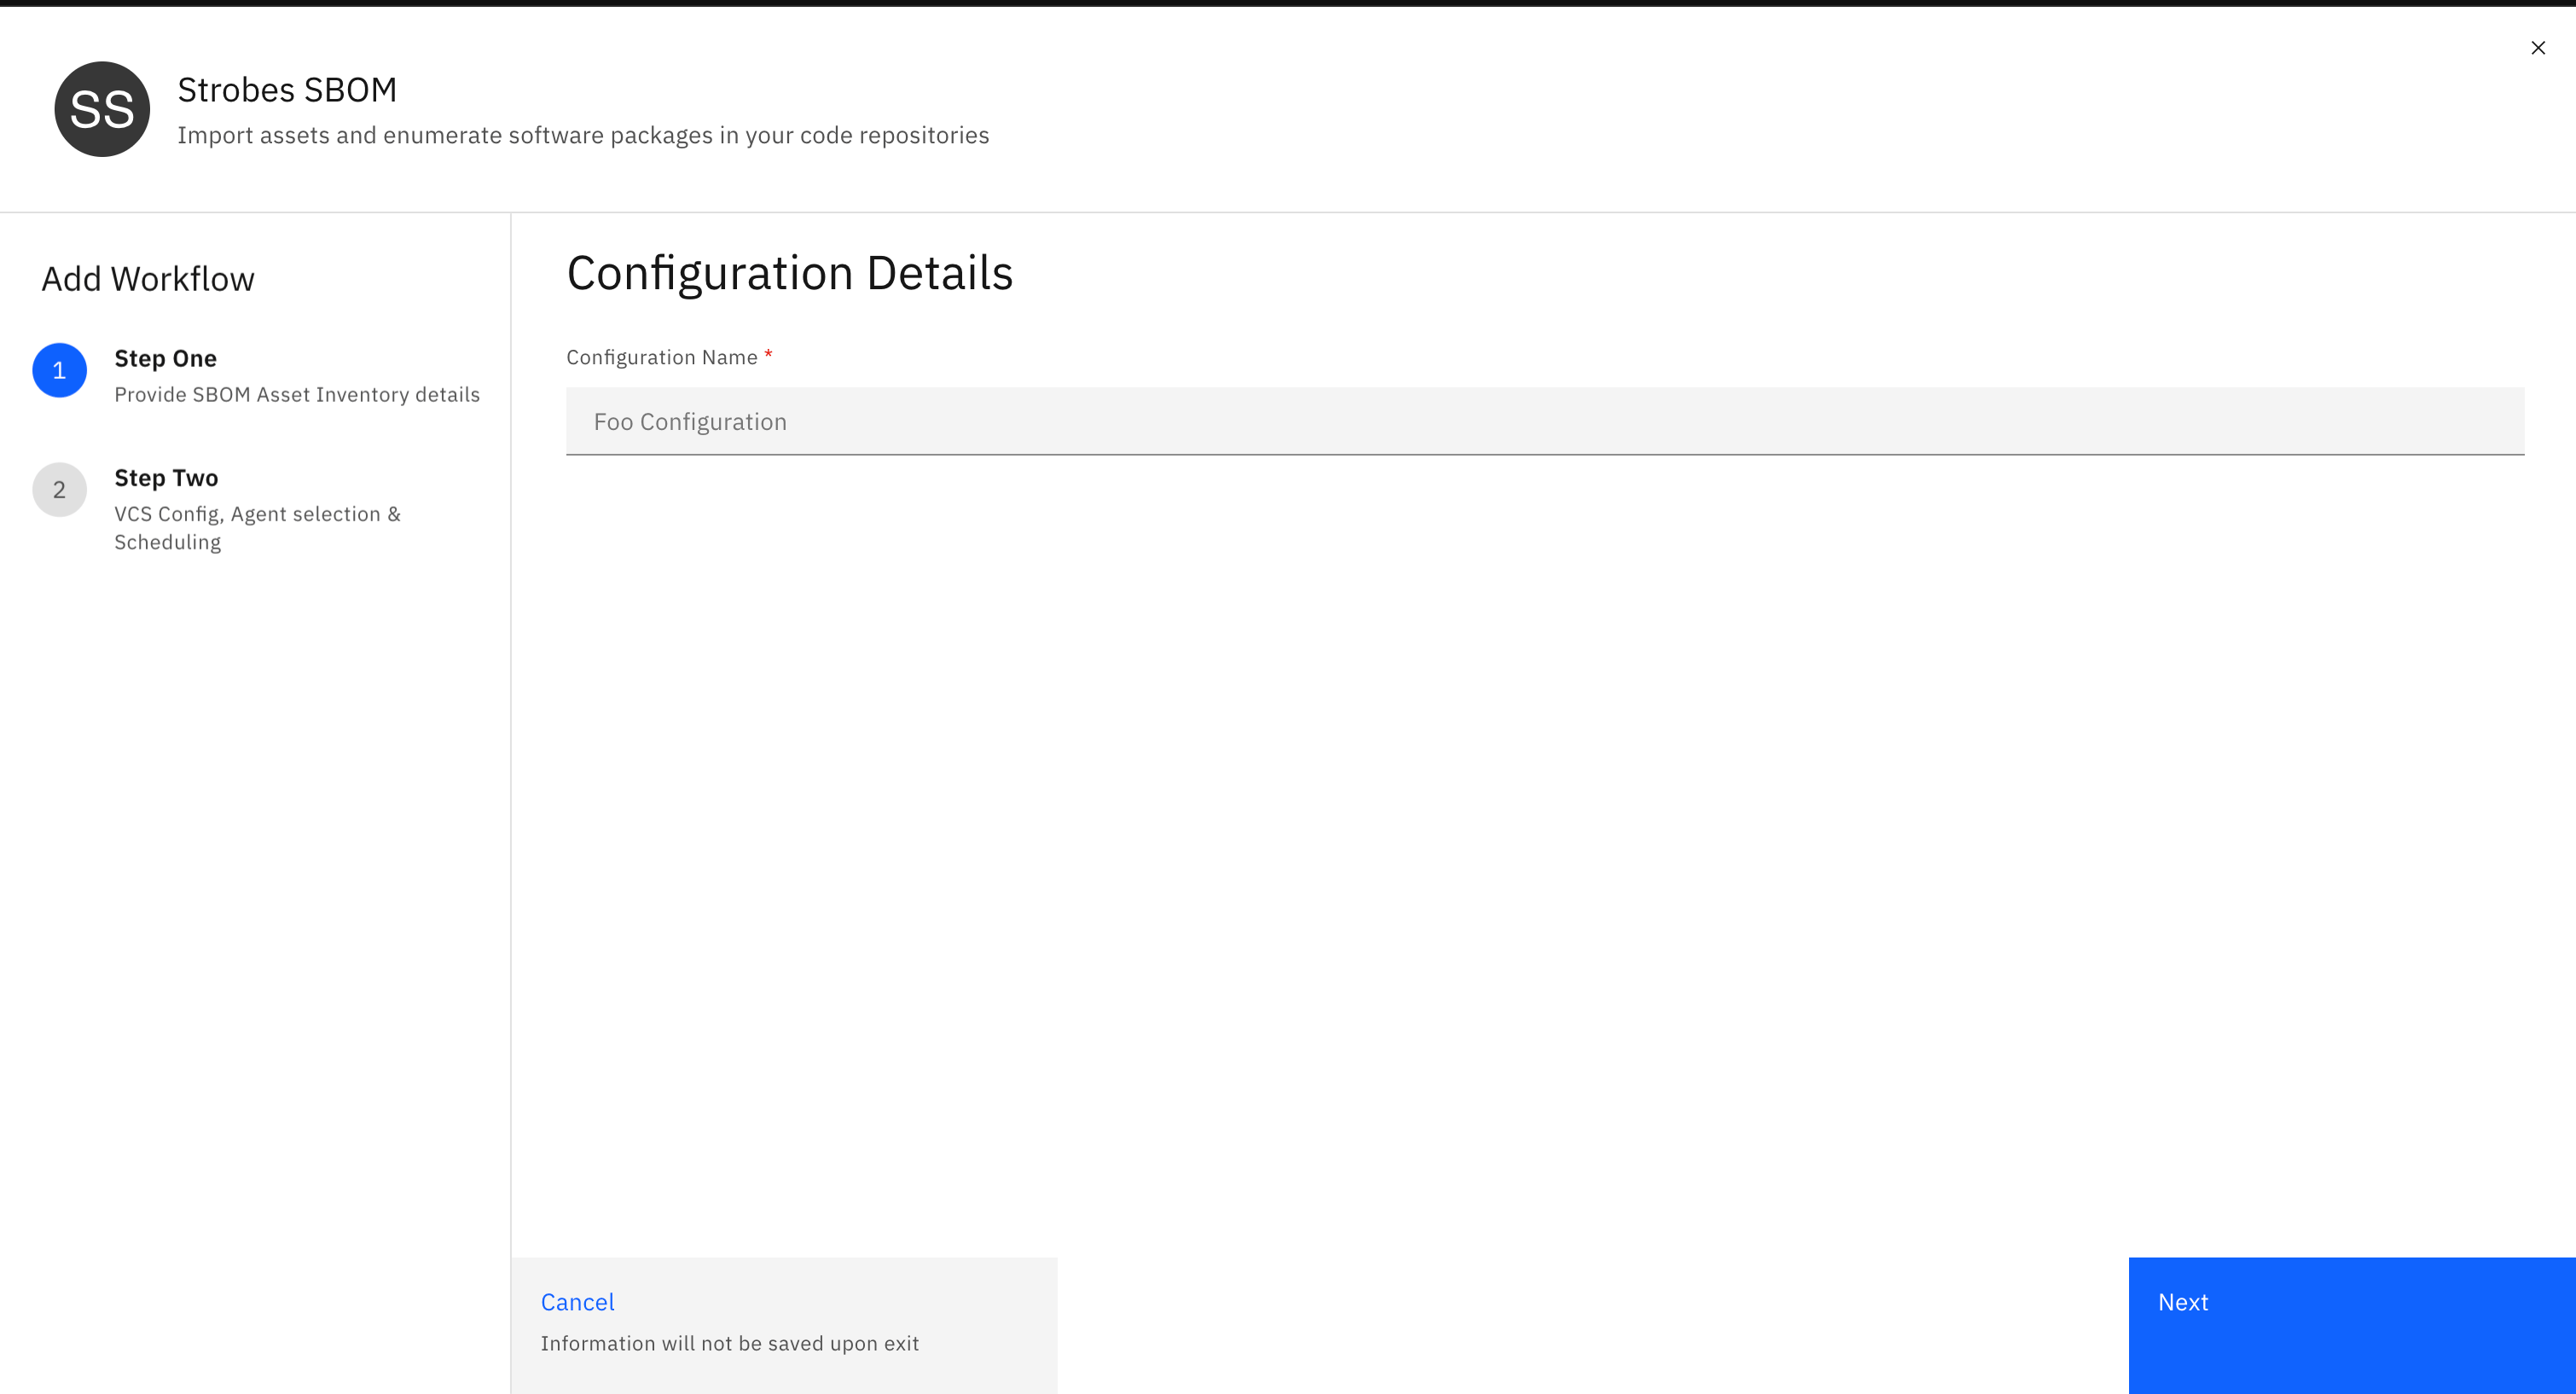
- In the second step, select the version control system as ‘Github’.
- Select your Github credential.
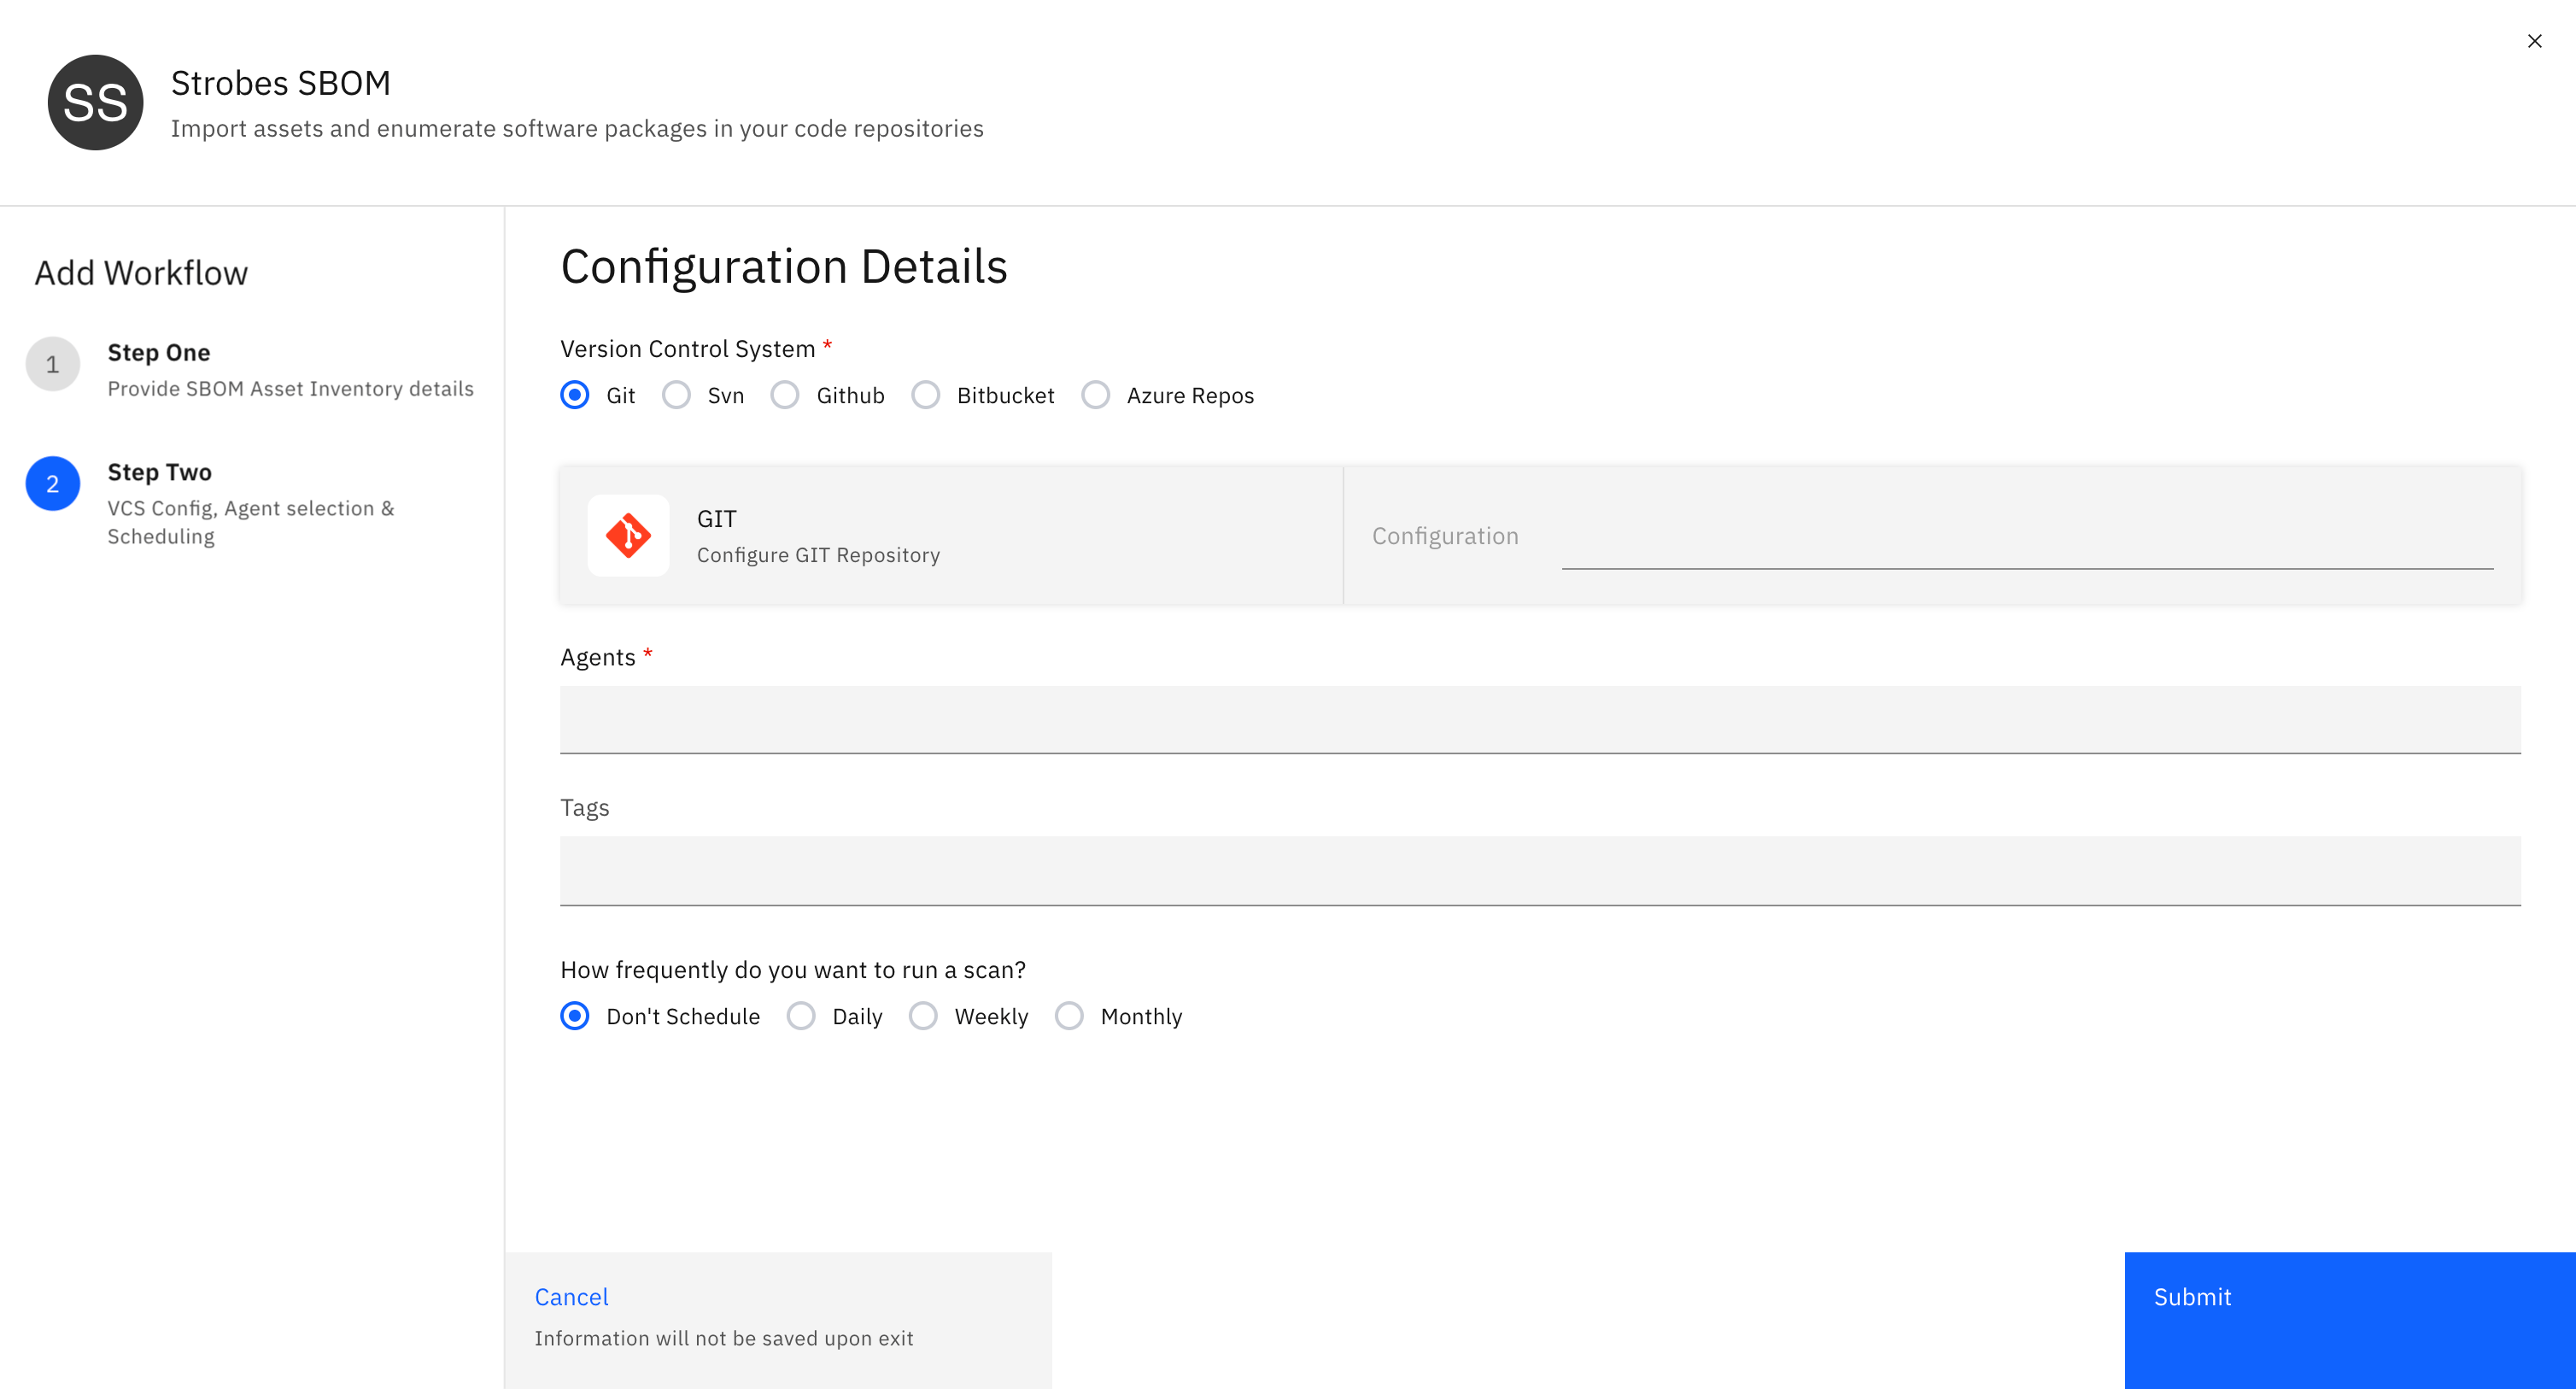
- You will also be provided with an option to ‘Choose Repositories’. Be default all the repositories will be selected, but if you want to remove some of those repos you can do so by choosing those repositories and click on ’Save’.
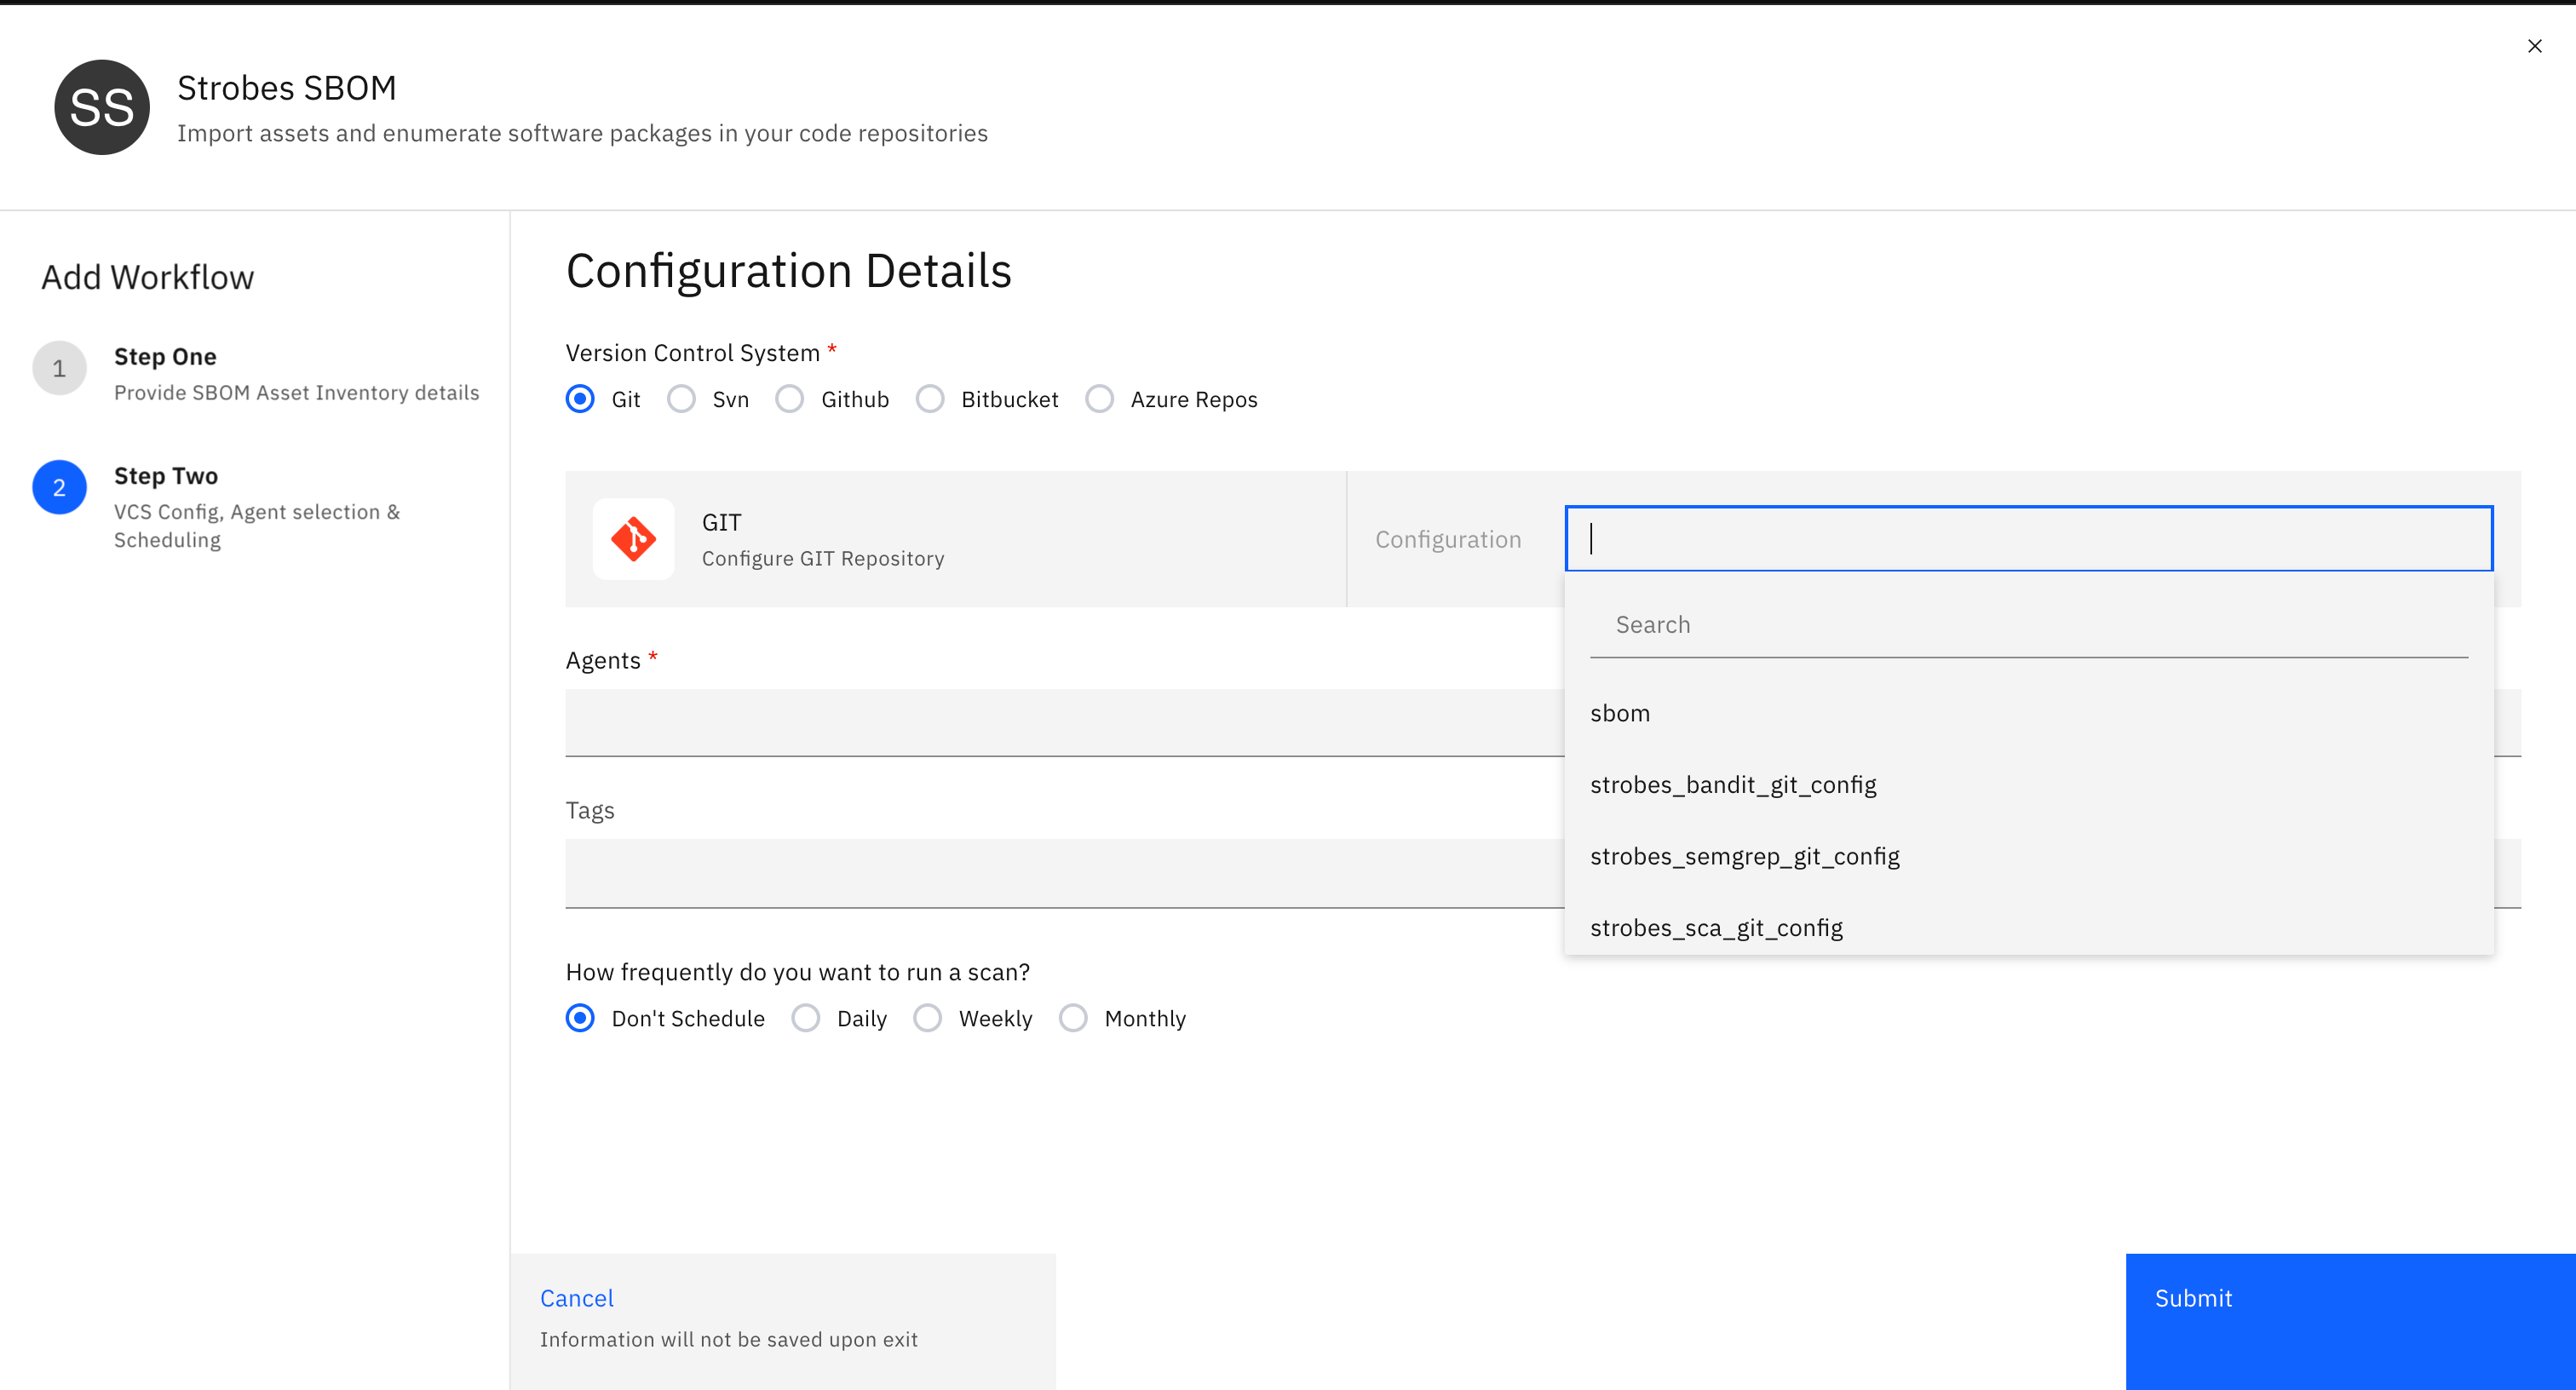
- Select the agent as ‘Strobes Default Agent’ and add any tags if you need to.
- Select the frequency at which you want to sync the SBOM and click on ‘Submit’.
- Once the configuration is created, click on ‘Sync Now’
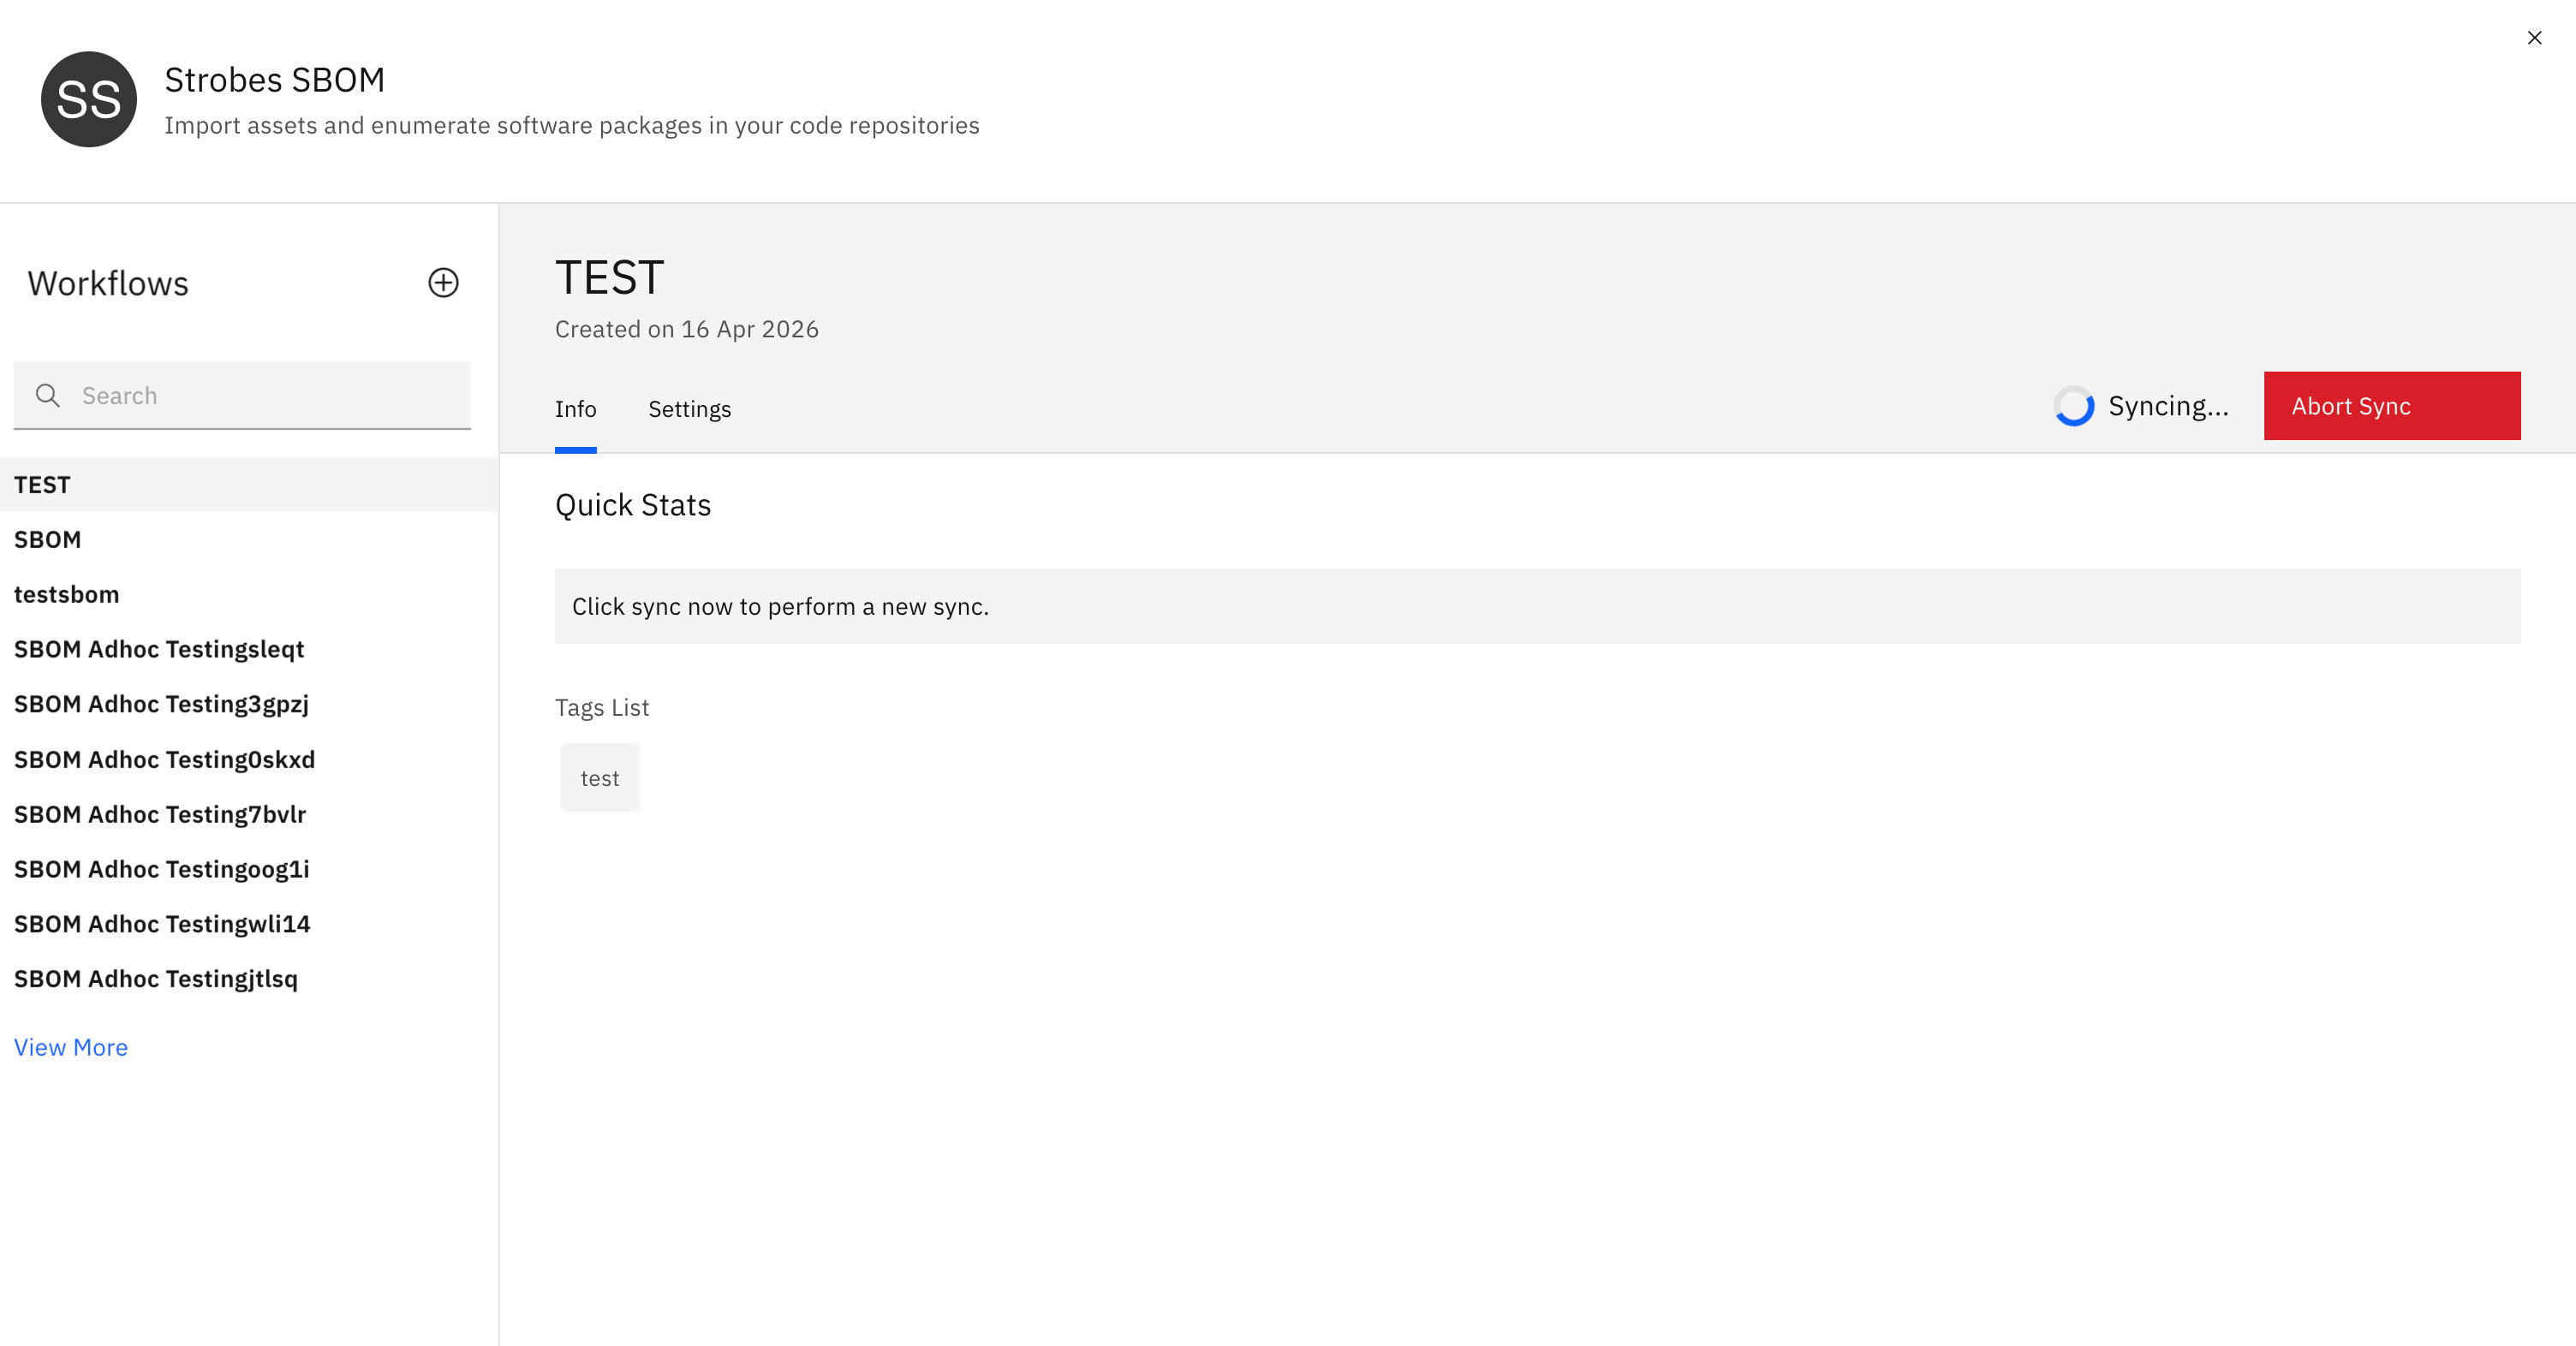
- The SBOM for all of your repositories will be generated and displayed as follows under each Asset.
More in Strobes scanners
Was this page helpful?