
Configuring Bitbucket Credentials Using Credential Manager
This guide walks you through how to connect your Bitbucket workspace to Strobes using the Credential Manager. By setting this up, you’ll enable secure access and syncing between Bitbucket and the Strobes platform.
Step-by-Step Instructions
Step 1: Navigate to Credential Manager
1. Log in to your Strobes dashboard.
2. Go to Settings → Credential Manager.
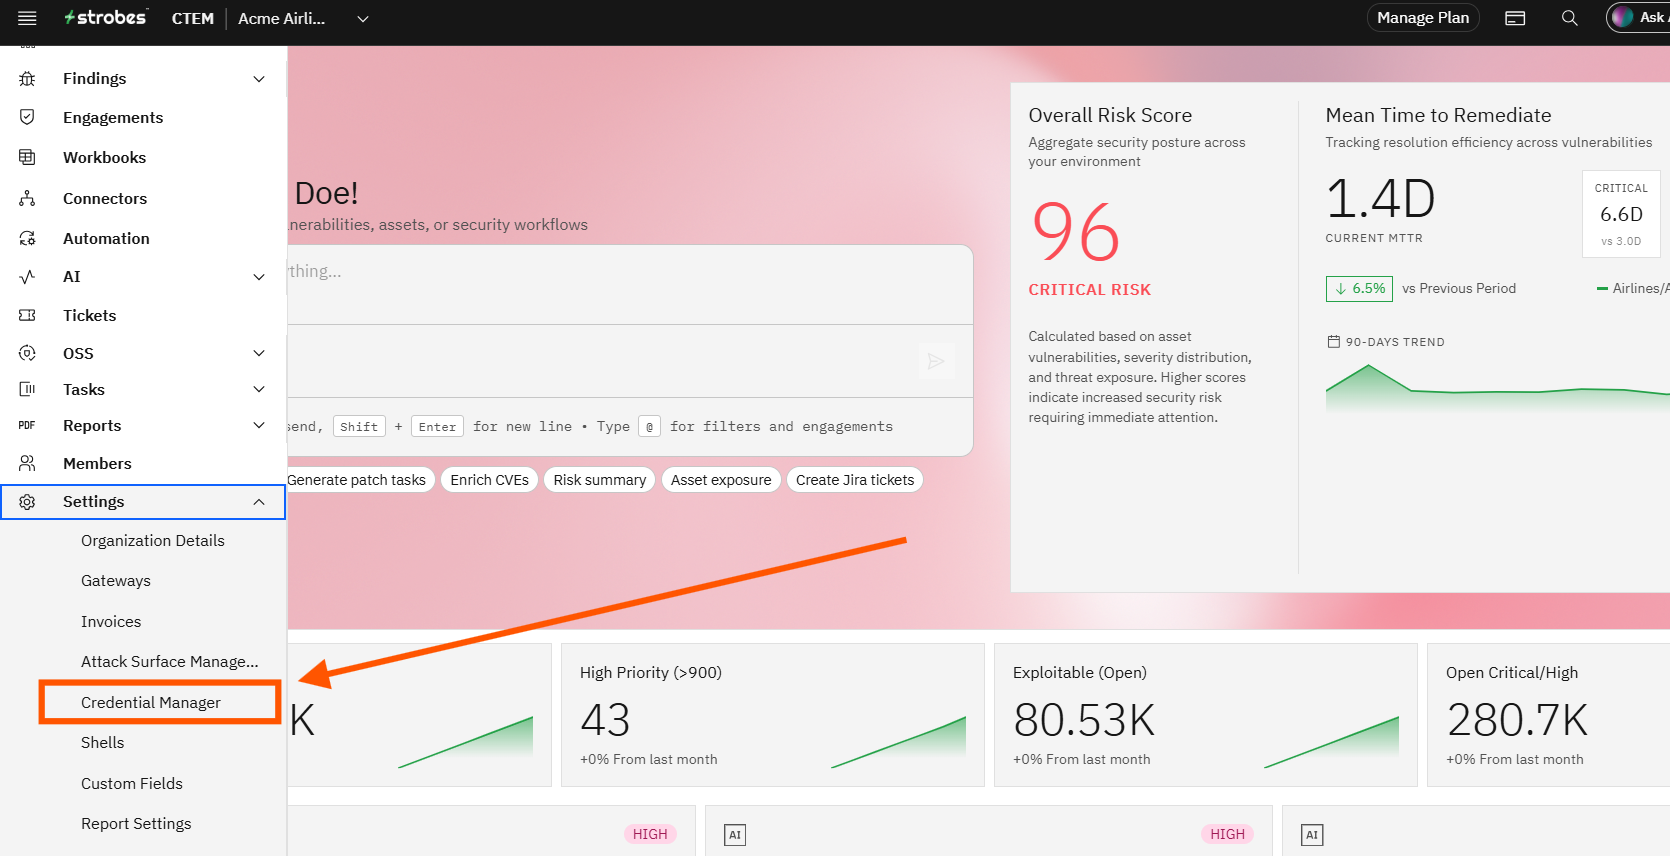
3. Click on Add Credential.
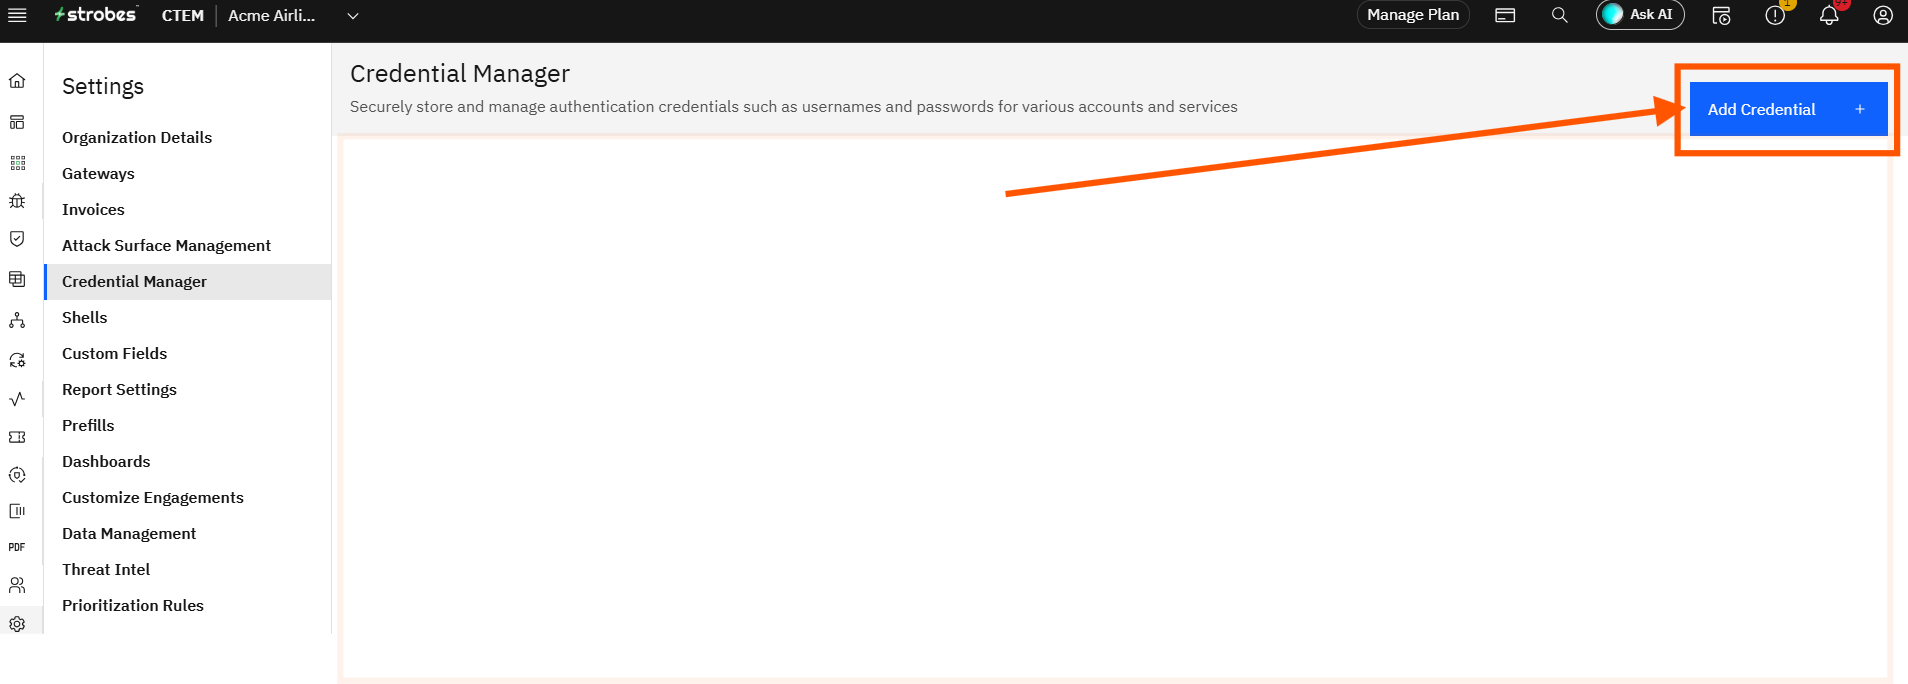
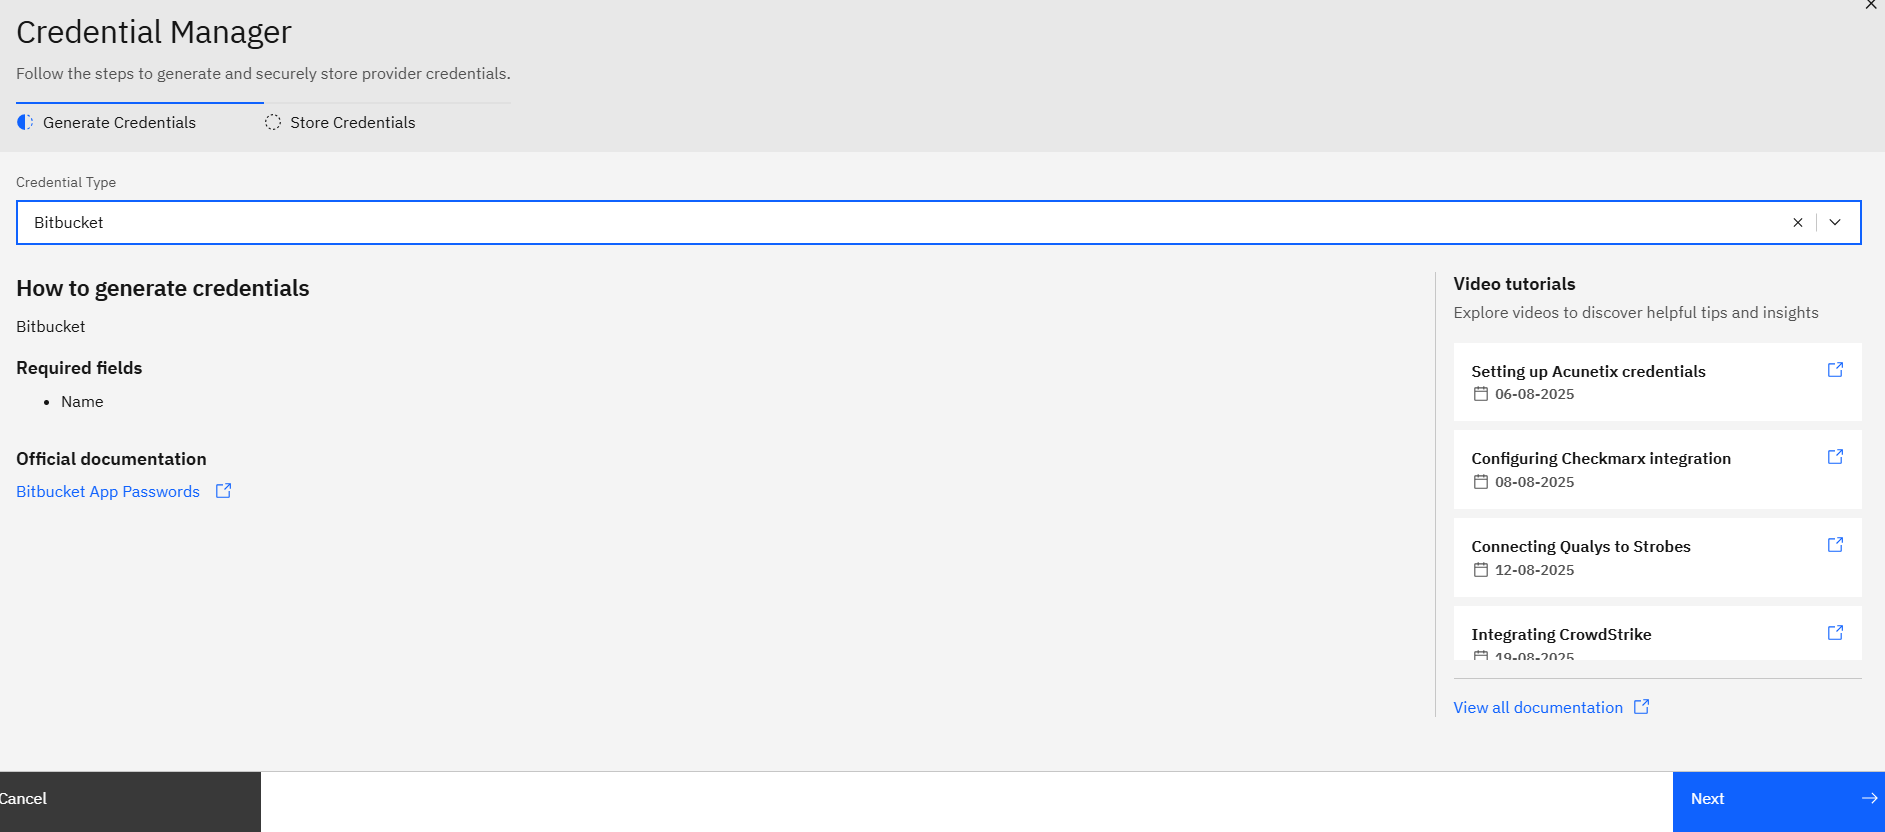
4. From the list of connectors, choose Bitbucket.
→ A Redirect URL will be auto-generated. You’ll need this in a later step.
Step 2: Create an OAuth Consumer in Bitbucket
- Log in to your Bitbucket account.
- Select the workspace you want to integrate with Strobes.
- Click on Settings (for that workspace).
- Navigate to OAuth consumers and click on Add consumer.
Step 3: Fill in the Consumer Details
- Name your consumer (e.g., "Strobes Integration").
- For Callback URL, paste the Redirect URL generated in Step 1.
- Grant Read access to projects.
- Click Save.
→ Bitbucket will now generate a Key and Secret for the consumer.
Step 4: Add Credentials to Strobes
- Return to the Strobes Credential Manager window.
- Paste the Bitbucket Key into the Client ID field.
- Paste the Secret into the Client Secret field.
- Click Save.
Step 5: Authorize the Connection
- You’ll be prompted to grant access to your Bitbucket workspace.
- Click Grant access.
That’s it! Your Bitbucket credentials are now successfully configured on Strobes.