Initiating a Burp Scan
This guide walks you through how to initiate a Burp Scan on a target using the Strobes platform. Make sure you’ve already configured your Burp Suite credentials before starting the scan.
Step-by-Step Instructions
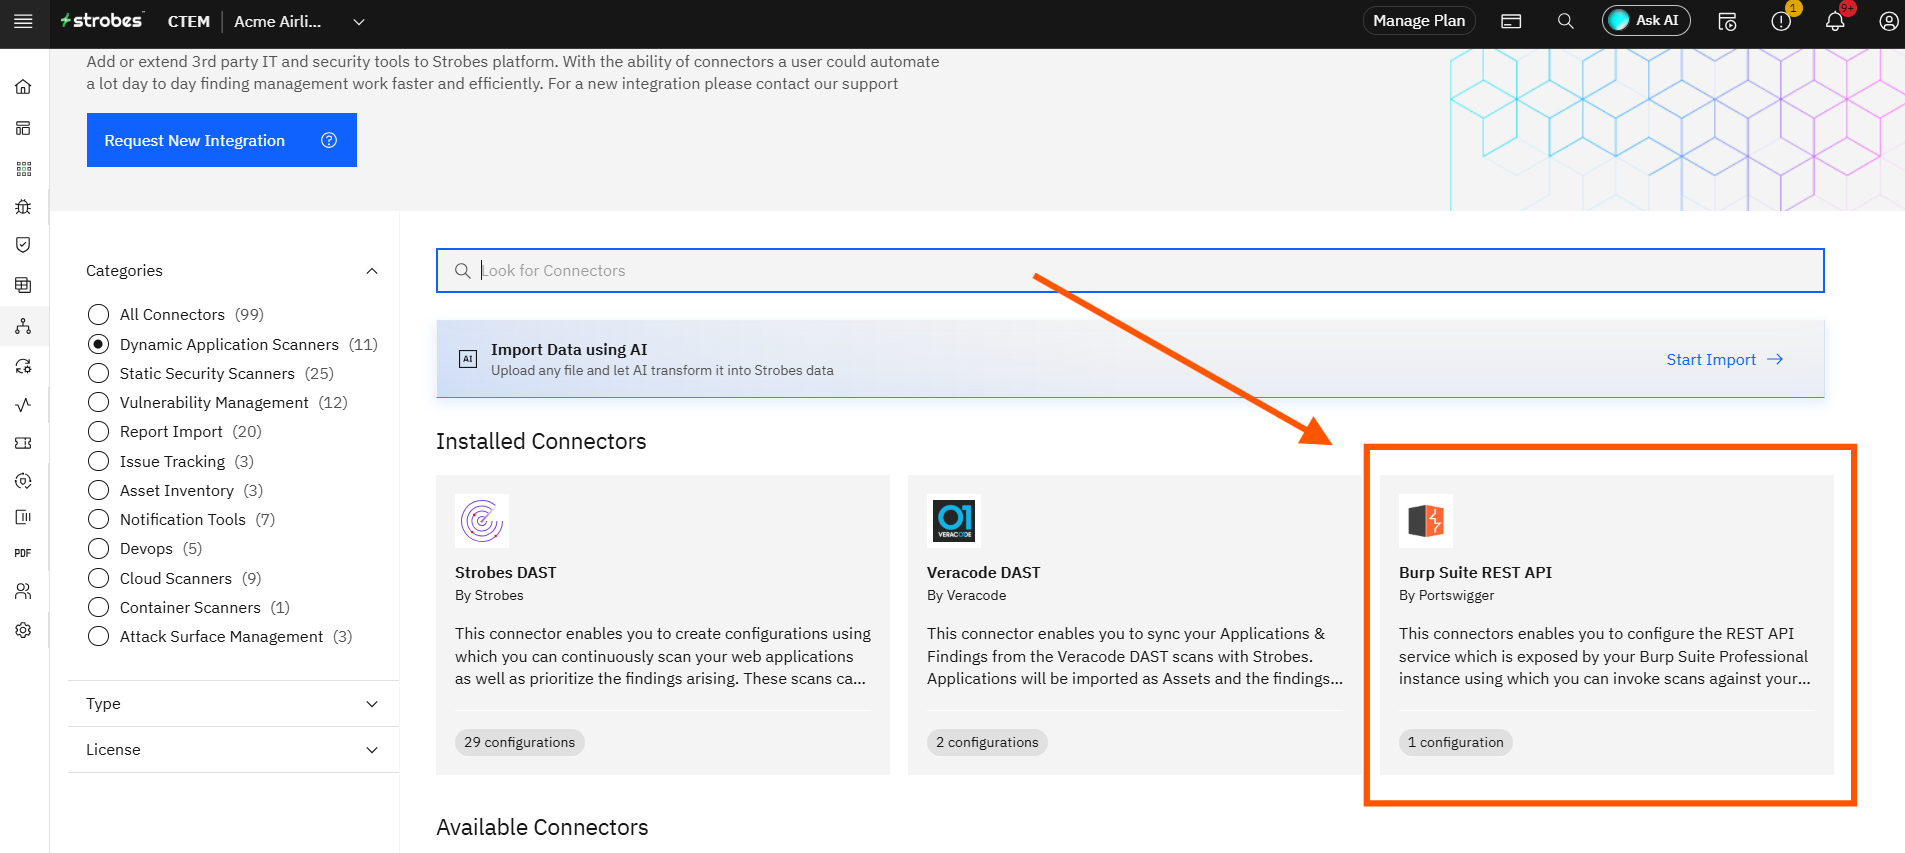
Step 1: Navigate to Burp Connector
- Go to the Connectors section.
- Under Dynamic Application Scanners, click on Burp Suite REST API.
Step 2: Set Up the Configuration
- Fill in the following fields:
- Configuration Name – Any name to identify your config.
- Burp Suite Credential – Choose from the credentials you’ve already configured.
- Baseline – Select the baseline where you want vulnerabilities to be logged.
- Click Next.

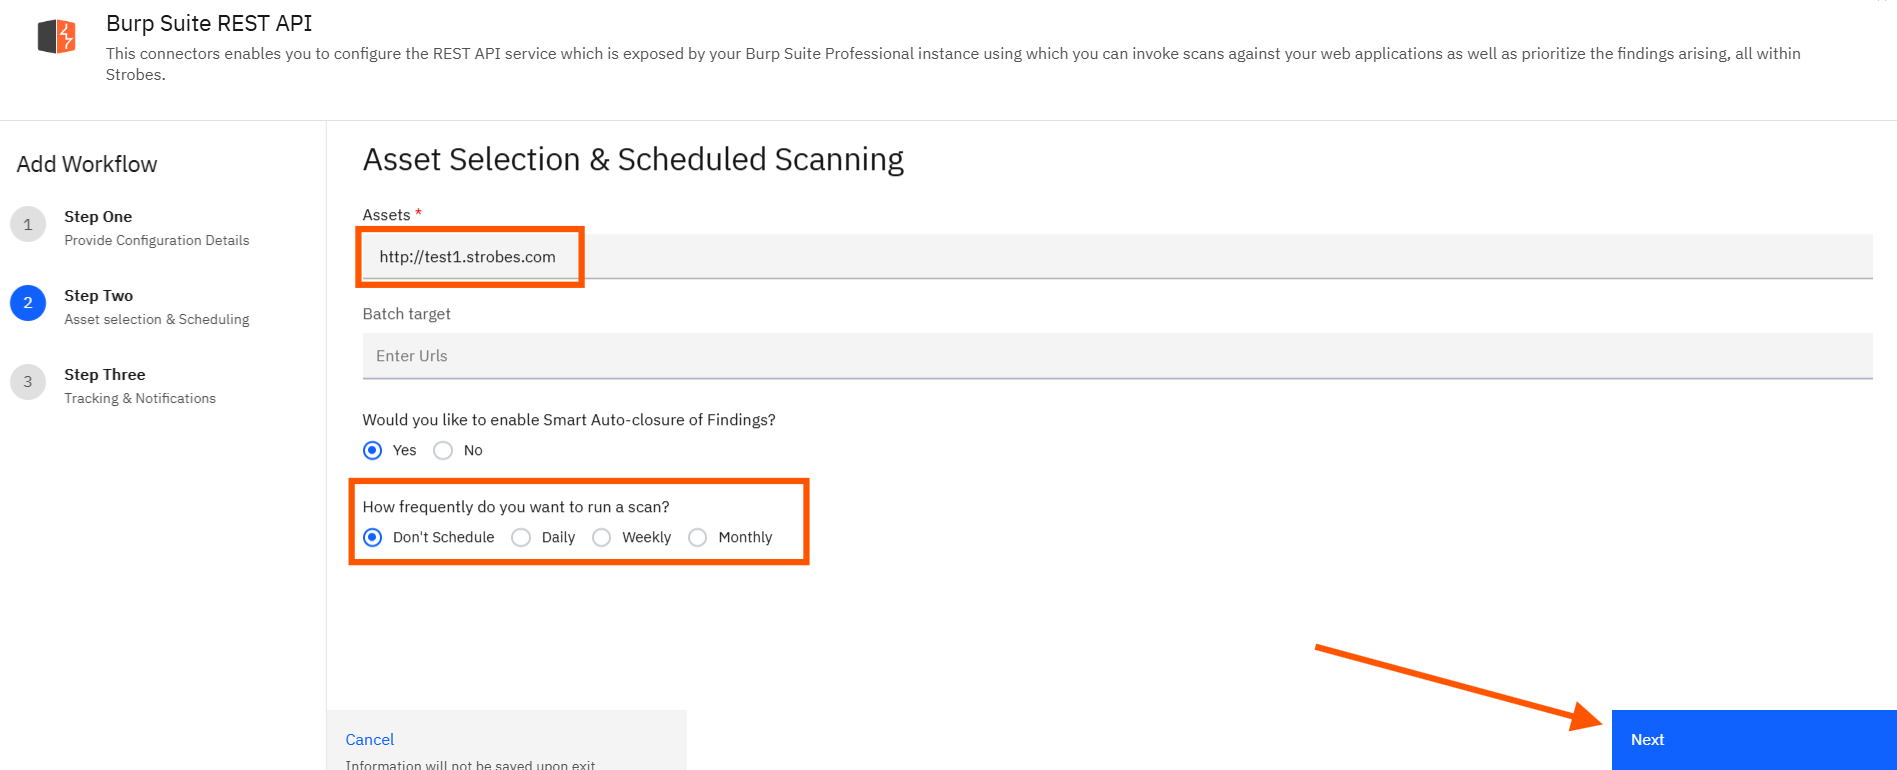
Step 3: Choose Target and Scheduling
- Select the Asset that the scan should be linked to.
- In the Batch Target field, enter the URLs or endpoints you want to scan.
- Choose the Scan Frequency (e.g., One-time, Daily, Weekly).
- Click Next.
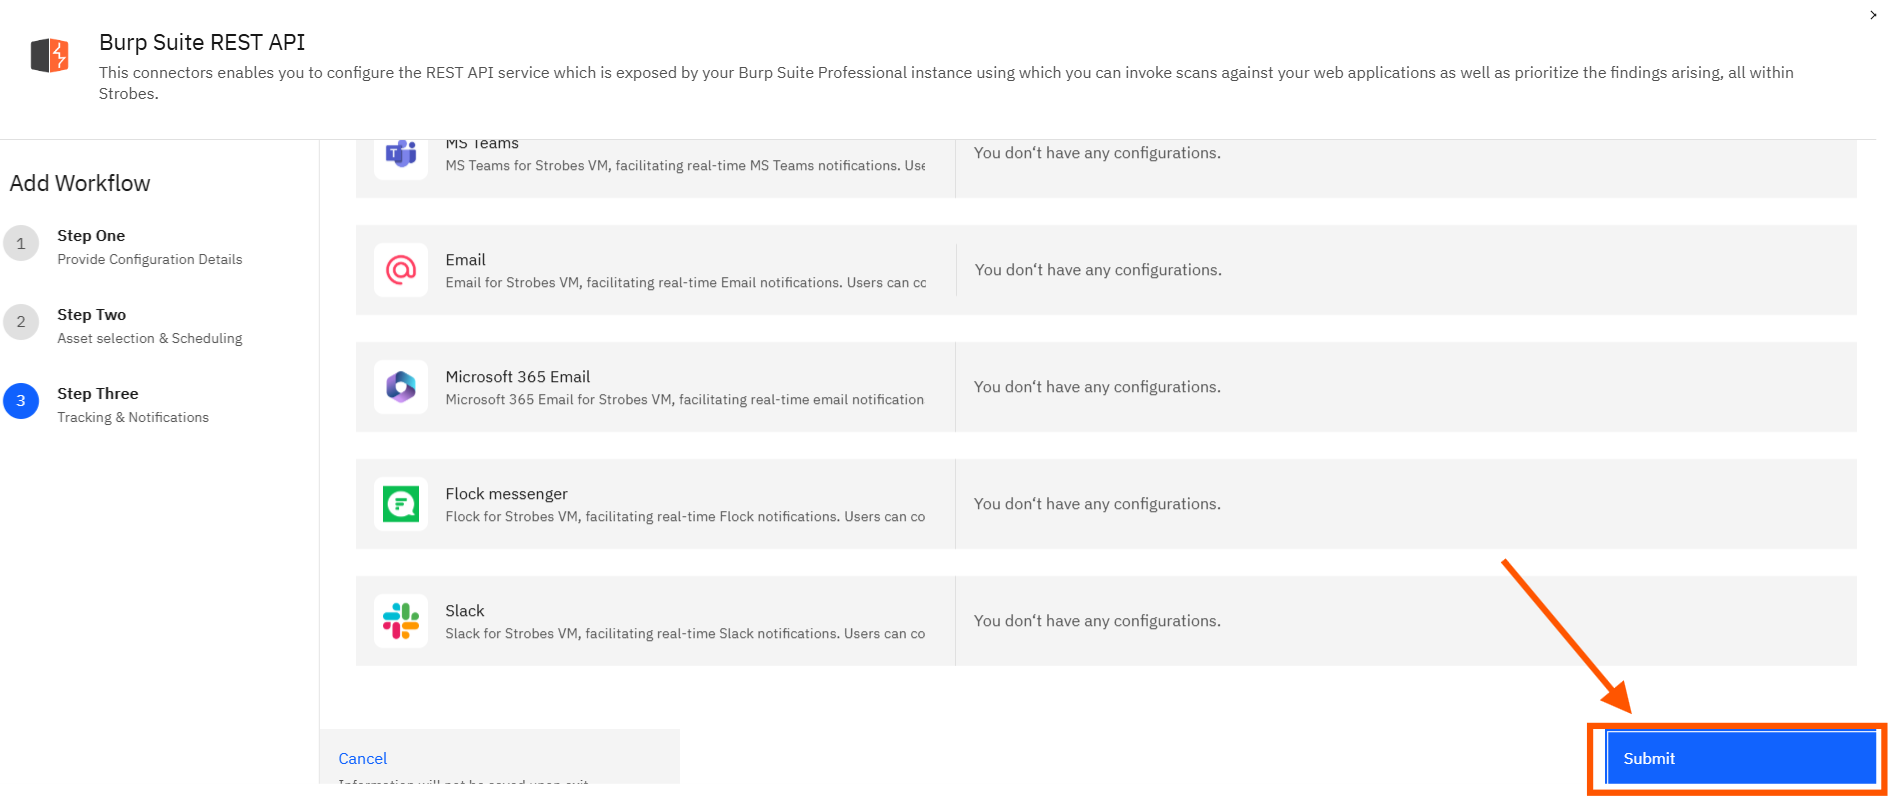
Step 4: Optional – Add Tracking & Notification Tools
- If needed, select any Tracking or Notification tool configurations.
- Click Submit to create the configuration.
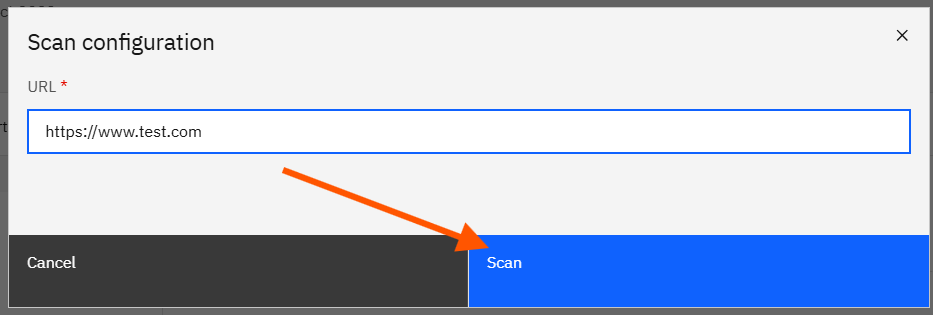
Initiate the Burp Scan
Once your configuration is ready:
- Click on New Scan within the Burp connector.
- In the popup window, enter the specific URL you want to scan.
- Click Scan.
Note: Only the URL entered in this step will be scanned during the run.

Scan Completion
- The scan will be triggered immediately.
- Once complete, all discovered vulnerabilities will be automatically linked to the selected Asset.