
Enabling SAML Authentication For Your Organization with Okta
Only the Owner of an organization can enable SAML Authentication in Strobes. Follow the steps below to configure it successfully.
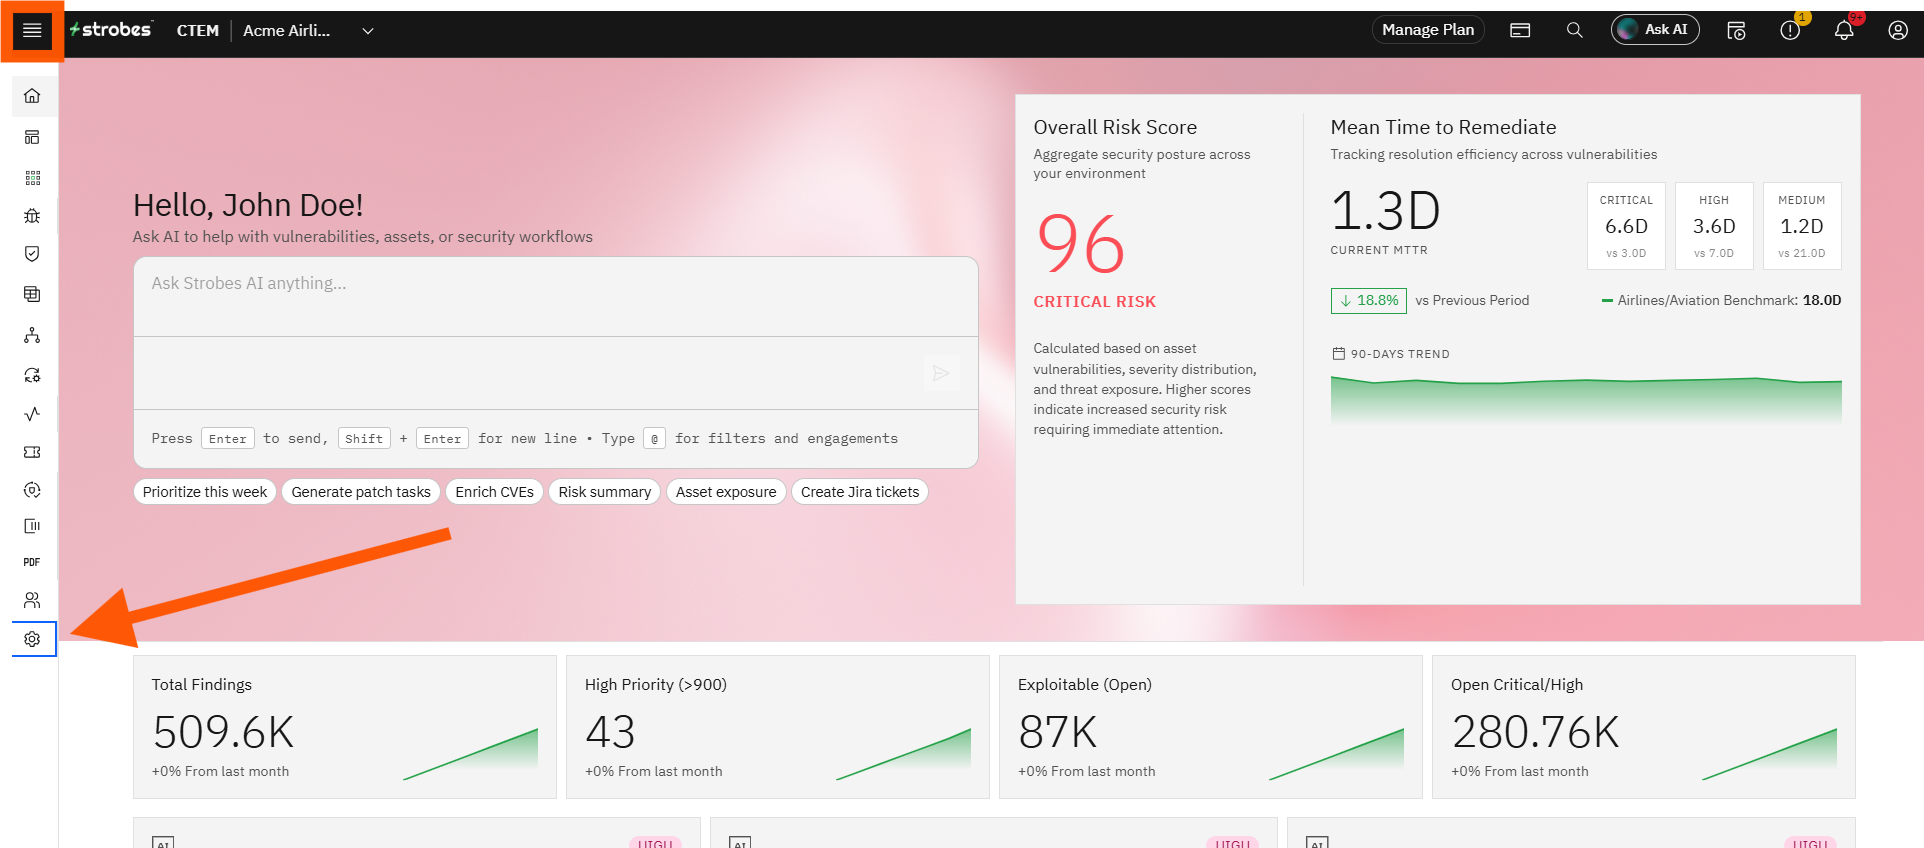
Step 1: Access Authentication Settings
- Log in to your Strobes account.
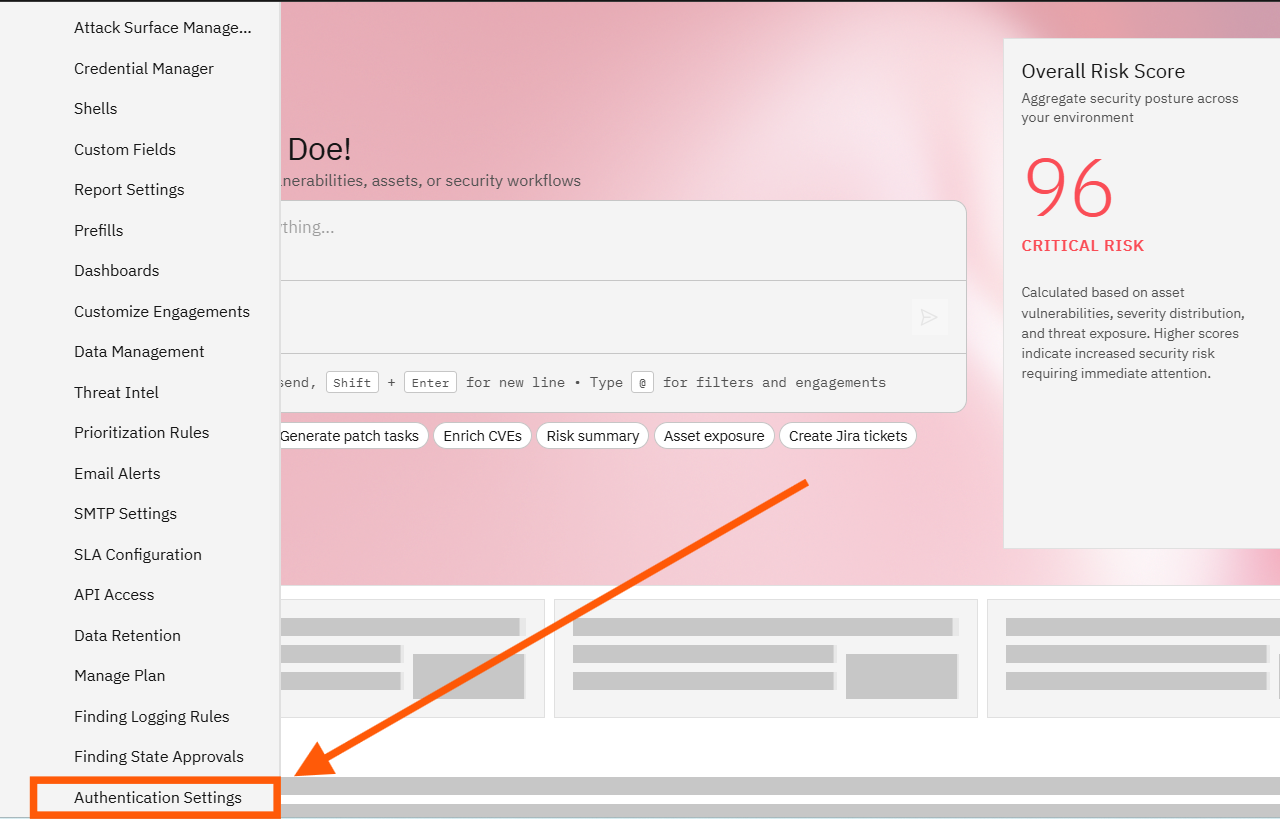
- Go to the Settings section.
- Click on Authentication Settings.
- Select "View docs" under Okta and follow the steps explained by Okta on your Admin Okta console.
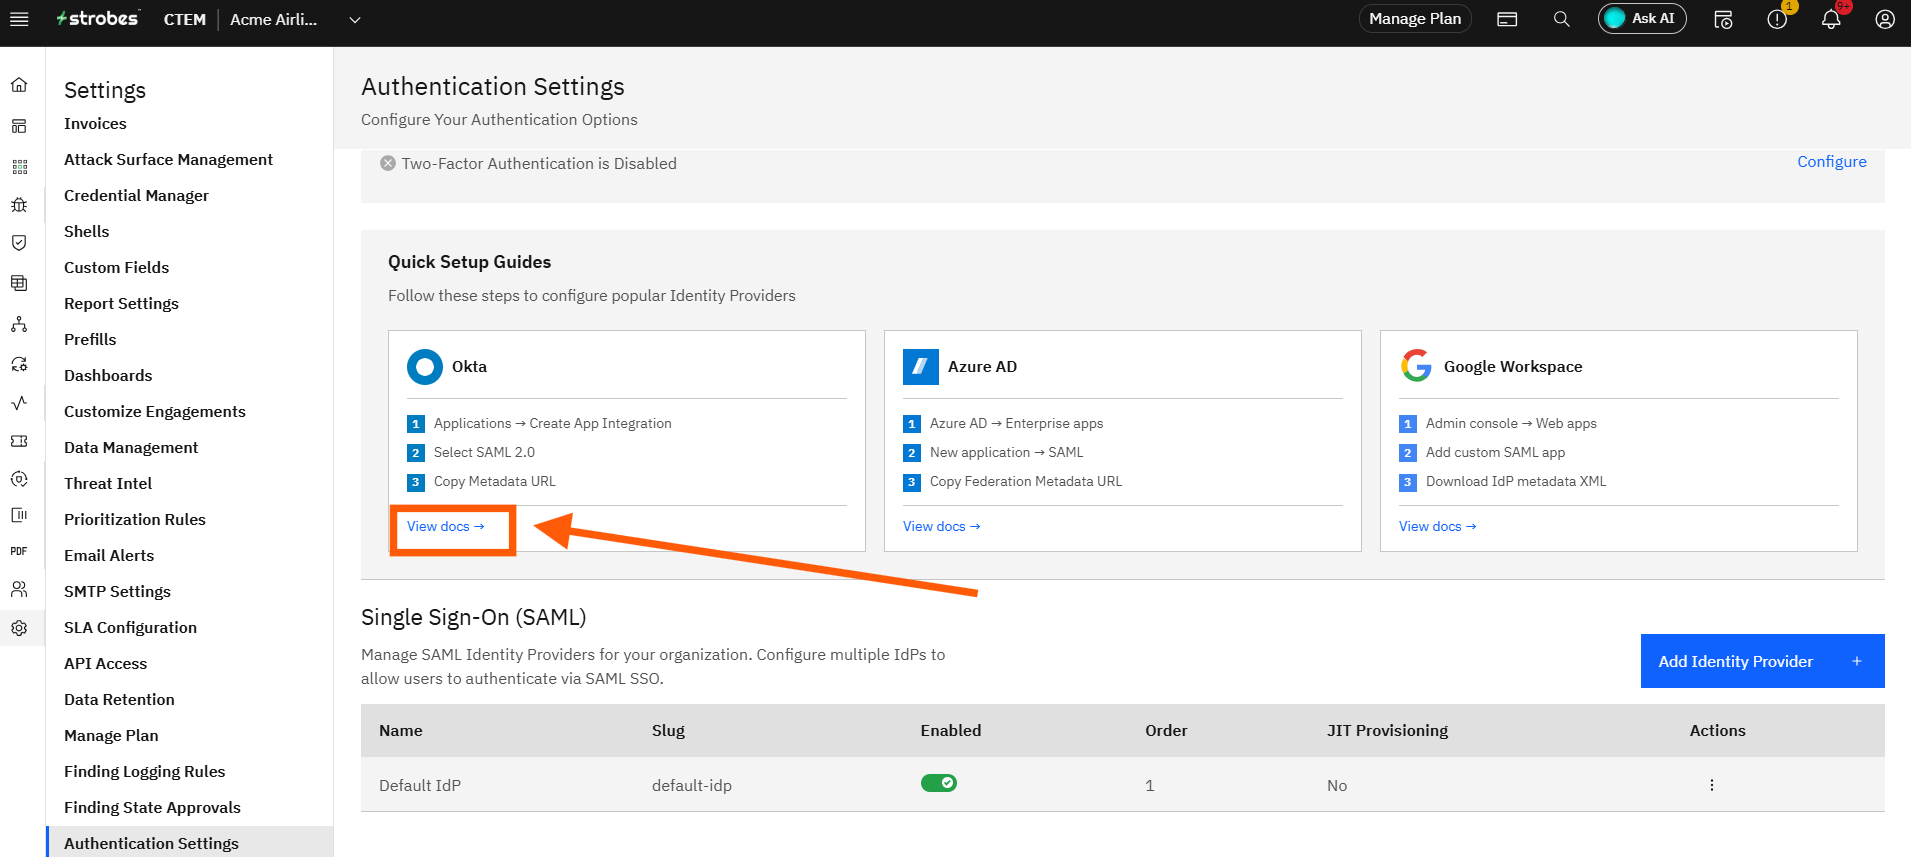
At this point, Strobes will automatically generate:
- SAML ACS URL
- SAML Metadata URL
- Now you need to add your SAML IDP metadata file.
- Click on Submit and SAML Authentication will be enabled for your Organization.
You’ll need these details to complete the configuration in your identity provider (IdP).
Step 2: Generate the Metadata File in Okta
- Log in to your Okta admin dashboard.
- Navigate to the application for which you want to enable SSO.
- Click on Addons and select SAML2.
- Under the Usage section, you will find a link to download the IDP Provider Metadata.
- Click the link to download the metadata file to your local system.
Step 3: Upload the Metadata to Strobes
- Return to the SAML Configuration page in Strobes.
- Upload the metadata file you downloaded from Okta.
- Click on Submit.
Once submitted, SAML Authentication will be enabled for your organization.
If you face any issues during the setup, please contact your system administrator or reach out to Strobes' support.