
Configuring Burp Credentials Using Credential Manager
This article explains how to configure your Burp Suite Enterprise credentials within the Strobes platform using the Credential Manager. This setup is essential to enable Burp-based scans and asset/vulnerability sync within Strobes.
Prerequisites
Before proceeding, ensure you have:
- Access to your Burp Suite Enterprise dashboard.
- Your Burp Suite API Key and the REST API endpoint URL.
- Necessary permissions in Strobes to manage credentials.
Step-by-Step Instructions
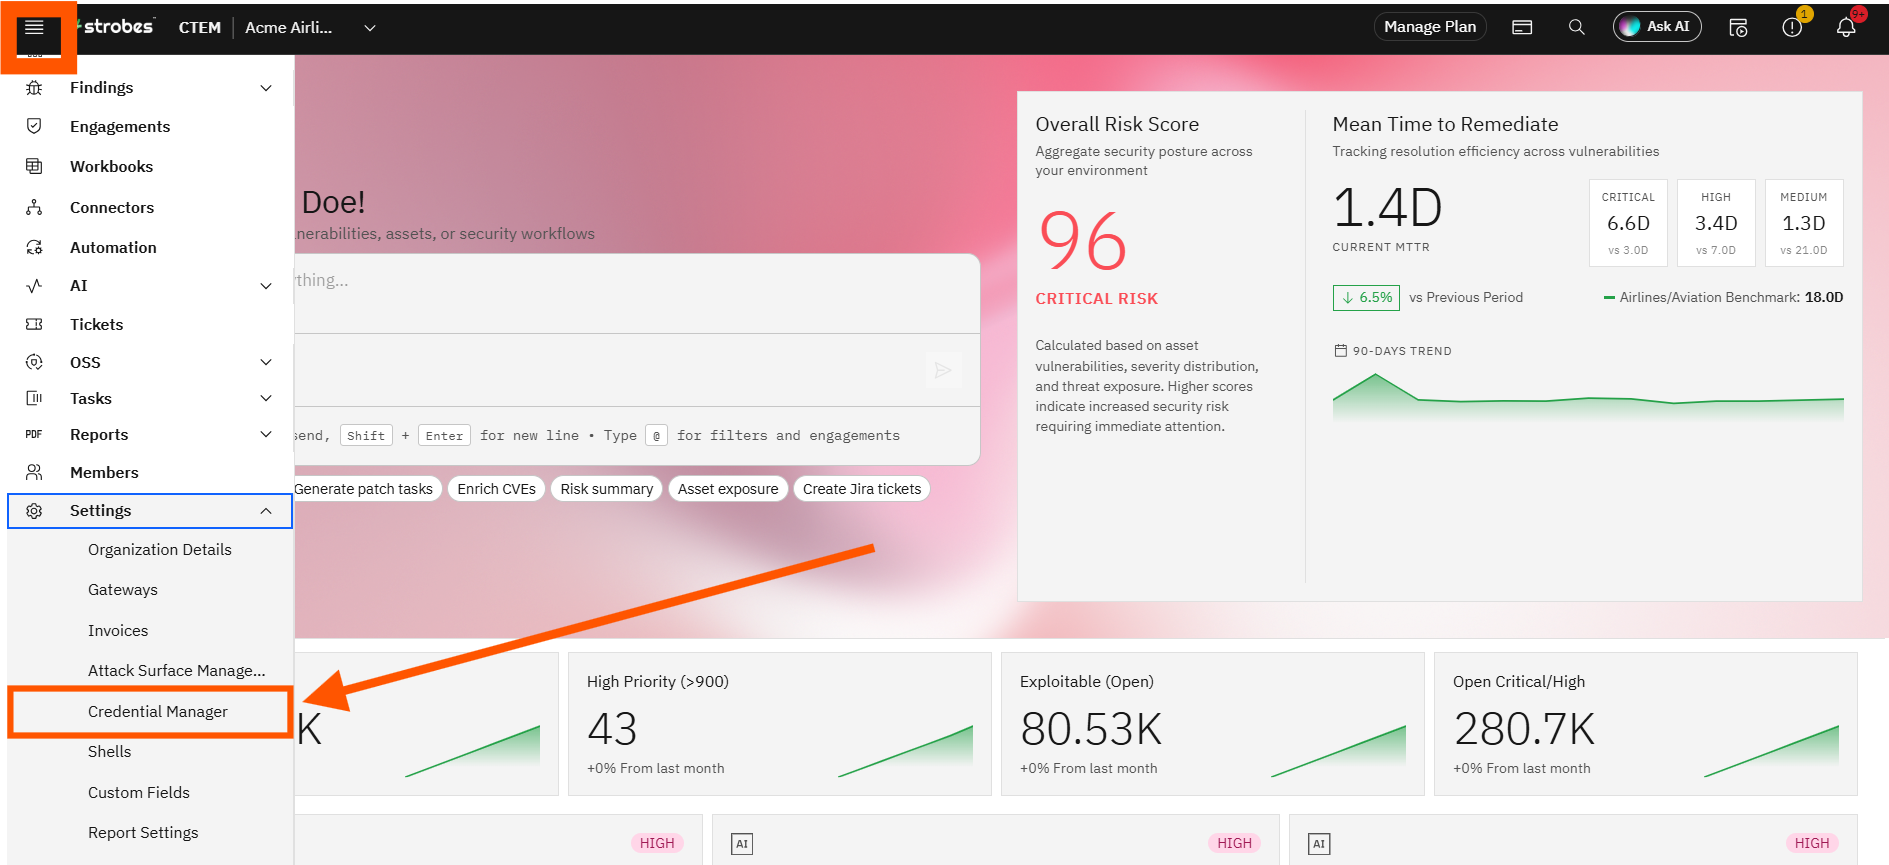
1. Navigate to Credential Manager
- Log into your Strobes instance.
- Go to the Settings tab from the main menu.
- Click on Credential Manager.
2. Add a New Credential
- Click on the "Add Credential" button.
- From the list of available connectors, select Burp Suite Enterprise.

3. Enter Burp Configuration Details
You will now be prompted to fill in the required configuration fields:
- Name: Provide a name for this credential (e.g., Burp Production, Burp QA).
- URL: Enter the base URL where your Burp REST API service is hosted (e.g., https://burp.example.com/api).
- API Key: Paste the API key generated from your Burp instance.
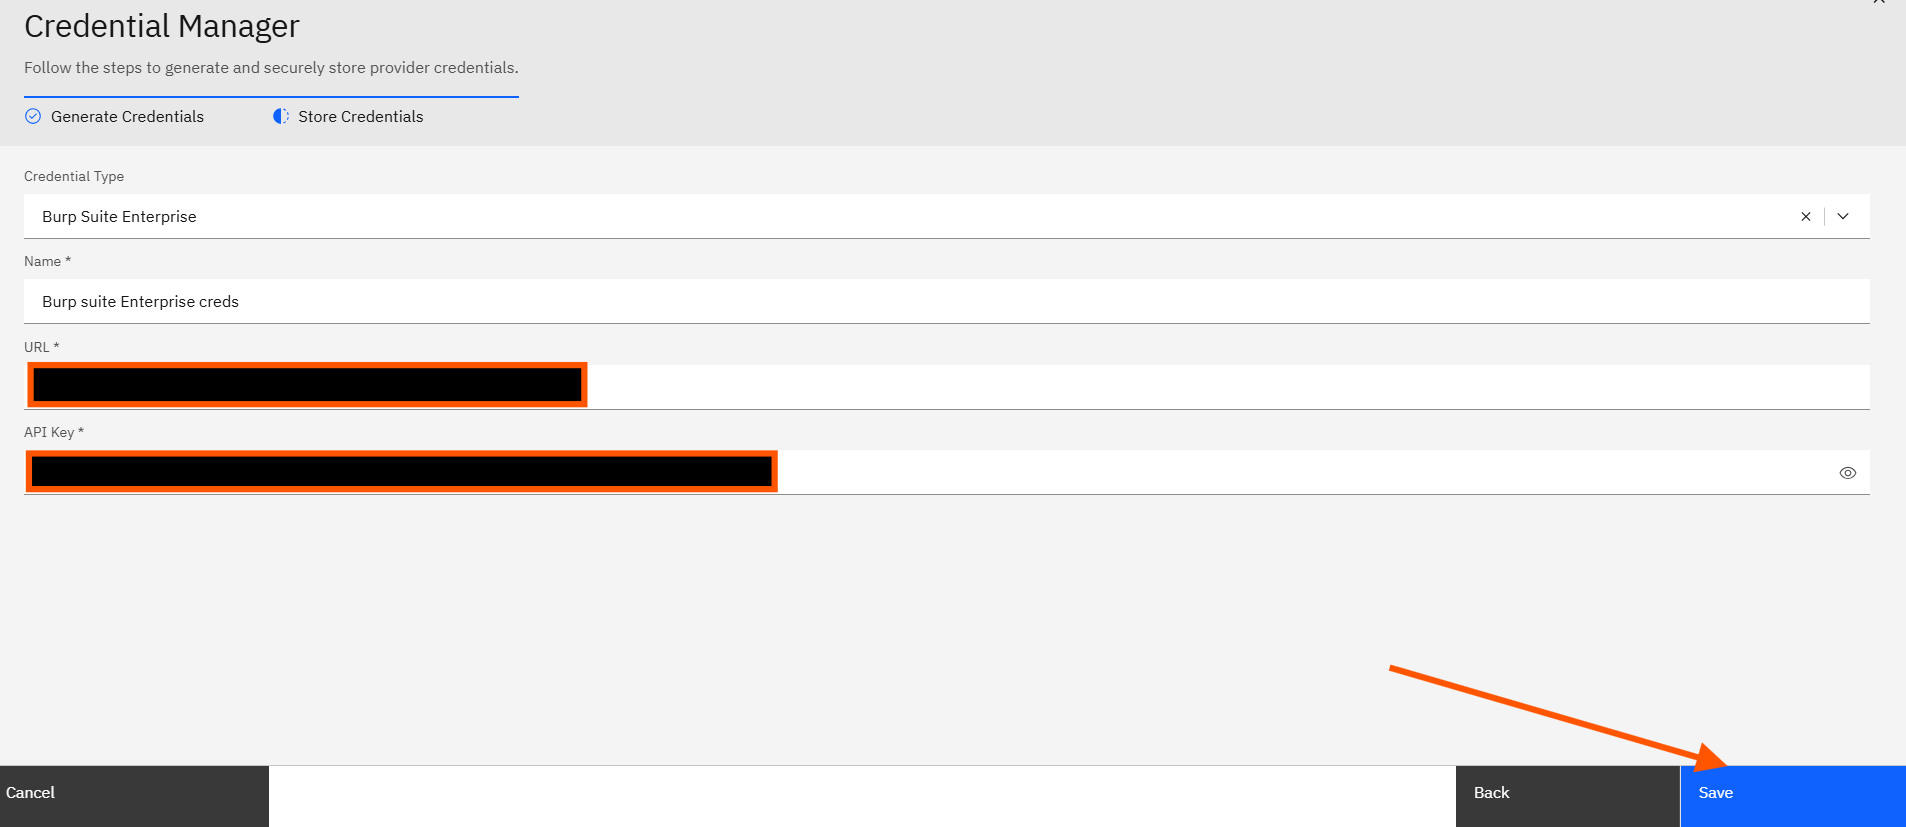
4. Save the Credential
- Once all fields are filled in, click on Save.
- Your Burp credentials are now securely stored and ready to use for scan configurations.
What’s Next?
Now that your Burp credentials are configured, you can use them to:
- Set up a Burp scan in the Dynamic Application Scanners section.
- Automatically fetch vulnerabilities into Strobes from your Burp instance.