
Configuring Github Credentials Using Credential Manager
This article explains how to configure Github Credentials within the Strobes platform.
In order to grant access to your Github Organization, you will have to create an OAuth app under 'Developer Settings' under 'Settings' from your account.
Step 1: Open Credential Manager in Strobes
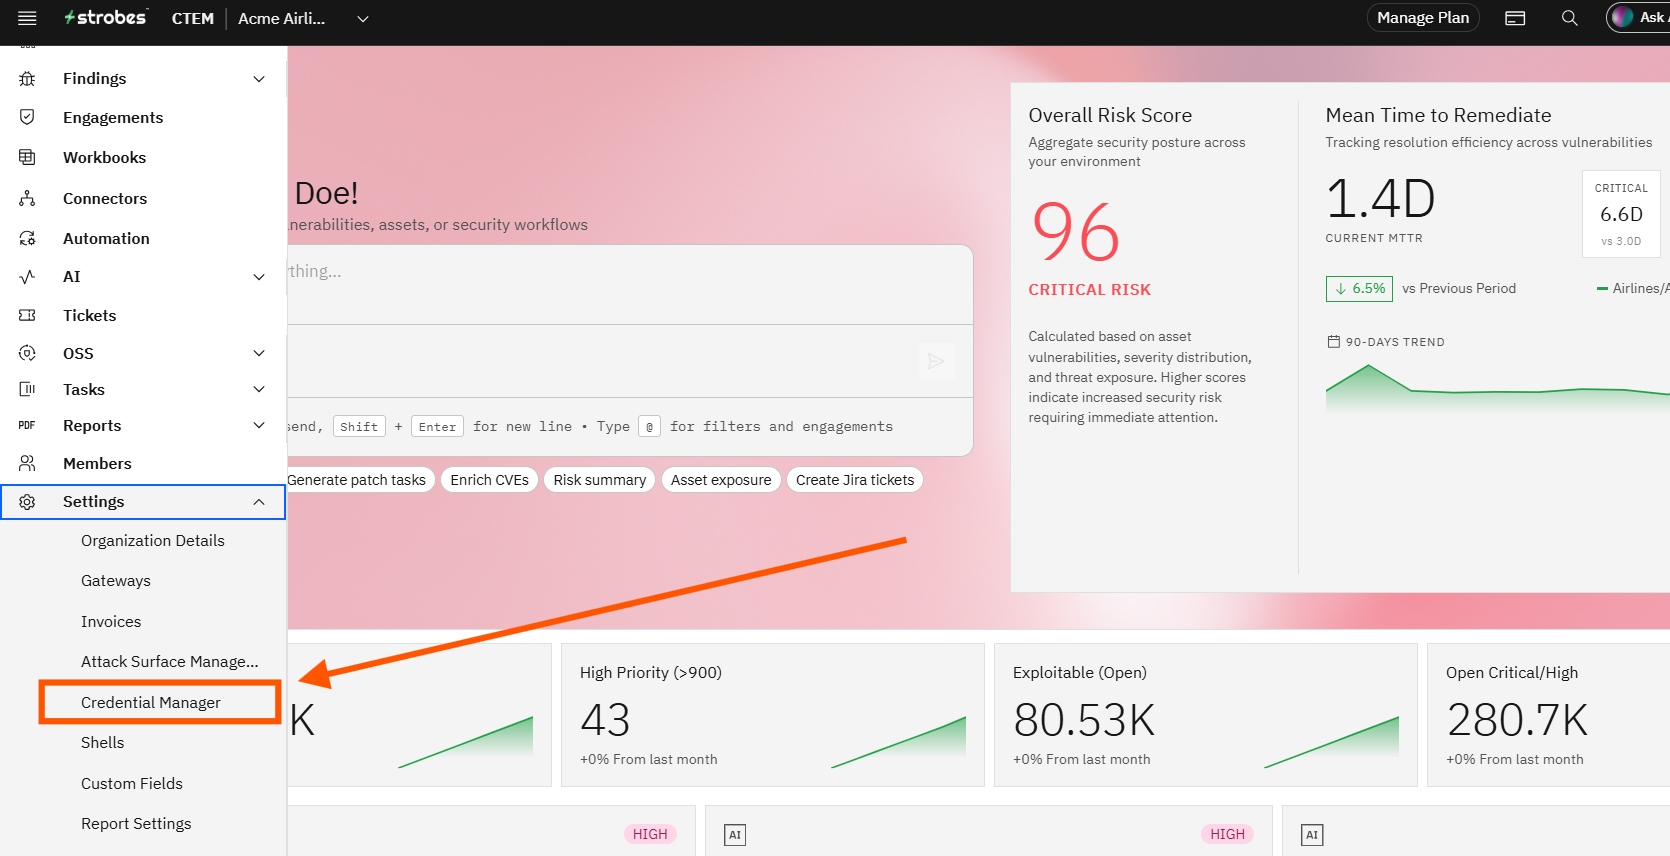
1. Go to Settings from the left-hand navigation panel.
2. Click on Credential Manager.
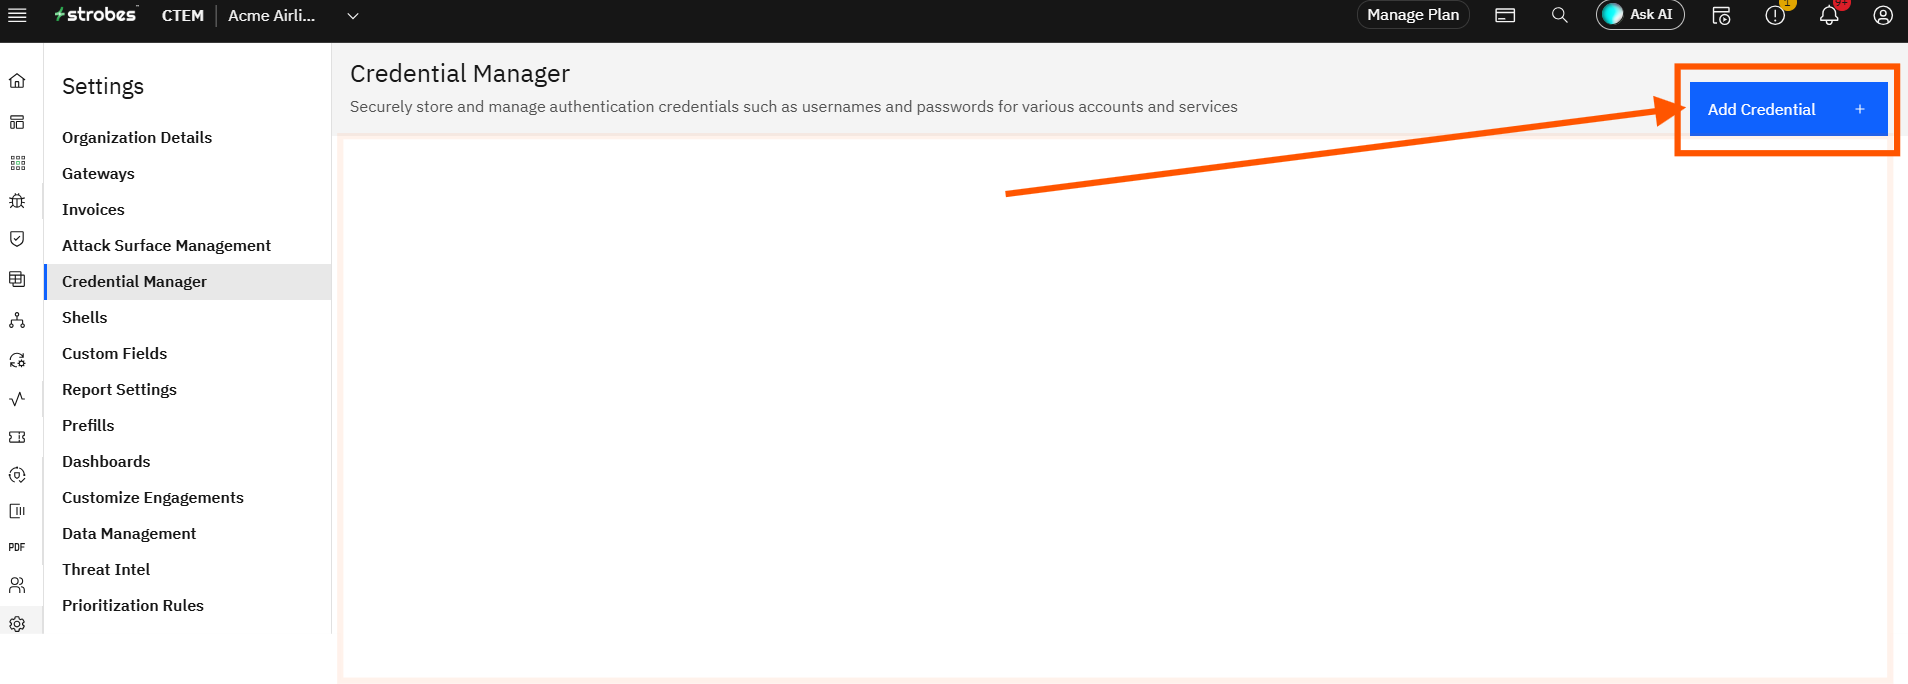
3. Click Add Credential.
4. In the connector dropdown, select GitHub.
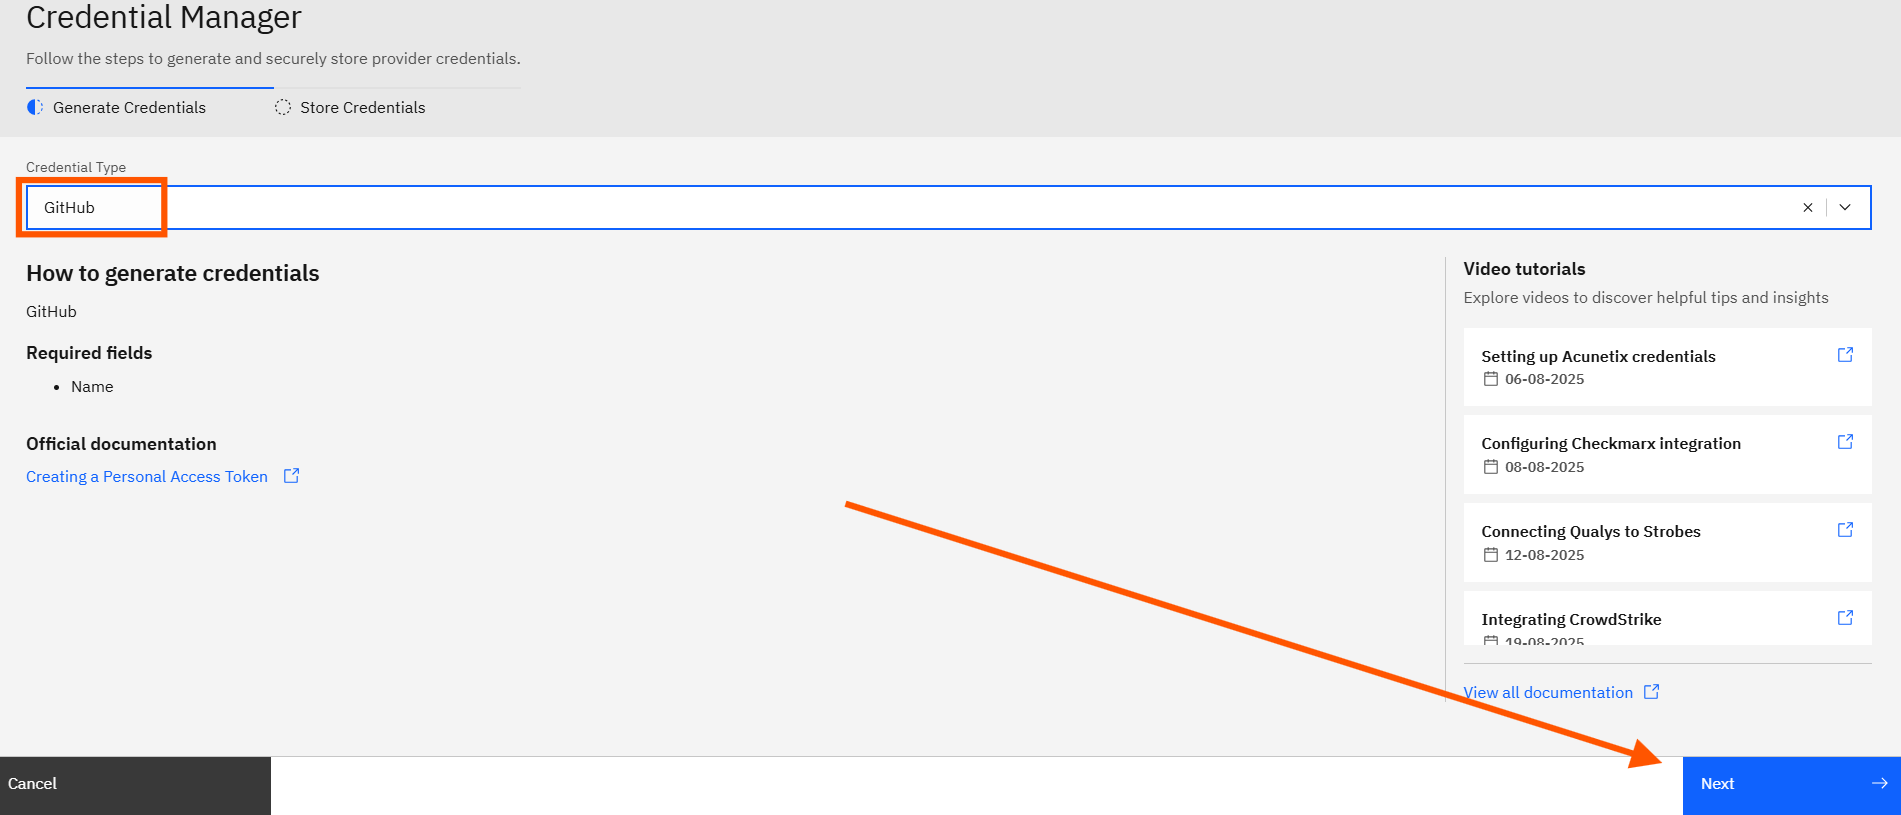
5. Enter the Github credential name for identification and Click on 'Save"

6. A Redirect URL will be automatically generated. Keep this URL handy — you'll need it while creating your OAuth app on GitHub.\
Step 2: Create an OAuth App on GitHub
- Login to your GitHub account.
- Go to Settings → scroll down and click on Developer Settings.
- Click on OAuth Apps and then select New OAuth App.
- Fill in the details as follows:
- Application Name: Choose a name for identification.
- Homepage URL: Enter your Strobes instance URL (e.g., https://test-org.strobes.co).
- Authorization Callback URL: Paste the Redirect URL you copied from Step 1.
- Click on Register Application.
Step 3: Generate Client ID and Client Secret
- After registering the app, GitHub will display your Client ID.
- Click on Generate a new client secret to create your Client Secret.
- Copy both the Client ID and Client Secret.
Step 4: Complete Configuration in Strobes
- Return to Strobes Credential Manager.
- Give your credential configuration a Name.
- Paste the Client ID and Client Secret copied from GitHub.
- Click Save.
Step 5: Grant Access
1. A login window will appear — sign in with your GitHub account.
2. Click Grant to authorize access to your GitHub organization.
3. Confirm by clicking Authorize.
Your GitHub credentials are now successfully configured with Strobes and ready for use.
Check out the video by clicking here