
Configuring Your Git Repo with Strobes
This article explains how to configure your Git repository within the Strobes platform. By integrating your Git repository, Strobes can automate workflows such as issue creation, tracking remediation activities, and syncing code-level vulnerabilities with the source repo.
Where to Find Git Connector in Strobes
- Log in to your Strobes instance.
- In the left navigation menu, click on Connectors.
- Navigate to the Others tab.
- Select Git Connector from the list of available options.
Steps to Configure a Git Repository
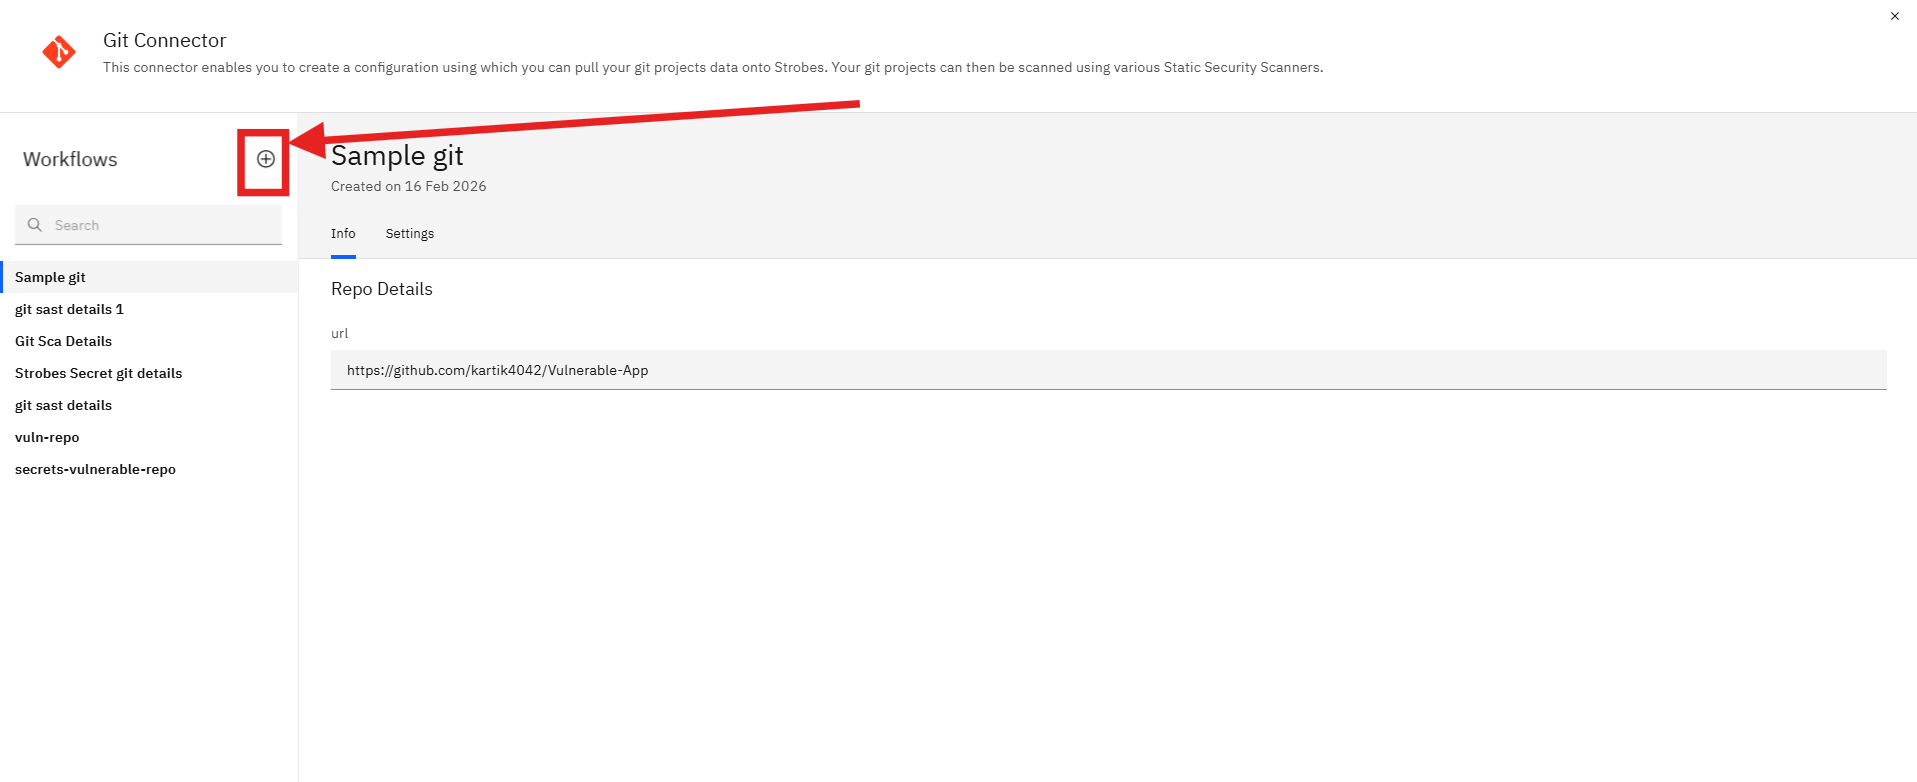
Step 1: Add a New Workflow
- Click on the Add Workflow button located at the top-right corner of the Git Connector page.
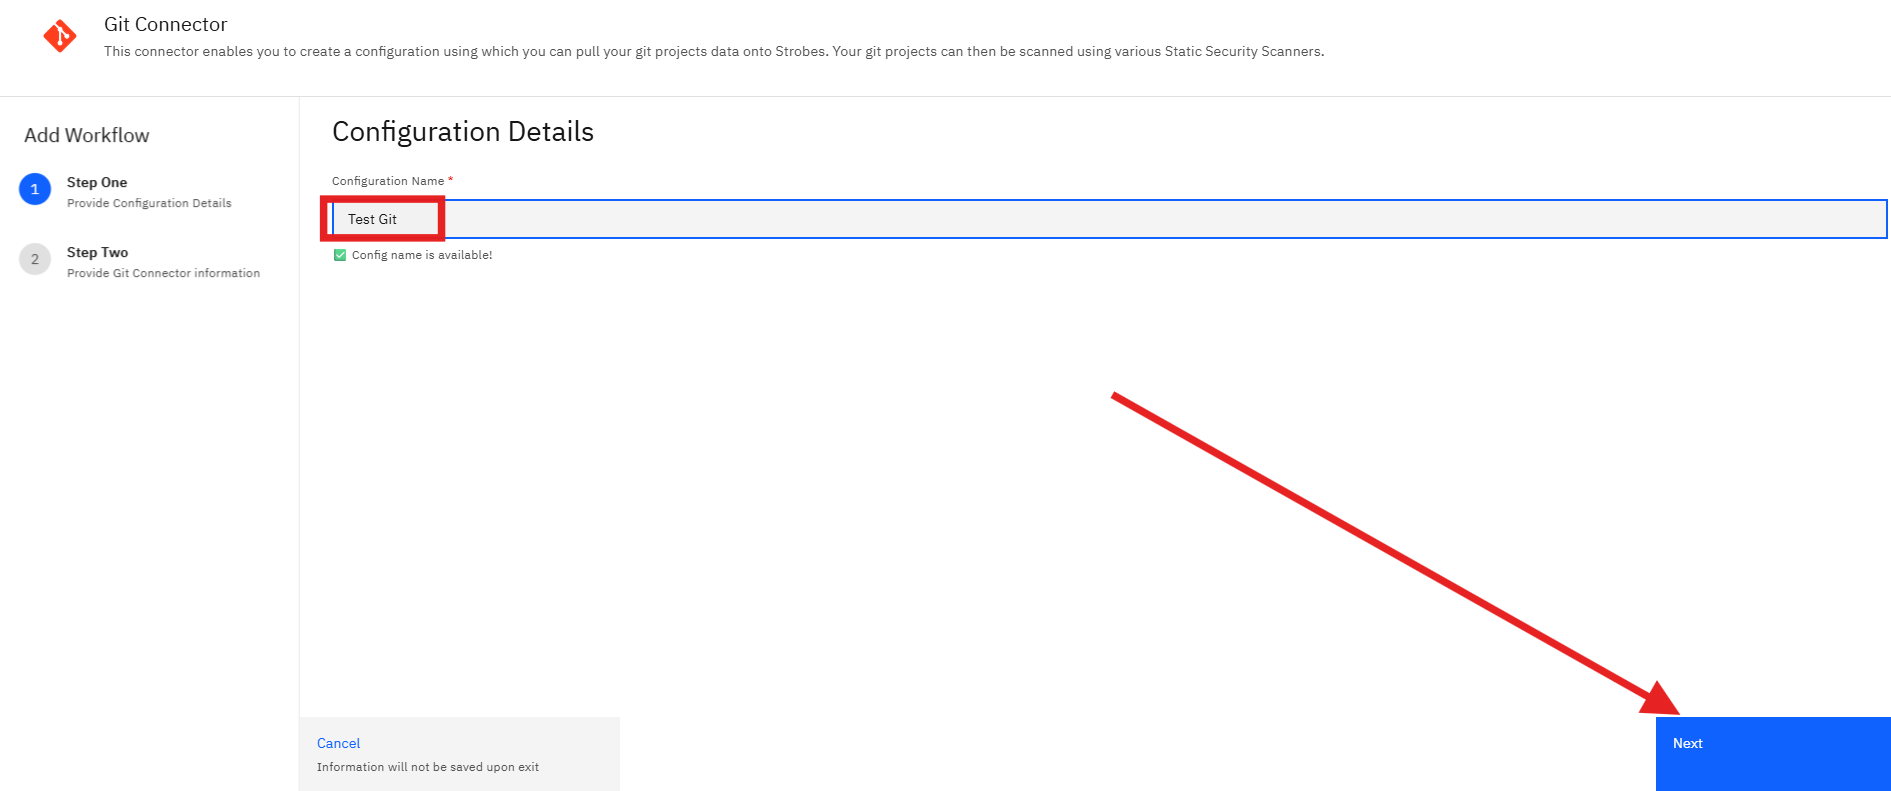
Step 2: Define the Configuration
- Configuration Name: Enter a name that clearly identifies this Git integration (e.g., frontend-repo-integration).
Step 3: Select Repository Type
Depending on whether your Git repository is public or private, follow the instructions below:
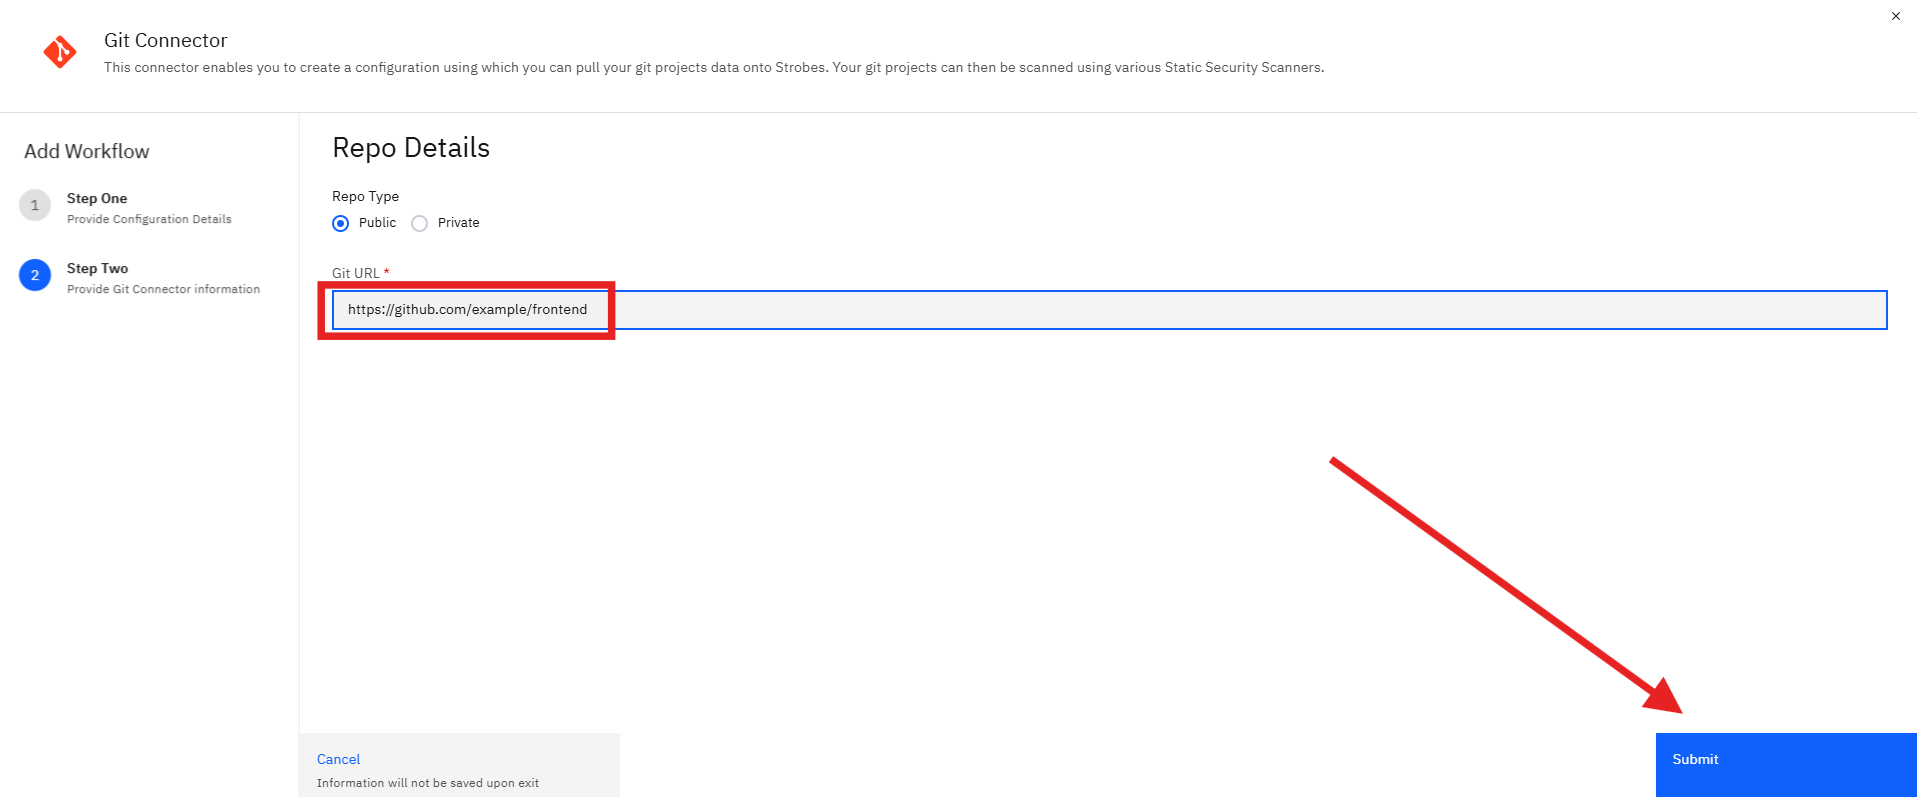
➤ For Public Repositories:
- Select Public as the repository type.
- Paste the Git URL (e.g., https://github.com/example/frontend).
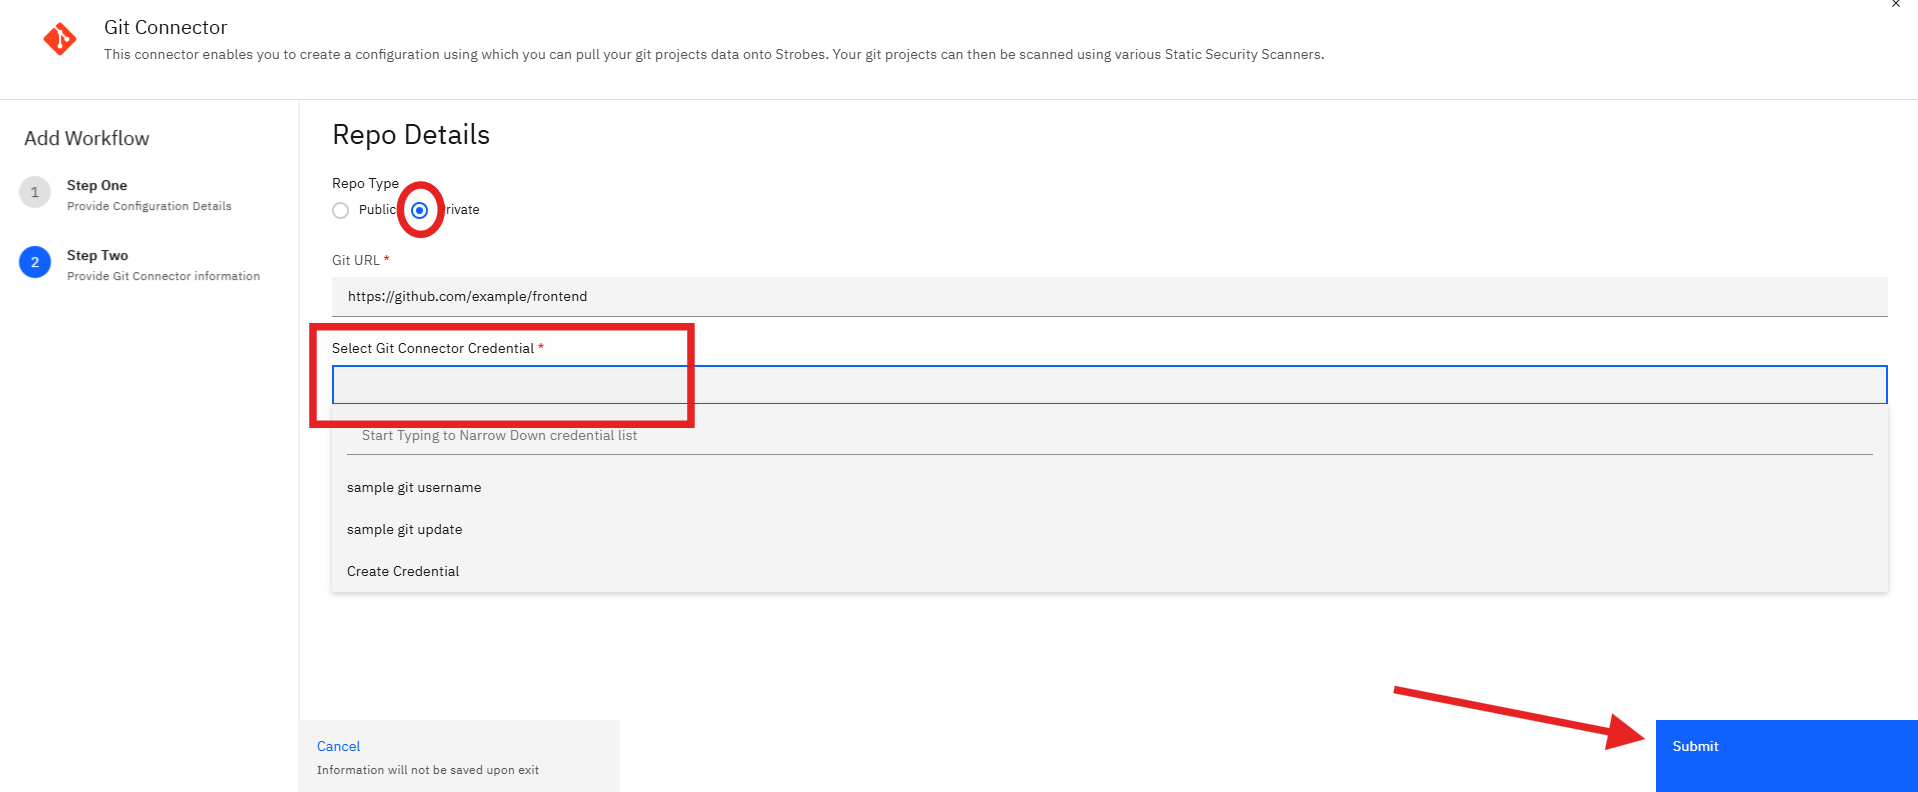
➤ For Private Repositories:
- Select Private as the repository type.
- Paste the Git URL of your private repository.
- Choose the appropriate Git Credential from the dropdown list.
- These credentials must already be configured via the Credential Manager.
- Supported Git providers include GitHub, GitLab, Bitbucket, and others.
Note: The selected Git credentials must have appropriate permissions to access the repository and create issues or pull metadata, based on the workflow you set up.
Step 4: Finalize the Setup
- Click on Submit to save your configuration.
- The new Git integration will appear in your workflow list.

Once configured, Strobes can now link vulnerabilities with Git issues, automate ticket creation, and support traceability in your secure SDLC workflow.
Here is the arcade video, check out