
Running a pentest from a template
This article walks you through the four-step wizard for launching a pentest from a Strobes template. Templates come pre-configured with a defined methodology, testing areas, and compliance mapping, so they're the recommended starting point for most assessments.
Prerequisites
Before running a templated pentest, ensure the following:
- You have an active Strobes account with access to the AI module.
- You have any required credentials for the target already saved under Settings → Credentials (or you're prepared to skip credentials for unauthenticated tests).
- For internal-network templates, you have an online Shell registered under Settings → Shells.
- Your organization has enough AI credits for the assessment (typically a minimum of 200 per run).
Steps to run a templated pentest
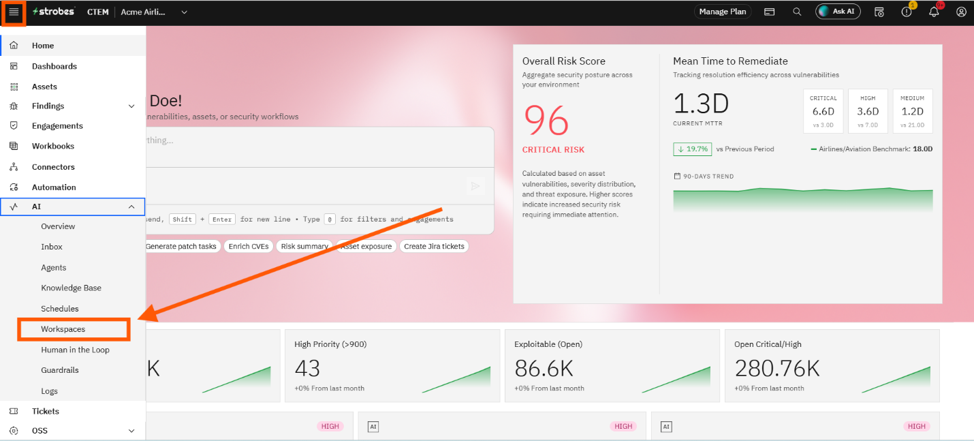
Step 1: Open the Workspaces page
- From the left-hand navigation, open AI → Workspaces.
- The page shows all active and archived workspaces for your organization.
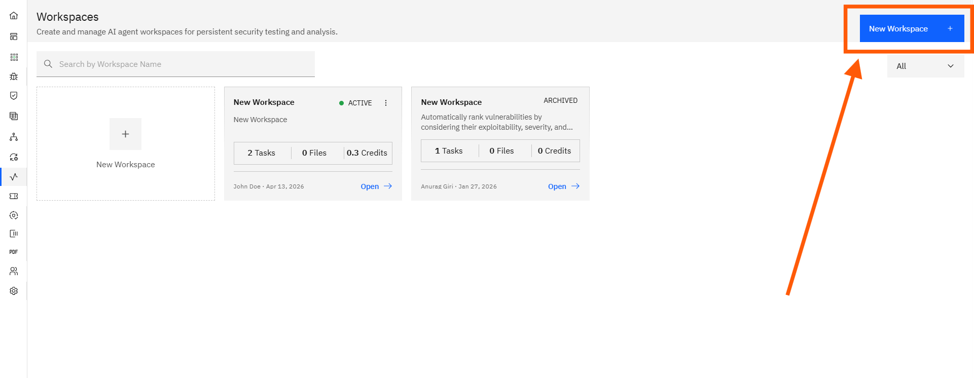
Step 2: Click New Workspace
- Click the New Workspace button at the top right (or the + Create Workspace card if the list is empty).
- This opens the Create Workspace wizard on the Template step.
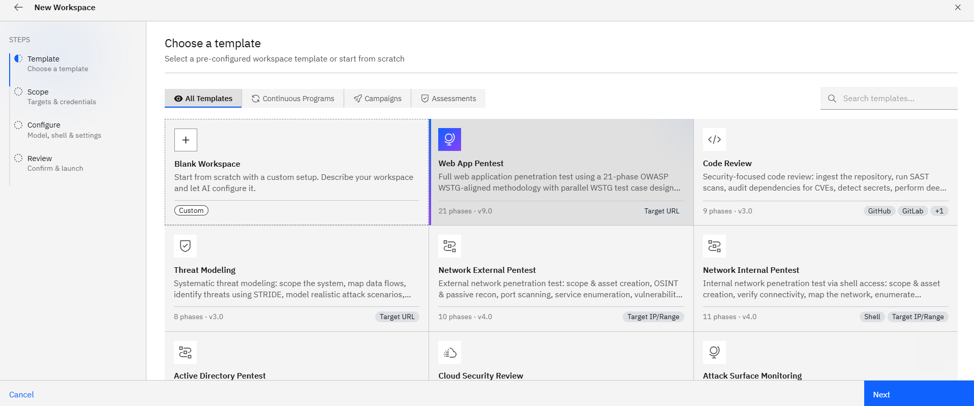
Step 3: Choose a template
- Filter templates by category — All Templates, Continuous Programs, Campaigns, or Assessments.
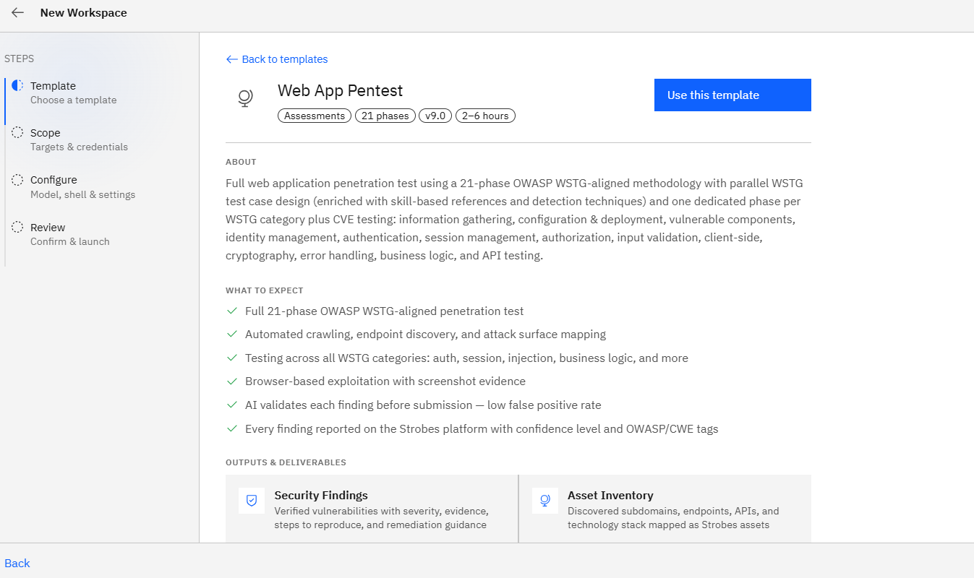
- Click a template card to open its info page, which shows the methodology, testing areas, compliance mapping, and recommended schedule presets.
- Click Use This Template to confirm. To change your mind, click Back to Templates.
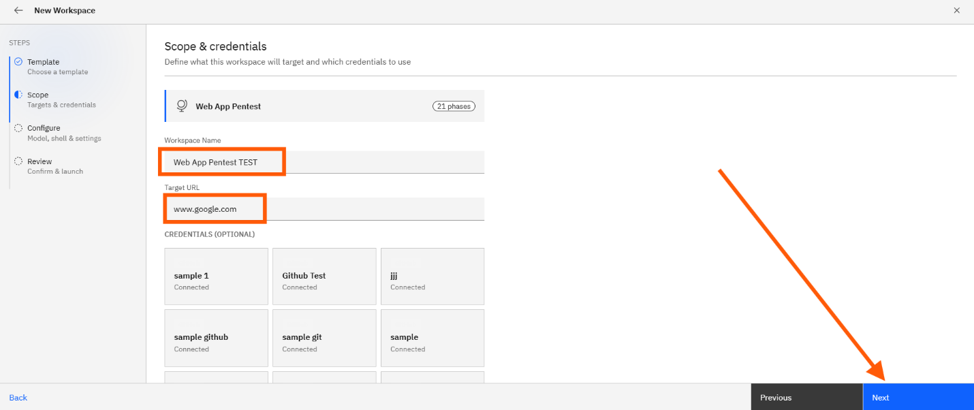
Step 4: Define scope
Fill in the following on the Scope step:
- Workspace Name: Auto-generated from the template; rename to something meaningful like
acme.com — Q2 Web Pentest. - Target: Required. The label changes by template — Target URL for web/API/threat model templates, Target IP / Range for network templates, Repository URL for code review, Cloud Account ID for cloud review.
- Credentials (optional): Pick one or more from the existing credentials in your org.
- Custom Instructions (optional, recommended): Free-form scope notes — out-of-scope paths, login flow hints, specific concerns.
- Workspace Files (optional): Drag-and-drop reference files such as OpenAPI specs, HAR files, Postman collections, scope PDFs, or asset CSVs.
Click Next.
Step 5: Configure runtime
On the Configure step, choose:
- Model: The LLM driving the agent. Standard is the default; use Advanced for complex apps and Lite for cheap demo runs.
- Browser: Cloud Browser (default) or one of your Connected Browsers.
- Shell: Required for Network Internal Pentest and similar templates; skip for everything else.
- Supervisor Mode: Auto (default) runs autonomously; User pauses for your approval before each major step.
- Auto-Remediation: Toggle on to let the agent open follow-up tasks or PRs to fix findings (Code Review templates).
Click Next.

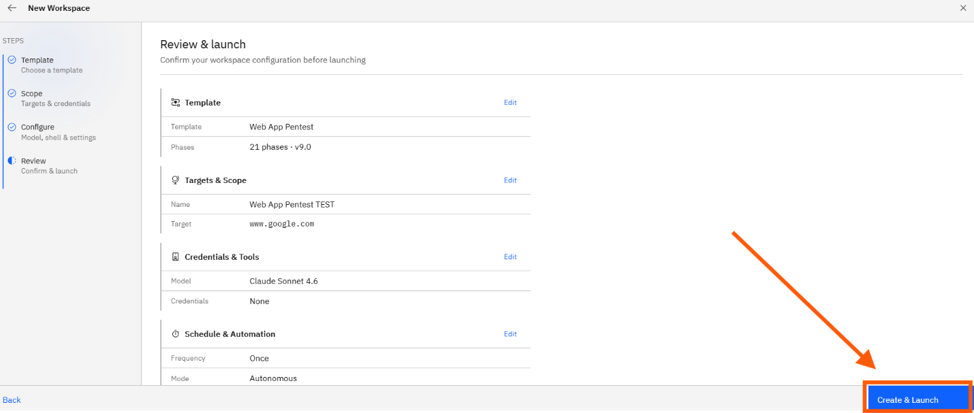
Step 6: Review and launch
- The summary card lists every choice you made. Double-check the target, credentials, and schedule.
- If your AI credits are below the assessment minimum, you'll see a warning here with the option to proceed anyway or top up.
- Click Create & Launch to start the run.
Where Can This Be Used?
The templated pentest flow is the recommended path for:
- First-time pentests on a new asset or environment.
- Recurring assurance programs where you want a consistent methodology over time.
- Compliance-driven assessments that must map to OWASP Top 10, ASVS, PCI DSS, SANS Top 25, etc.
- Standardized reporting that produces comparable executive and technical reports across runs.
Troubleshooting Tips
- If the wizard says you don't have enough AI credits, top up under Settings → Billing → AI Credits or pick a smaller template
- If the Target field is rejected, confirm the format matches the template (e.g., a valid URL for web app testing, a CIDR range for network testing).
- If the agent stalls on a login page, add proper credentials in the Scope step and describe the login flow in Custom Instructions (e.g., "Use the SSO button on the homepage"), then re-launch.