
Jumphost (SSH Shell) || Setup & Configuration
Overview
What is a Jumphost?
A Jumphost (also known as a Jump Server or Bastion Host) is an intermediary SSH server that acts as a gateway between Strobes and your internal network. It lets Strobes reach assets that aren't directly accessible from the internet — internal applications, databases, staging environments, and private infrastructure.
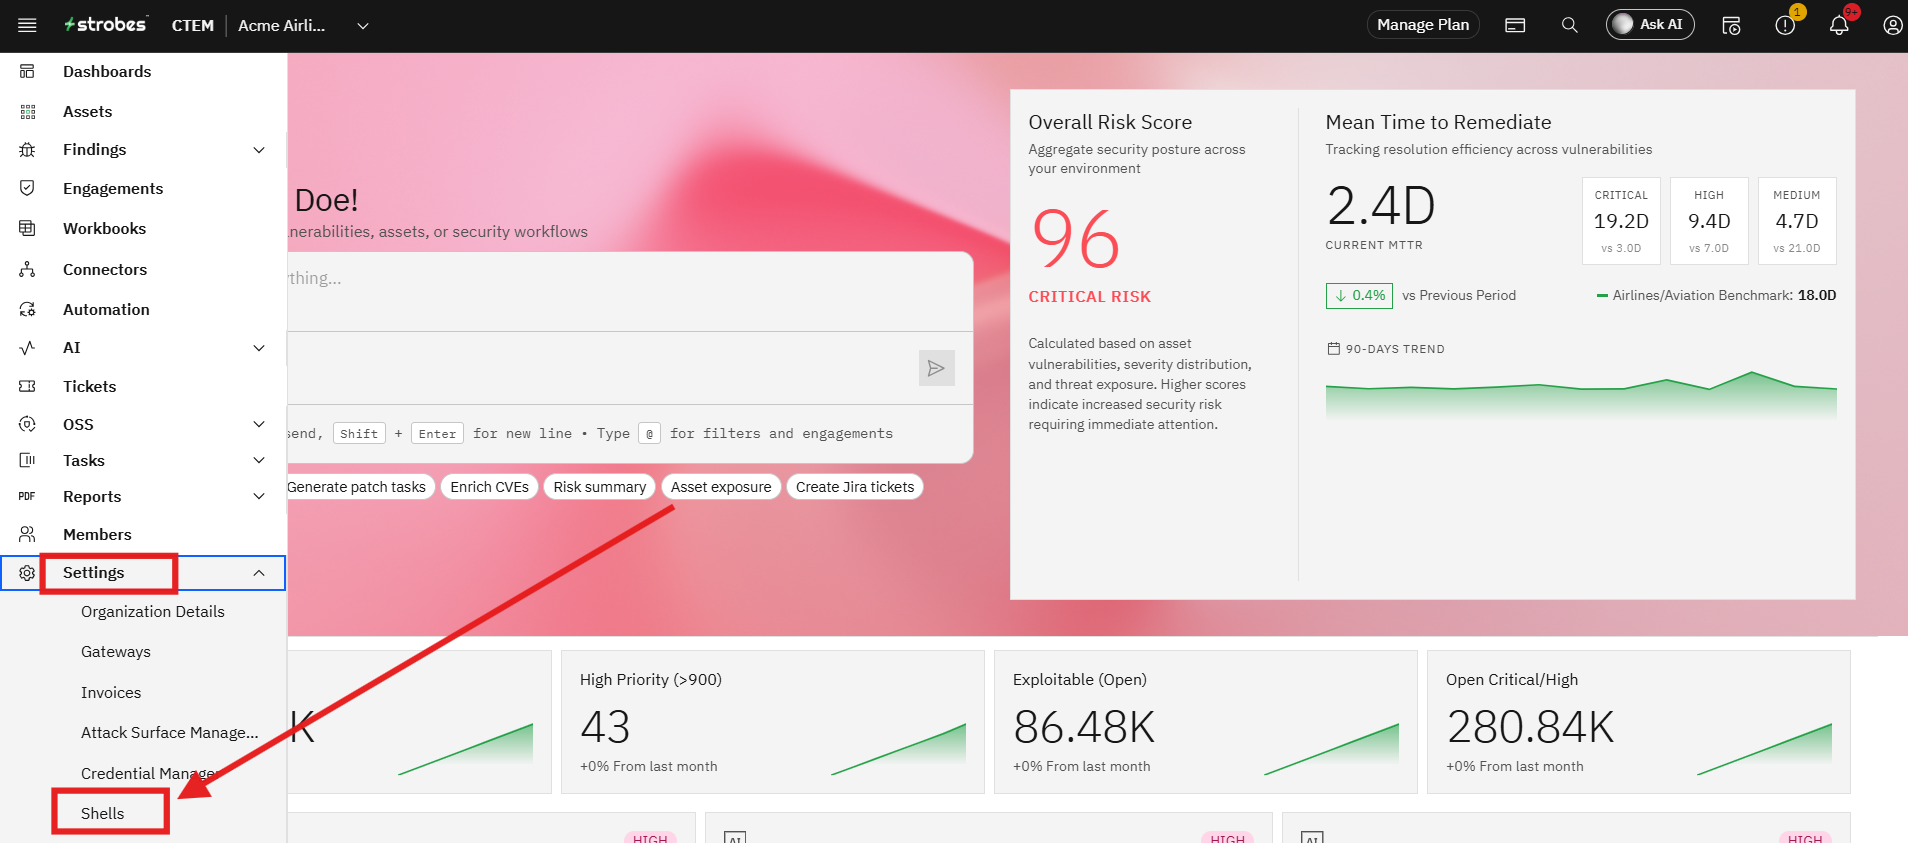
On the Strobes platform, Jumphosts are configured through Settings → Shells in the left navigation menu.
What you can do with a Jumphost
- Run vulnerability scans against internal network assets
- Execute security assessments on non-public-facing systems
- Run custom scripts and code within the internal network
- Conduct internal penetration tests remotely through the Strobes platform
Prerequisites
Access requirements
- An active Strobes account with administrative or settings-level access
- Permission to manage Shells and Credential Manager under Settings
Network requirements
- A dedicated Jumphost server deployed inside your target network
- The Jumphost must be reachable from Strobes — via public IP or VPN
- SSH port (default: 22) must be open and accessible on the Jumphost
- Firewall rules configured to allow inbound SSH connections from Strobes IP ranges
Information you will need
Field | Description | Required |
|---|---|---|
Jumphost Hostname / IP | Public IP or FQDN of the Jumphost. or
| Yes |
SSH Username | Linux/Unix username for SSH login (e.g., | Yes |
SSH Port | Port SSH is running on — default is 22 | Yes |
SSH Private Key or Password | The private key file content or SSH password for authentication | Yes |
Shell Name | A descriptive name to identify this Jumphost in Strobes | Yes |
Description | Optional description of the shell's purpose | No |
Setup
Step 1 — Generate SSH credentials
Before creating a Shell, you need SSH credentials that Strobes will use to authenticate with your Jumphost.
Generate an SSH key pair on your local machine:
For Ed25519 (recommended):
bash
ssh-keygen -t ed25519 -C "pentester@company.com"For RSA:
bash
ssh-keygen -t rsa -b 4096Deploy the public key to the Jumphost:
bash
ssh-copy-id -i ~/.ssh/id_ed25519.pub user@jumphost-ipOr manually append the public key to ~/.ssh/authorized_keys on the Jumphost server.
Note: If key-based authentication isn't available, obtain password-based credentials from your system administrator instead.
Step 2 — Store credentials in Credential Manager
Once your SSH key pair is ready, save it in Strobes so it can be selected when creating a Shell.
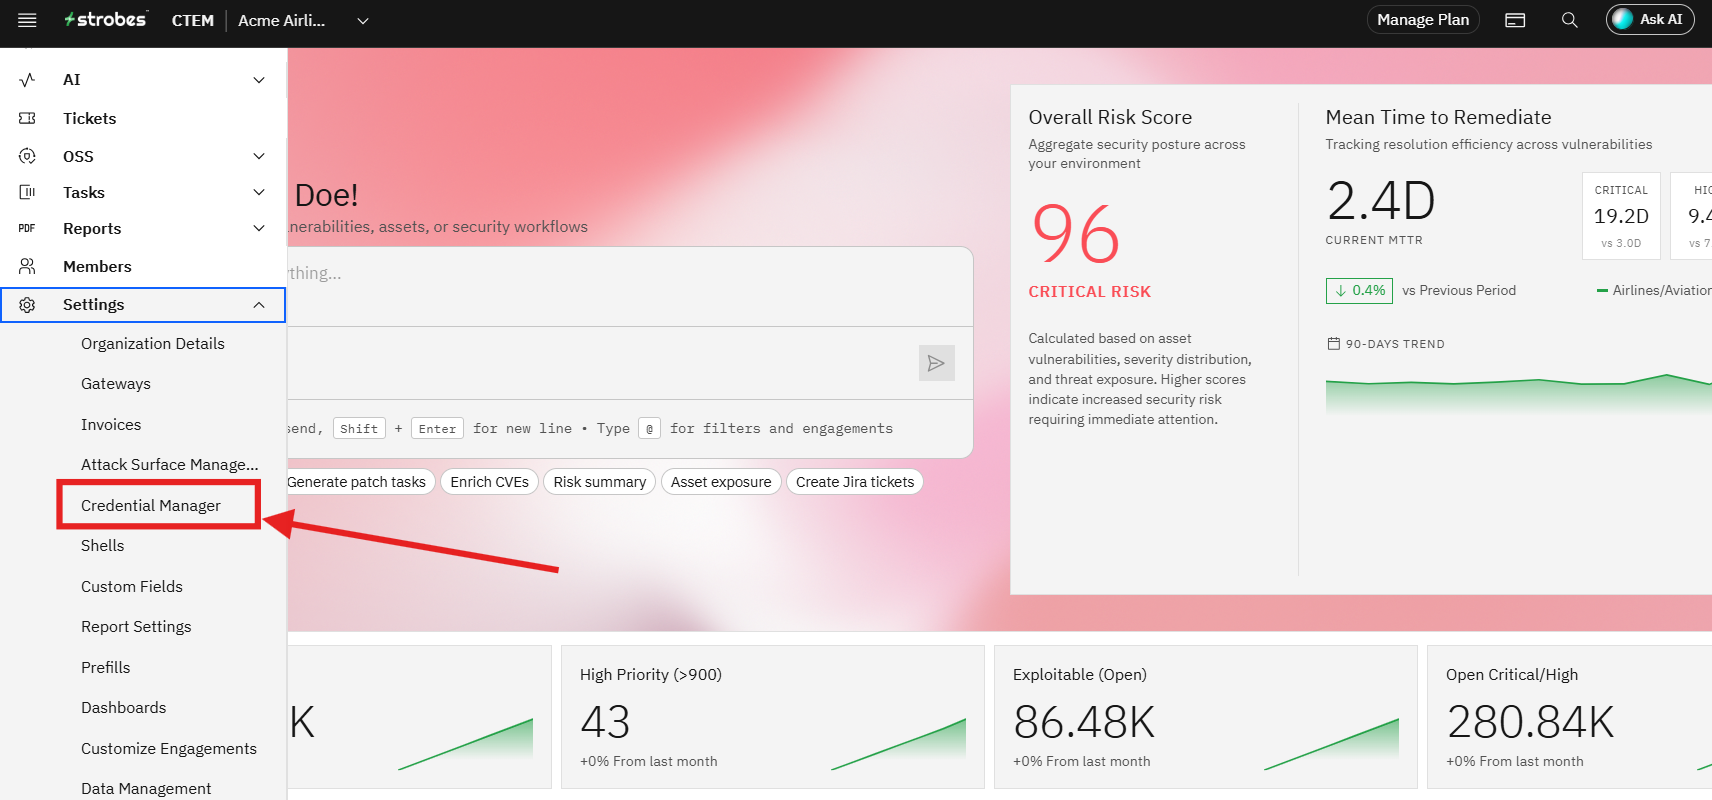
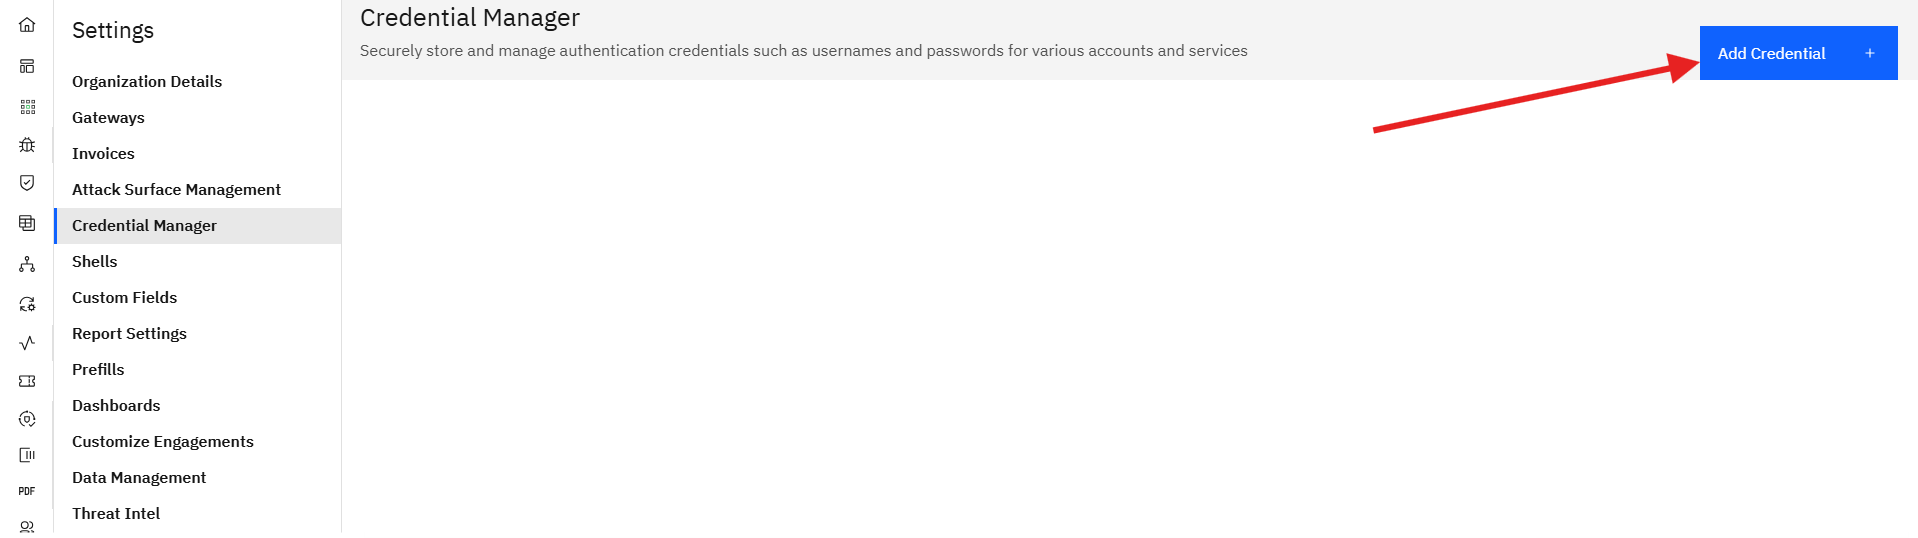
- Go to Settings → Credential Manager.
- Click Add Credential in the top-right corner.
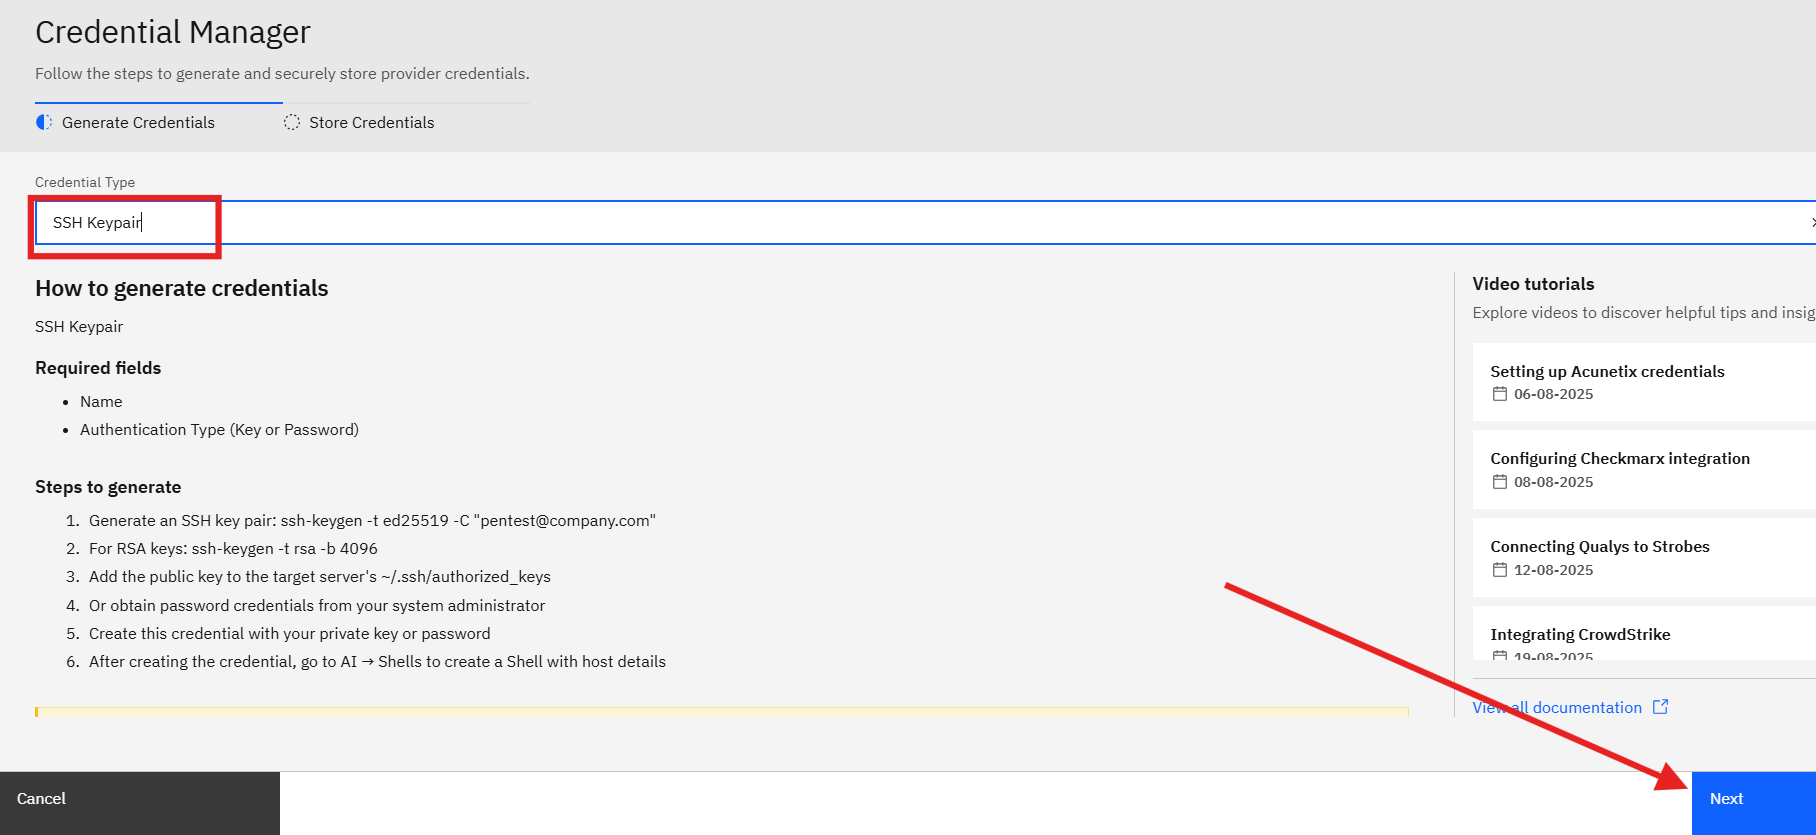
- Set Credential Type to SSH Keypair.
- Fill in the required fields:
- Name — a descriptive label (e.g.,
sshpentest,prod-jumphost-key) - Authentication Type — select Key or Password
- Name — a descriptive label (e.g.,
- If using key-based auth, paste your private key content (PEM format, including headers).
- If using password auth, enter the SSH password.
- Click Next to save.
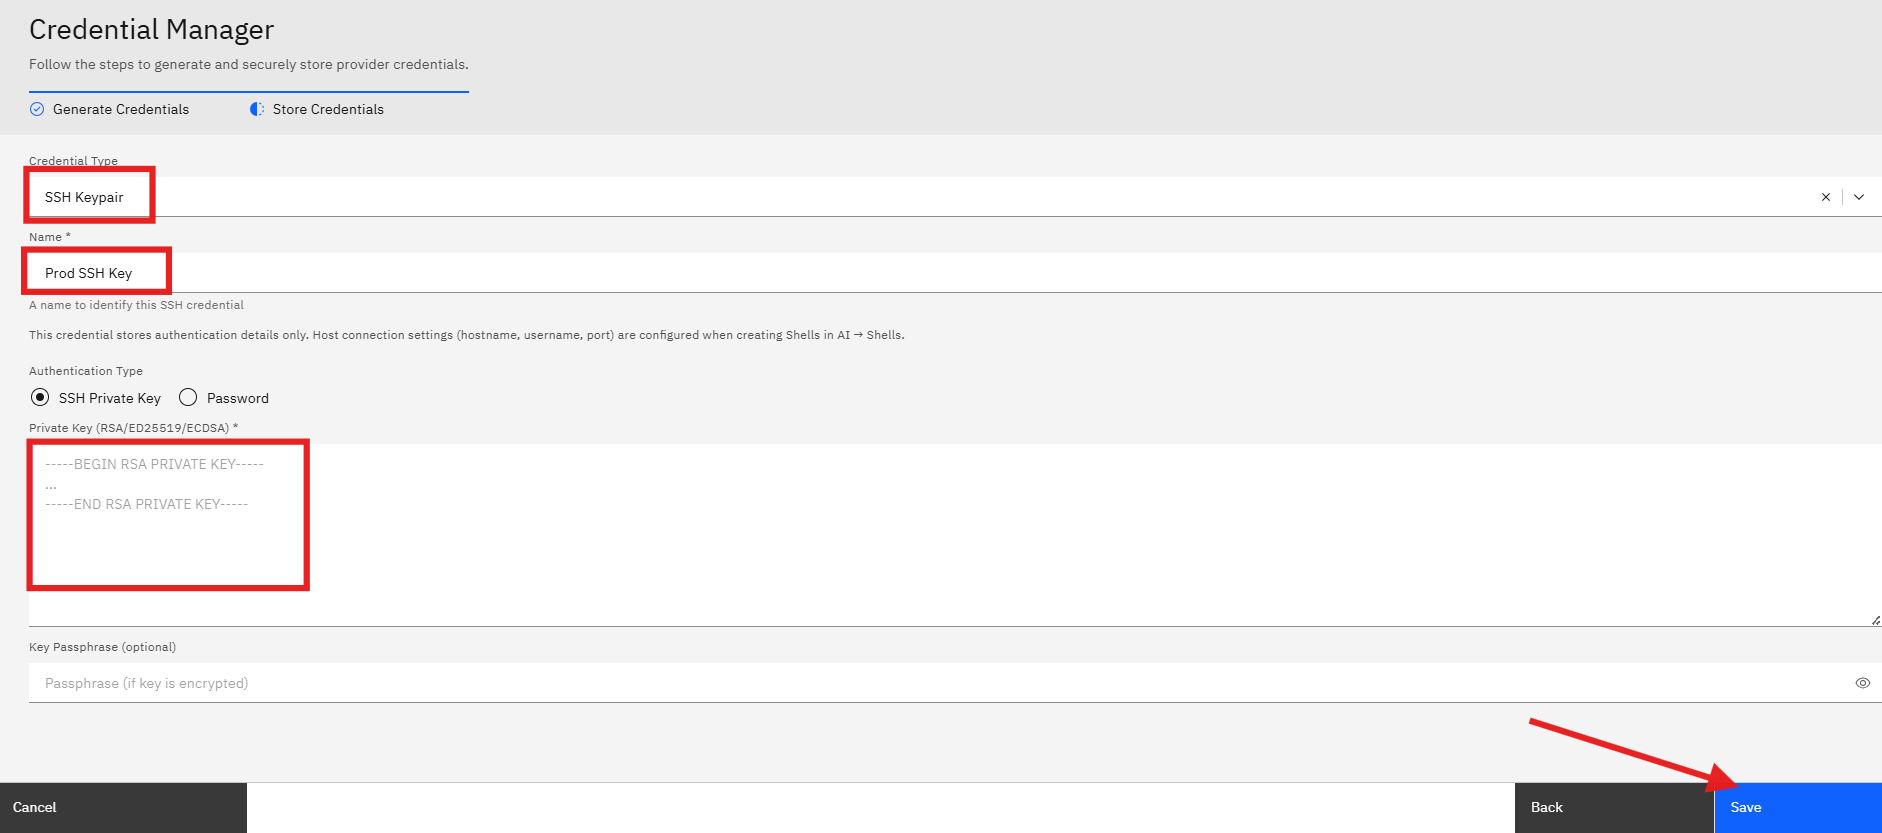
Important: The Credential Manager stores authentication data only — private key or password. The hostname, username, and port are configured separately when you create the Shell.
Step 3 — Create a Shell (Jumphost)
With credentials stored, you can now configure the Shell connection.
- Go to Settings → Shells.
- Click Create Shell in the top-right corner.
- Fill in the following fields:
Field | Description | Required |
|---|---|---|
Shell Name | Descriptive identifier (e.g., | Yes |
Description | Purpose of this shell (e.g., "Internal network pentest gateway") | No |
Hostname / IP Address | Public IP or FQDN of the Jumphost | Yes |
SSH Username | Username for SSH login on the Jumphost | Yes |
SSH Port | SSH port number — default is 22 | Yes |
SSH Credential | Select the credential you saved in Step 2 | Yes |
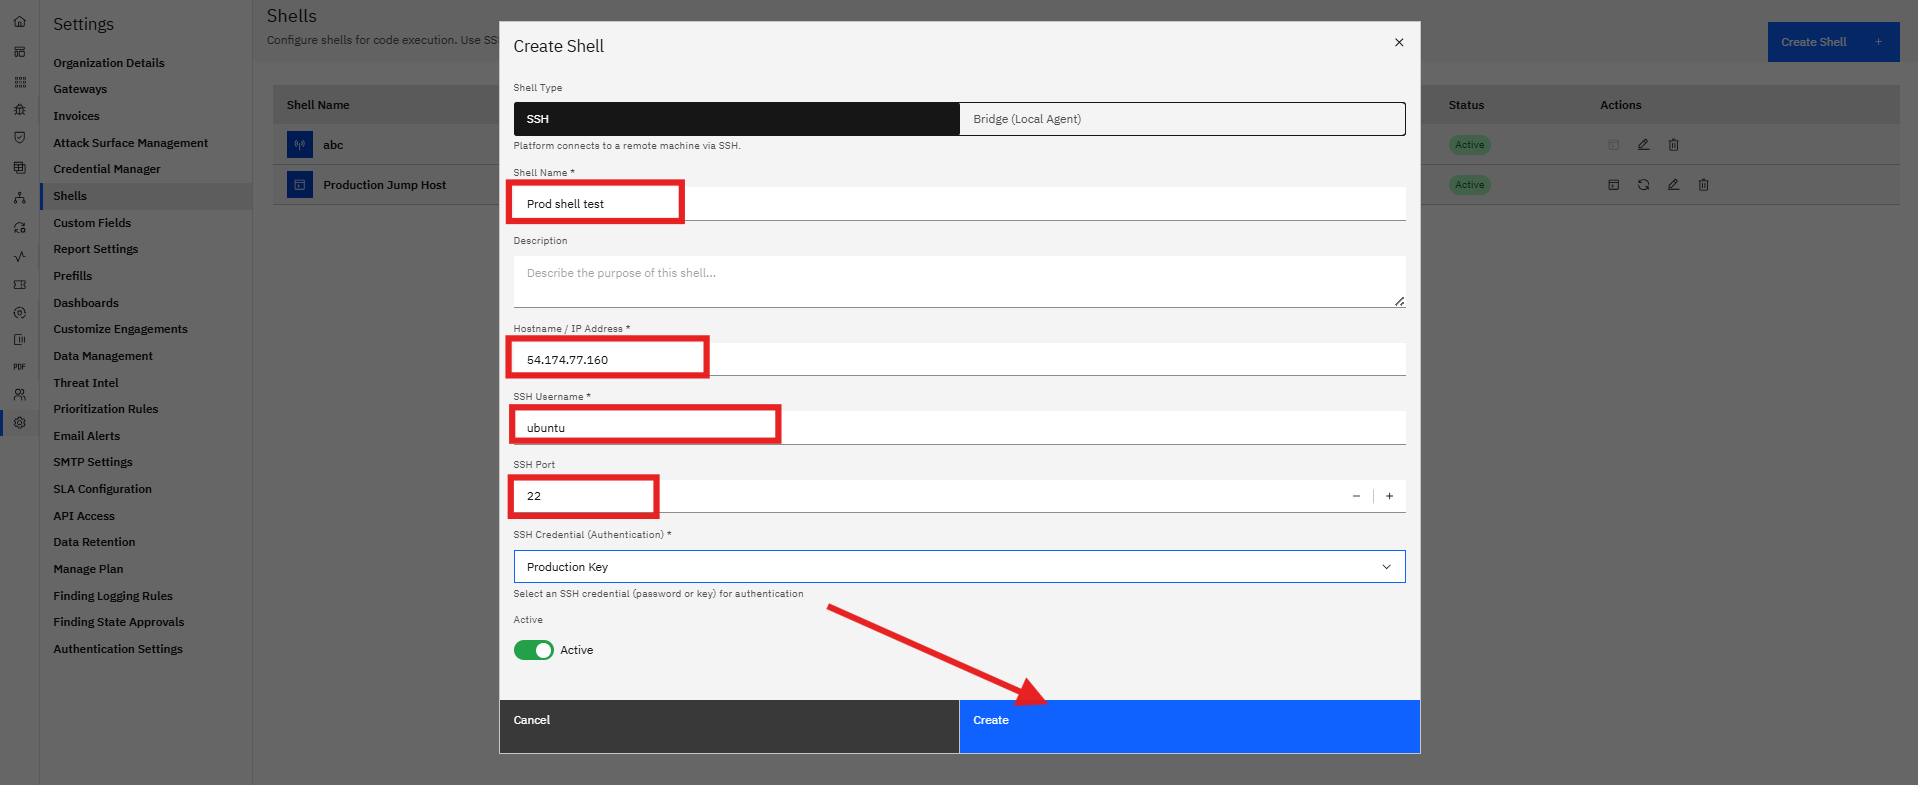
- Click Create to save the Shell.
Step 4 — Verify the connection
After saving, Strobes automatically runs pre-checks to validate the SSH connection. Go to Settings → Shells to check the status.
Status | Indicator | Meaning |
|---|---|---|
Active | Green badge | Shell is connected and ready for internal network testing |
Failed | Red badge | Connection failed — check credentials, firewall rules, or SSH config |
Not Checked | Grey badge | Pre-checks haven't run yet — trigger one manually |
SY Passed | Blue/Green badge | Syntactic and connectivity pre-checks passed |
ST Passed | Green badge | Full status check passed — shell is verified and ready |
Each shell row also shows: Shell Name, Host (user@host), linked Credential, Pre-Check results, current Status, and available Actions.
Managing Shells
From the Shells listing page you can perform the following actions on any configured Jumphost:
Action | What it does |
|---|---|
Edit | Modify the shell's name, hostname, credentials, or port |
Duplicate | Create a copy of an existing shell with a new name |
Delete | Permanently remove the shell configuration |
Re-check | Manually trigger pre-checks to re-validate the connection |
To edit a shell, click the edit icon in the Actions column. All current values will be pre-populated. Make your changes and click Update.
Troubleshooting
Shell status shows "Failed".
- Verify the Jumphost IP or hostname is correct and reachable from the internet
- Confirm port 22 (or your custom SSH port) is open in firewall rules
- Check that the SSH username is valid on the target server
- Verify the credential in Credential Manager has the correct private key or password
- Ensure the public key is properly added to
~/.ssh/authorized_keys - Confirm the SSH service (
sshd) is running on the Jumphost
Shell status shows "Not Checked".
- Click the Re-check action to manually trigger pre-checks
- Wait for the platform to finish the connectivity validation
Authentication errors.
- Confirm the credential type matches your auth method (Key vs. Password)
- For key-based auth, verify the private key is in PEM format, including the header and footer lines
- Confirm the key pair matches — the public key on the server must correspond to the private key stored in Strobes
- Check file permissions on the server:
~/.sshshould be700andauthorized_keysshould be600
Network connectivity issues.
- Verify the Jumphost has a public IP or is reachable via VPN
- Check that security groups or firewall rules allow traffic from Strobes IP ranges
- Ensure no intermediate proxies or NAT configurations are blocking SSH traffic
Security Best Practices
- Use SSH key-based authentication — Ed25519 or RSA-4096 key pairs are strongly preferred over passwords
- Restrict Jumphost access — limit inbound SSH to Strobes platform IP addresses only, using firewall rules or security groups
- Use a dedicated pentest account — create a separate user on the Jumphost for Strobes; avoid using
root - Rotate credentials regularly — periodically regenerate SSH keys and update the corresponding credential in Strobes Credential Manager
- Monitor Jumphost activity — enable SSH session logging to audit all commands executed through Strobes
- Use a non-standard SSH port — reduces exposure to automated internet scanners
- Disable password authentication on the server — once key-based auth is working, set
PasswordAuthentication noinsshd_config - Limit the Jumphost's internal reach — configure the Jumphost to only access the specific subnets needed for the current pentest scope
Related Articles
- 01 — Strobes Agent Shell: Install & Pair
- 03 — Reaching On-Prem Targets from Strobes SaaS
- 04 — Shell + Bridge Security Model