
Report Templates
Overview
Strobes has a set of ready-to-use default report templates covering the most common security report types. If none of them fit your format, branding, or content requirements, you can create a custom template from scratch using the Template Editor, choosing exactly which sections to include, how they're laid out, and which dynamic data fields they pull from.
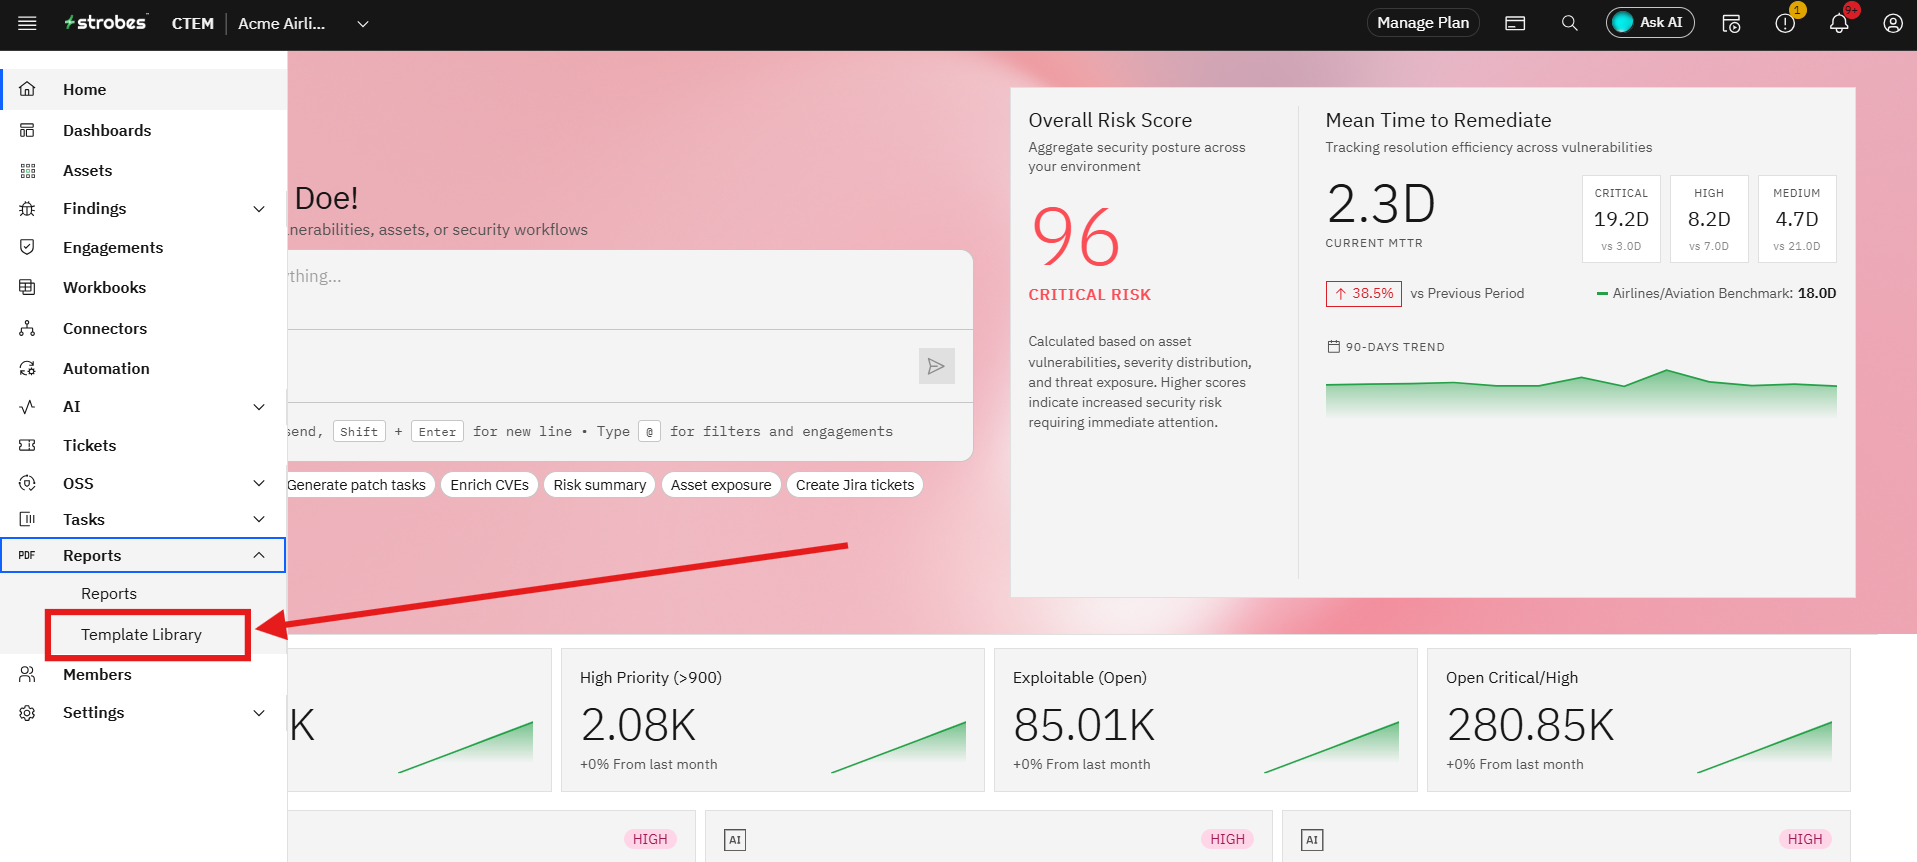
Templates are managed under Reports → Template Library.
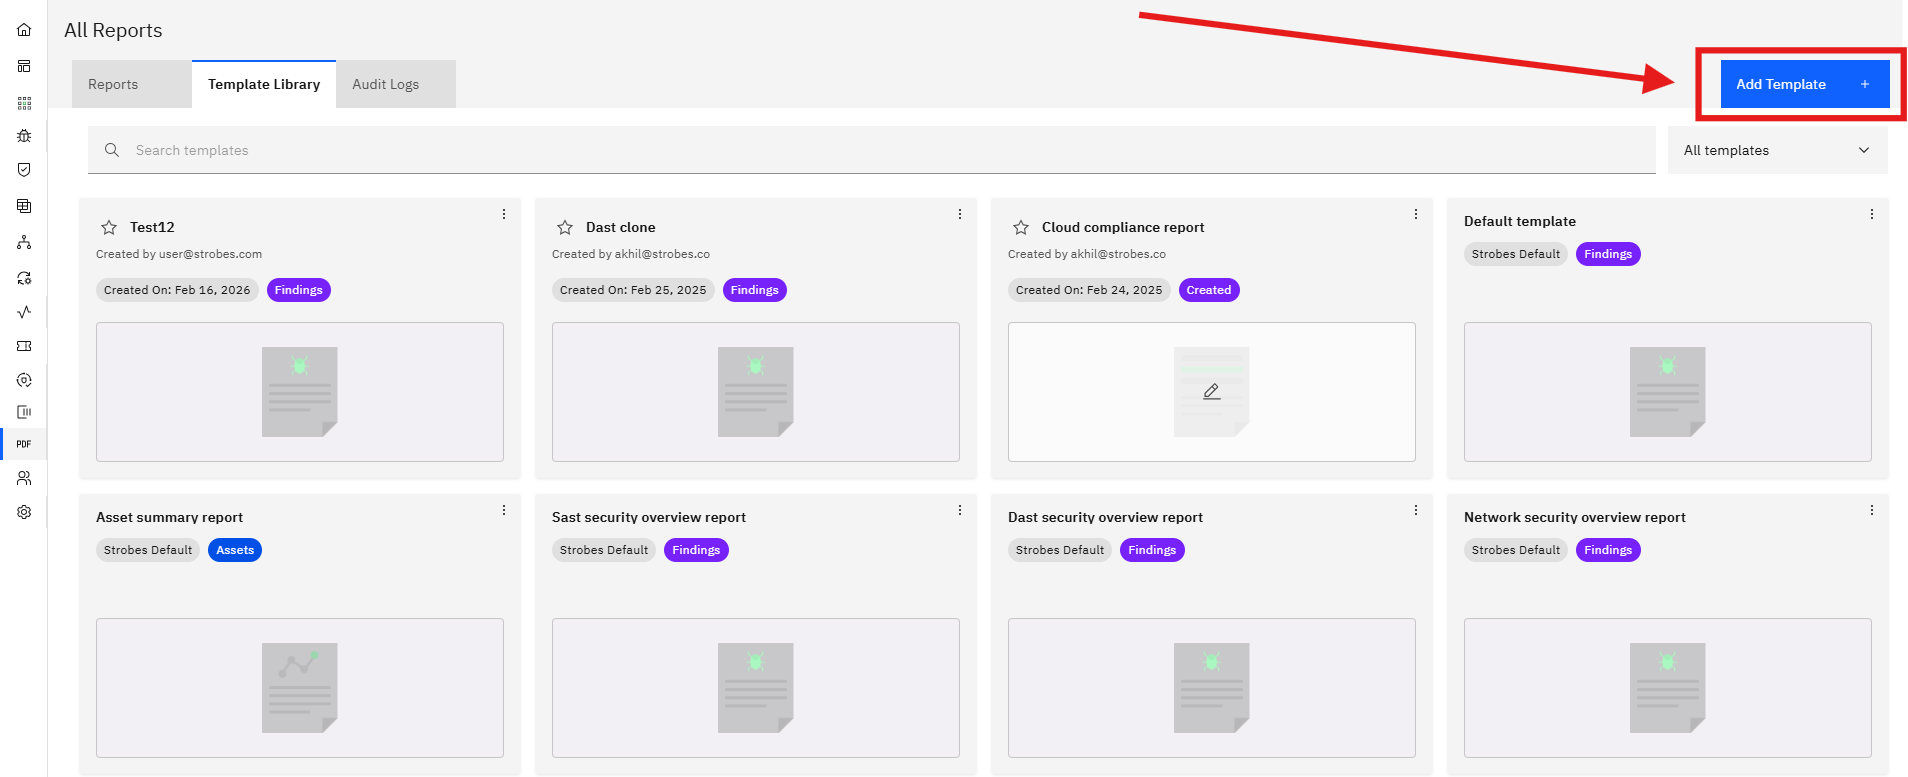
Default Templates

When you open the Template Library you'll see a grid of cards. All templates tagged Strobes Default are built-in and available to every organization. The defaults cover:
- Default template >> general-purpose findings report
- Asset summary report >> asset-focused overview
- SAST security overview report >> static analysis findings
- DAST security overview report >> dynamic analysis findings
- Network security overview report >> network-layer findings
- Cloud security overview report >> cloud environment findings
- Container security overview report >> container and image findings
- Executive summary report >> high-level summary for leadership
Each section shows the template name, who created it, the creation date, and a type badge (e.g., Findings, Assets).
If one of these templates suits your needs, you can use it directly when generating a report ie.. no setup needed. If you want a customised layout, follow the steps below to build your own.
Creating a New Template
Step 1: Open Template Library
- Go to Reports in the left sidebar.
- Click the Template Library tab.
Step 2: Start a New Template
Click Add Template in the top-right corner. This opens a blank Template Editor with an empty canvas and the Fields panel open on the left.
Step 3: Understand the Editor

The editor has three sections:
Left panel switches between two tabs:
- Fields — all dynamic data variables you can insert into the template
- Blocks — pre-built content sections ready to drop into the canvas
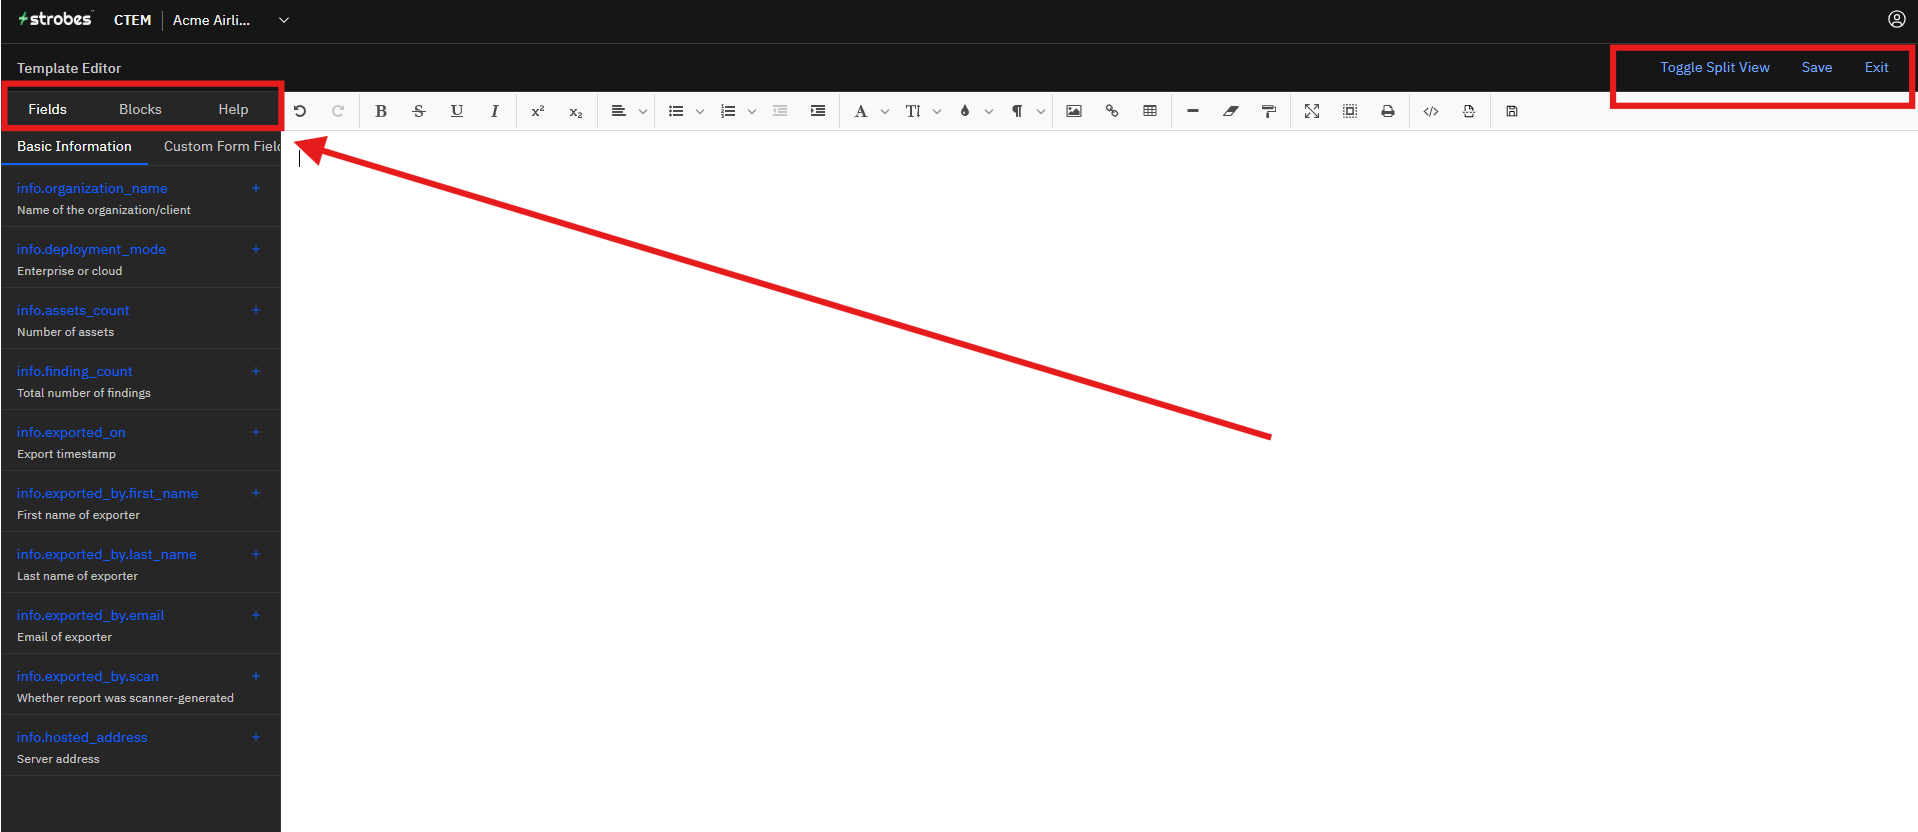
Canvas — the main editing area where your template is built. Click anywhere to start typing or insert content.
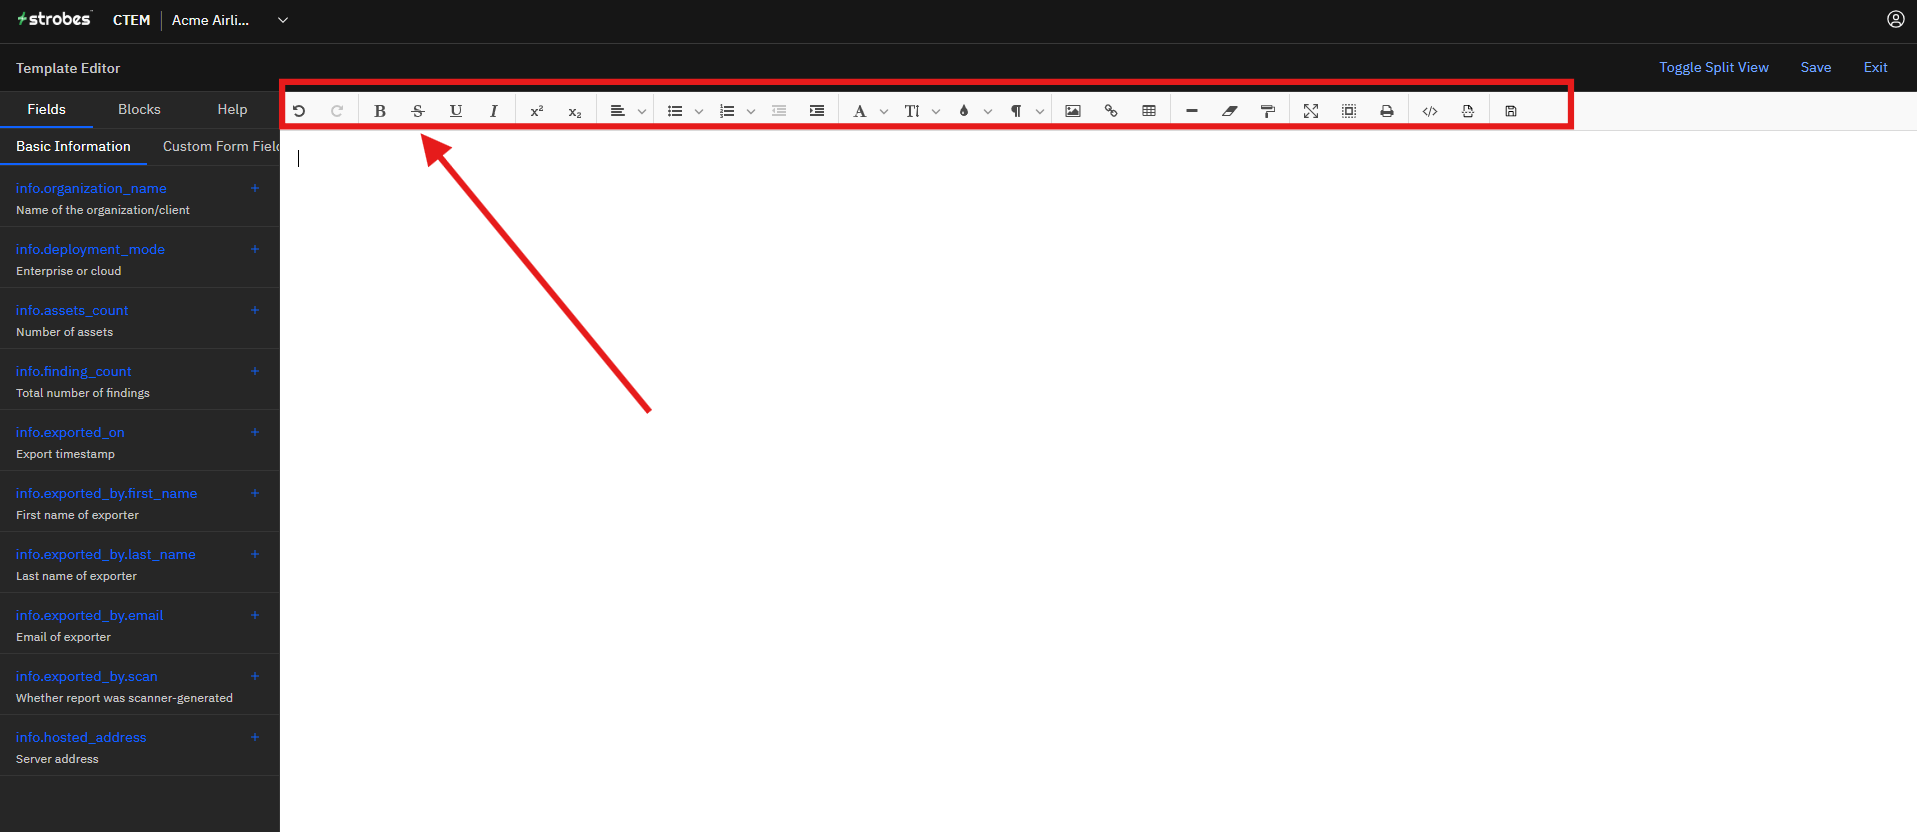
Toolbar — a full rich text formatting bar at the top (bold, italic, alignment, lists, tables, images, links, code, and more).
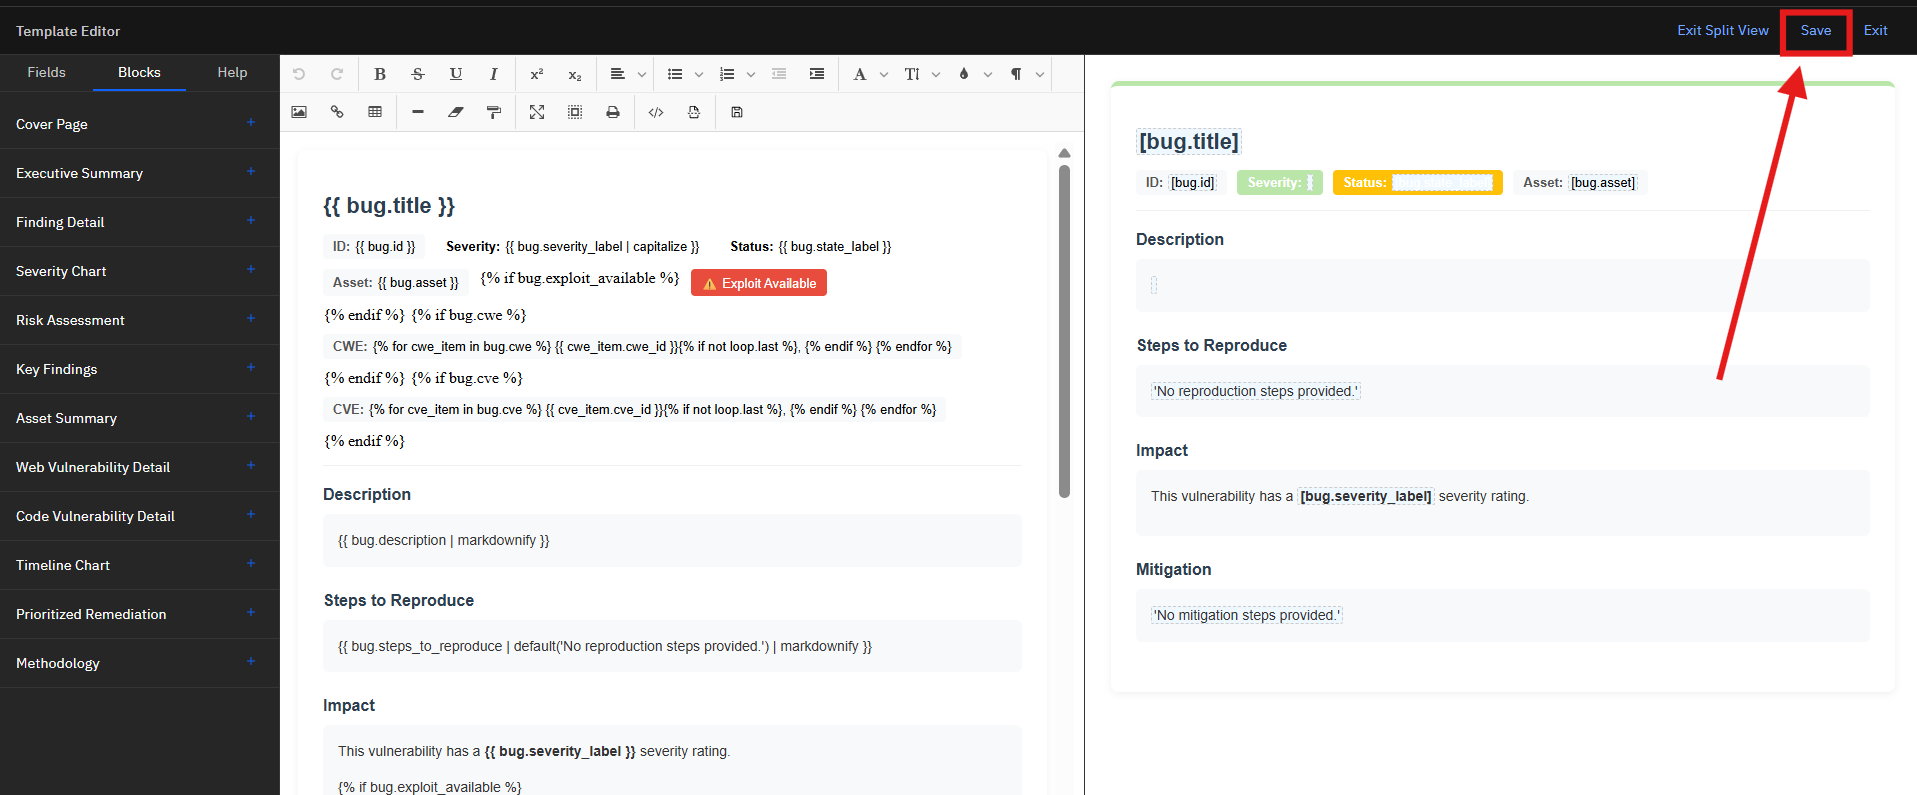
Top-right controls:
- Toggle Split View — shows the editor and live preview side by side
- Save — saves your template
- Exit — returns to Template Library

Step 4: Insert Dynamic Fields
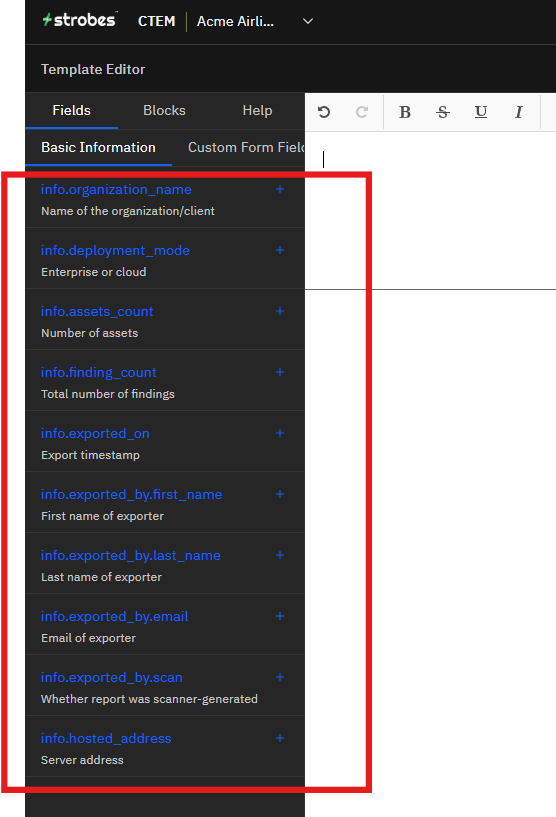
The Fields tab lists all the variables Strobes can inject when a report is generated. Click the + next to any field to insert it at your cursor position in the canvas. The available fields under Basic Information are:
Field | What it inserts |
|---|---|
| Name of the organization/client |
| Enterprise or cloud |
| Number of assets |
| Total number of findings |
| Export timestamp |
| First name of the person who generated the report |
| Last name of the exporter |
| Email of the exporter |
| Whether the report was scanner-generated |
| Server address |
The Custom Form Fields sub-tab shows any additional fields your organization has defined.
Step 5: Add Pre-Built Blocks
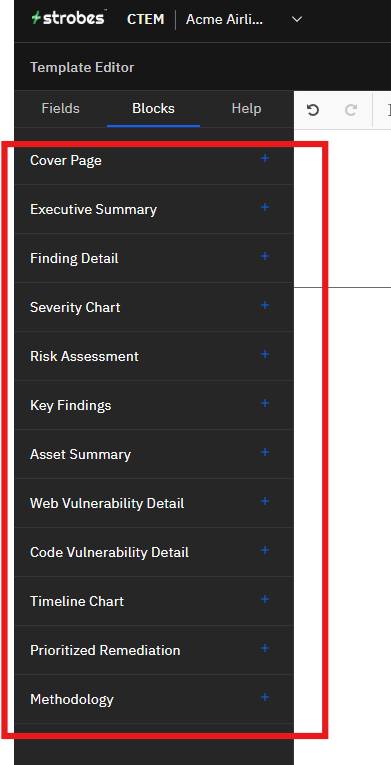
Switch to the Blocks tab to access pre-built content sections. Click the + next to any block to insert it into the canvas. Available blocks are:
- Cover Page — inserts a fully formatted title page
- Executive Summary — high-level summary section
- Finding Detail — per-finding detail loop (title, severity, status, description, steps to reproduce, impact)
- Severity Chart — visual breakdown of findings by severity (Critical / High / Medium / Low / Info)
- Risk Assessment — risk scoring section
- Key Findings — highlights the most critical findings
- Asset Summary — summary of scanned assets
- Web Vulnerability Detail — web-specific finding details
- Code Vulnerability Detail — code-level finding details
- Timeline Chart — findings over time
- Prioritized Remediation — ordered remediation recommendations
- Methodology — description of the testing methodology used
You can add multiple blocks and rearrange them to match your preferred report structure.
Step 6: Cover Page Block in Detail
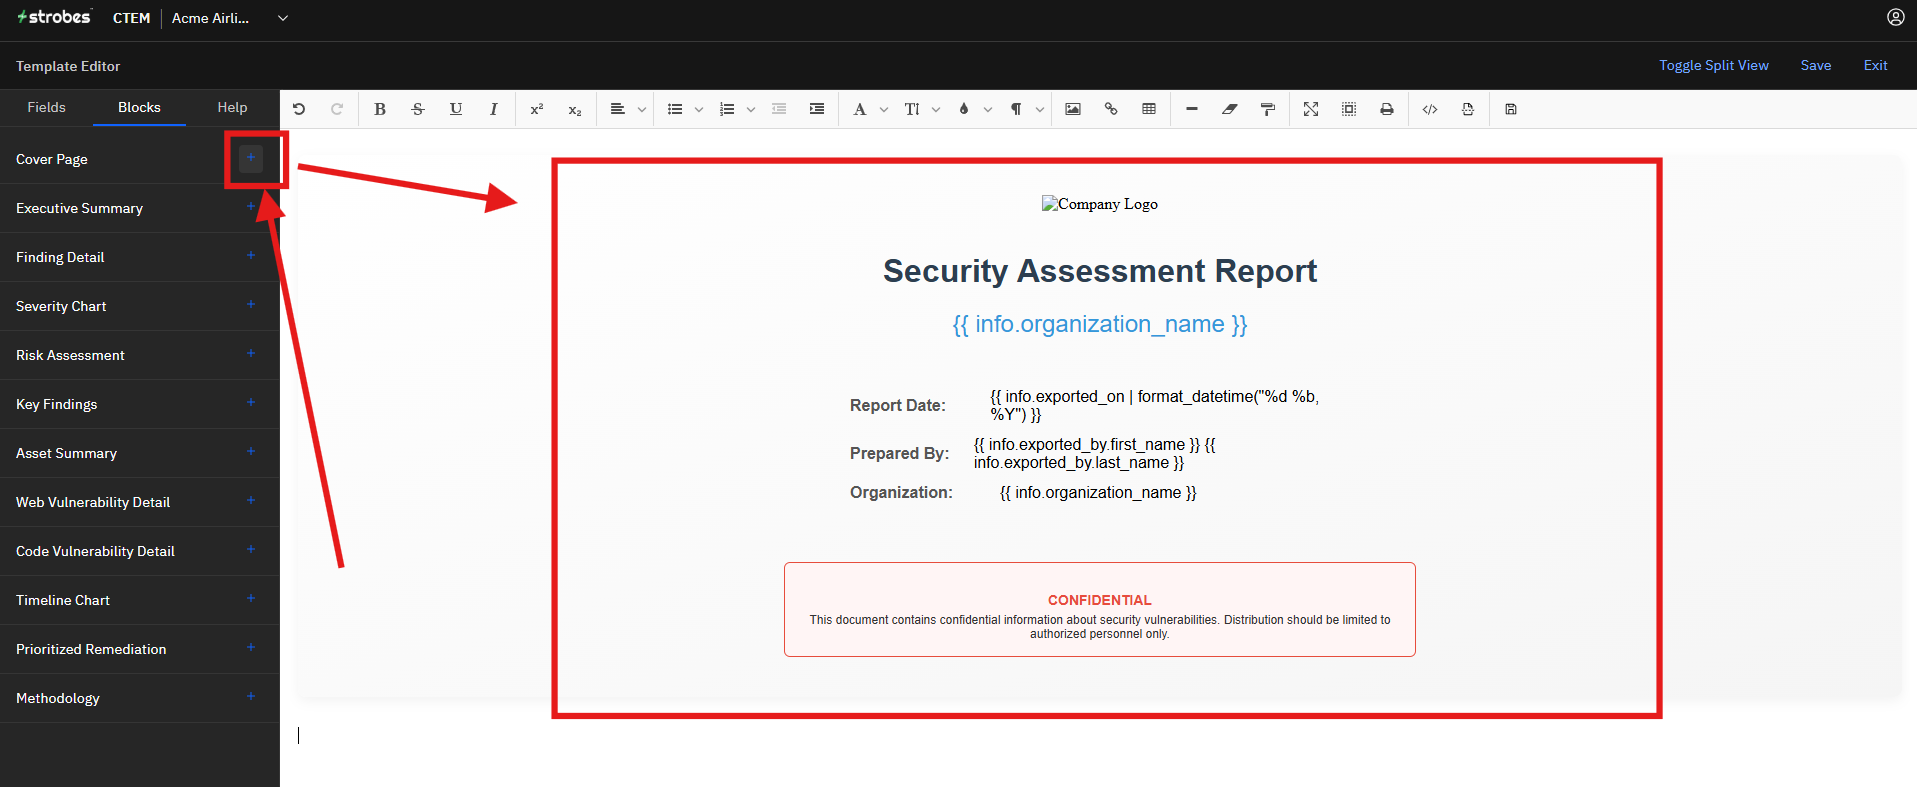
The Cover Page block automatically renders a structured title page that includes:
- Company Logo placeholder (replace with your logo via the image tool in the toolbar)
- Report title — "Security Assessment Report"
- Organization name — pulled from
{{ info.organization_name }} - Report Date — formatted from
{{ info.exported_on }} - Prepared By — exporter first and last name
- Organization — organization name repeated in the metadata table
- CONFIDENTIAL notice — a pre-styled red-bordered confidentiality box
All of these fields populate automatically when the report is generated — you don't need to fill them in manually.
Step 7: Finding Detail Block in Detail
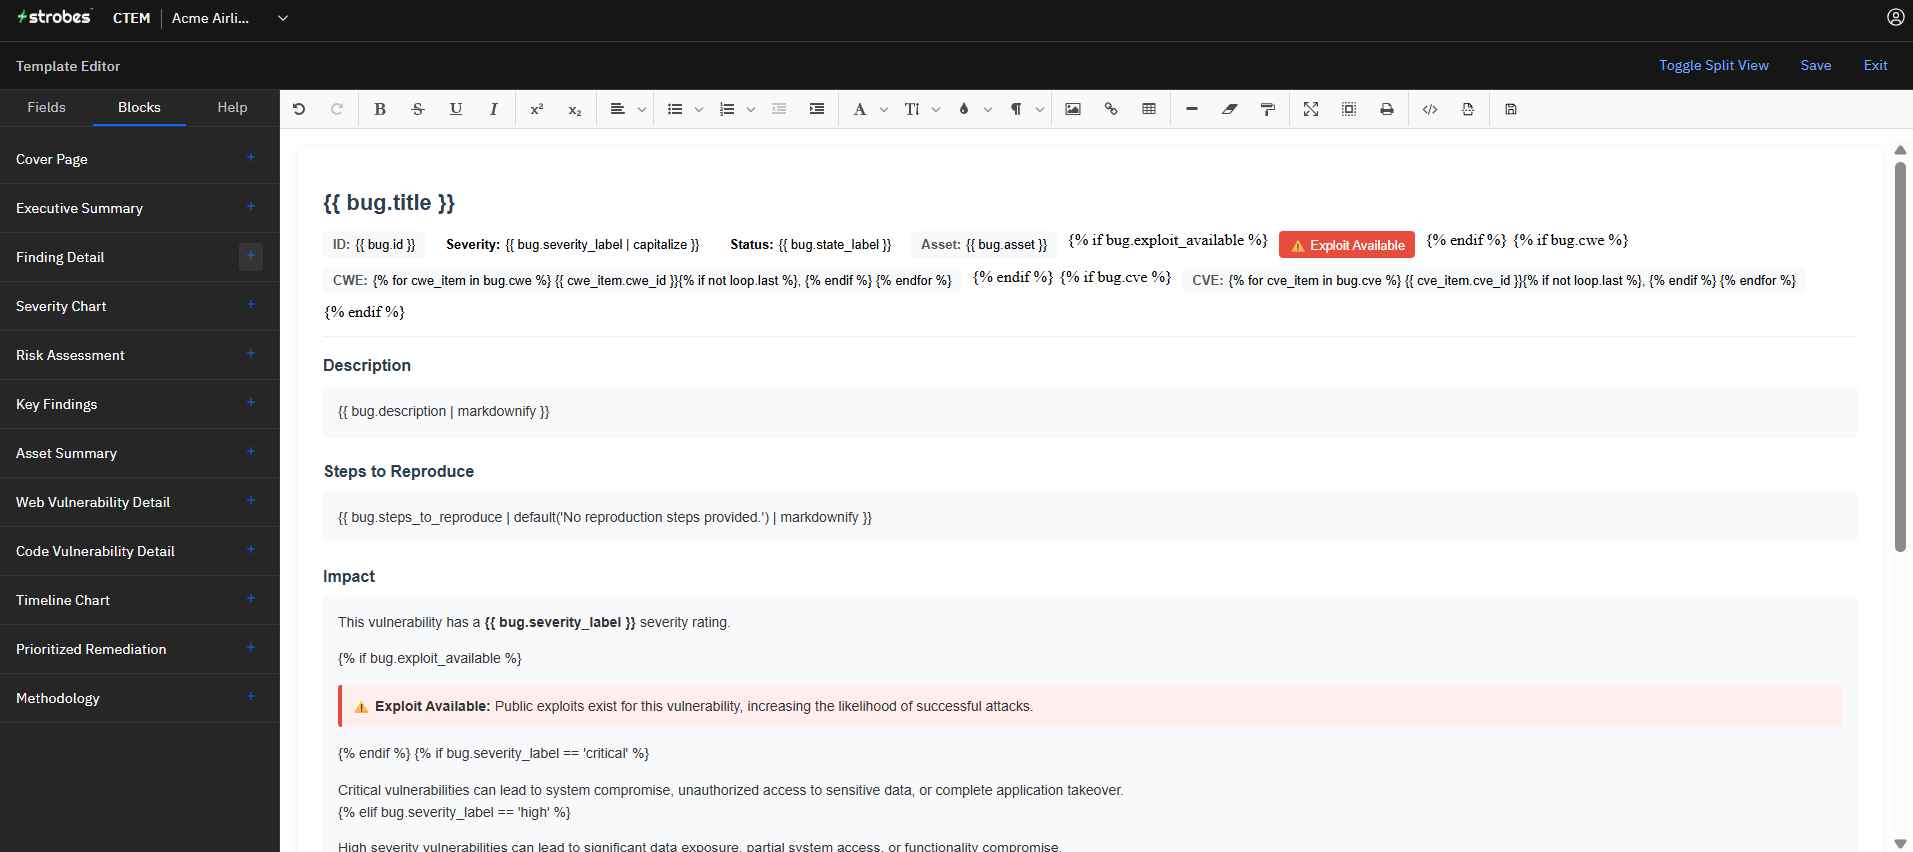
The Finding Detail block inserts a repeating section that loops over every finding in the report. For each finding it includes:
- Bug title (
{{ bug.title }}) - ID, Severity (with capitalize filter), Status, Asset
- Exploit Available — shown conditionally with a highlighted badge when an exploit exists
- CWE and CVE — listed if present, each with loop logic to handle multiple values
- Description — rendered from markdown
- Steps to Reproduce — with fallback text if no steps were provided
- Impact — impact description
This block handles all the conditional logic for you. You don't need to write the loop or the conditionals manually — they're built into the block.
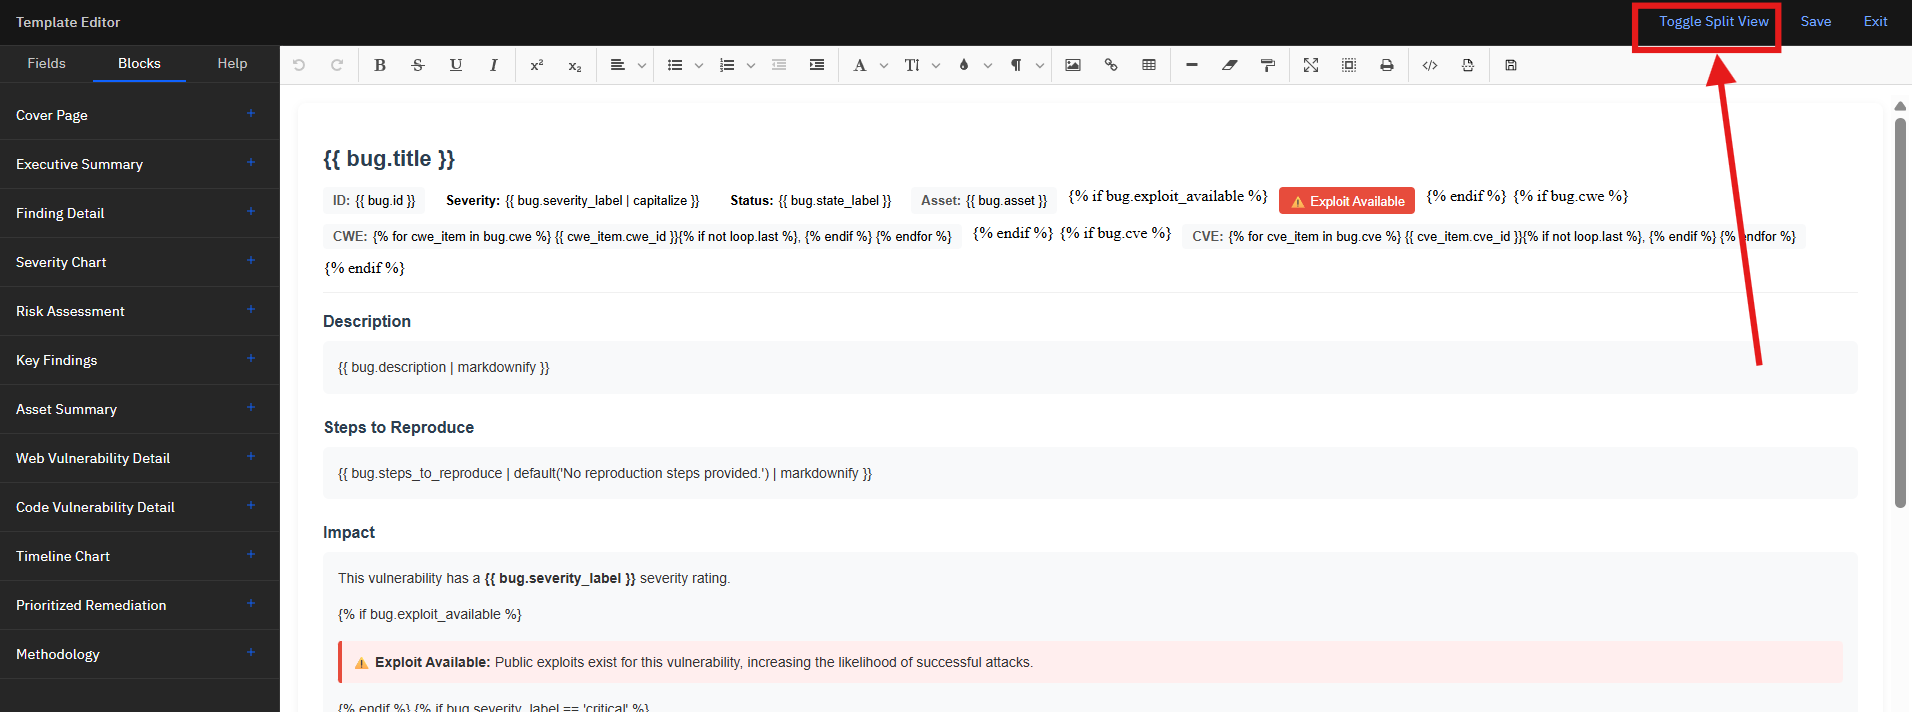
Step 8: Preview Your Template
Click Toggle Split View at any point to see a live preview of how the template will render alongside your editor. This lets you catch formatting issues, check field placement, and see how blocks look before saving.
How it looks:
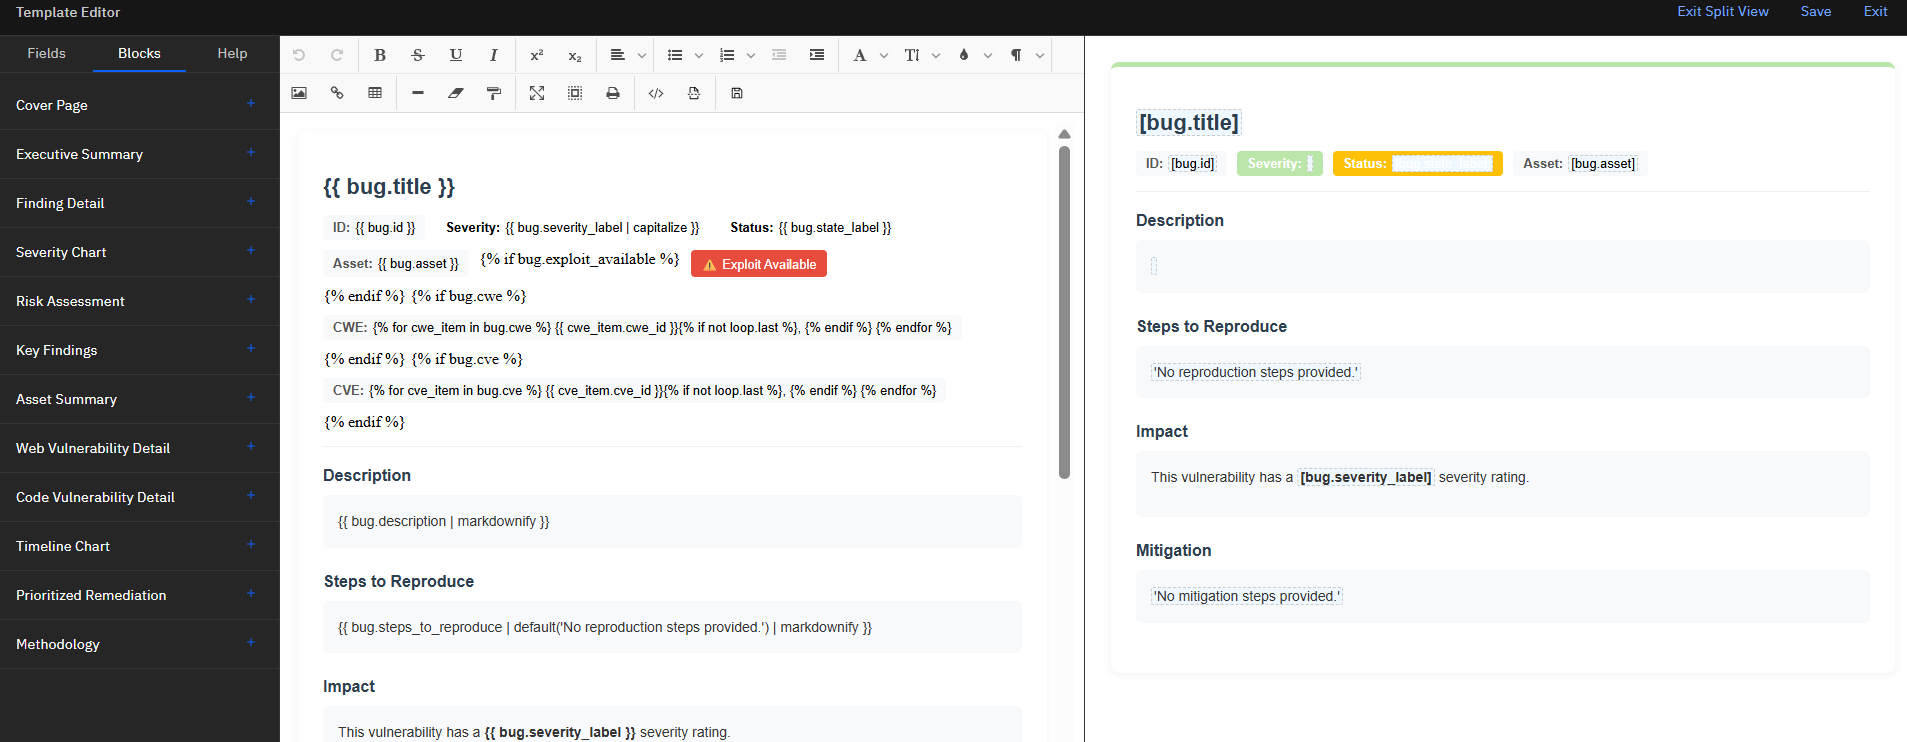
Click Toggle Split View again to return to full editor mode.
Step 9: Save the Template
When your template is complete:
- Click Save in the top-right. Your template is saved and added to the Template Library.
- Click Exit to return to the Template Library grid.
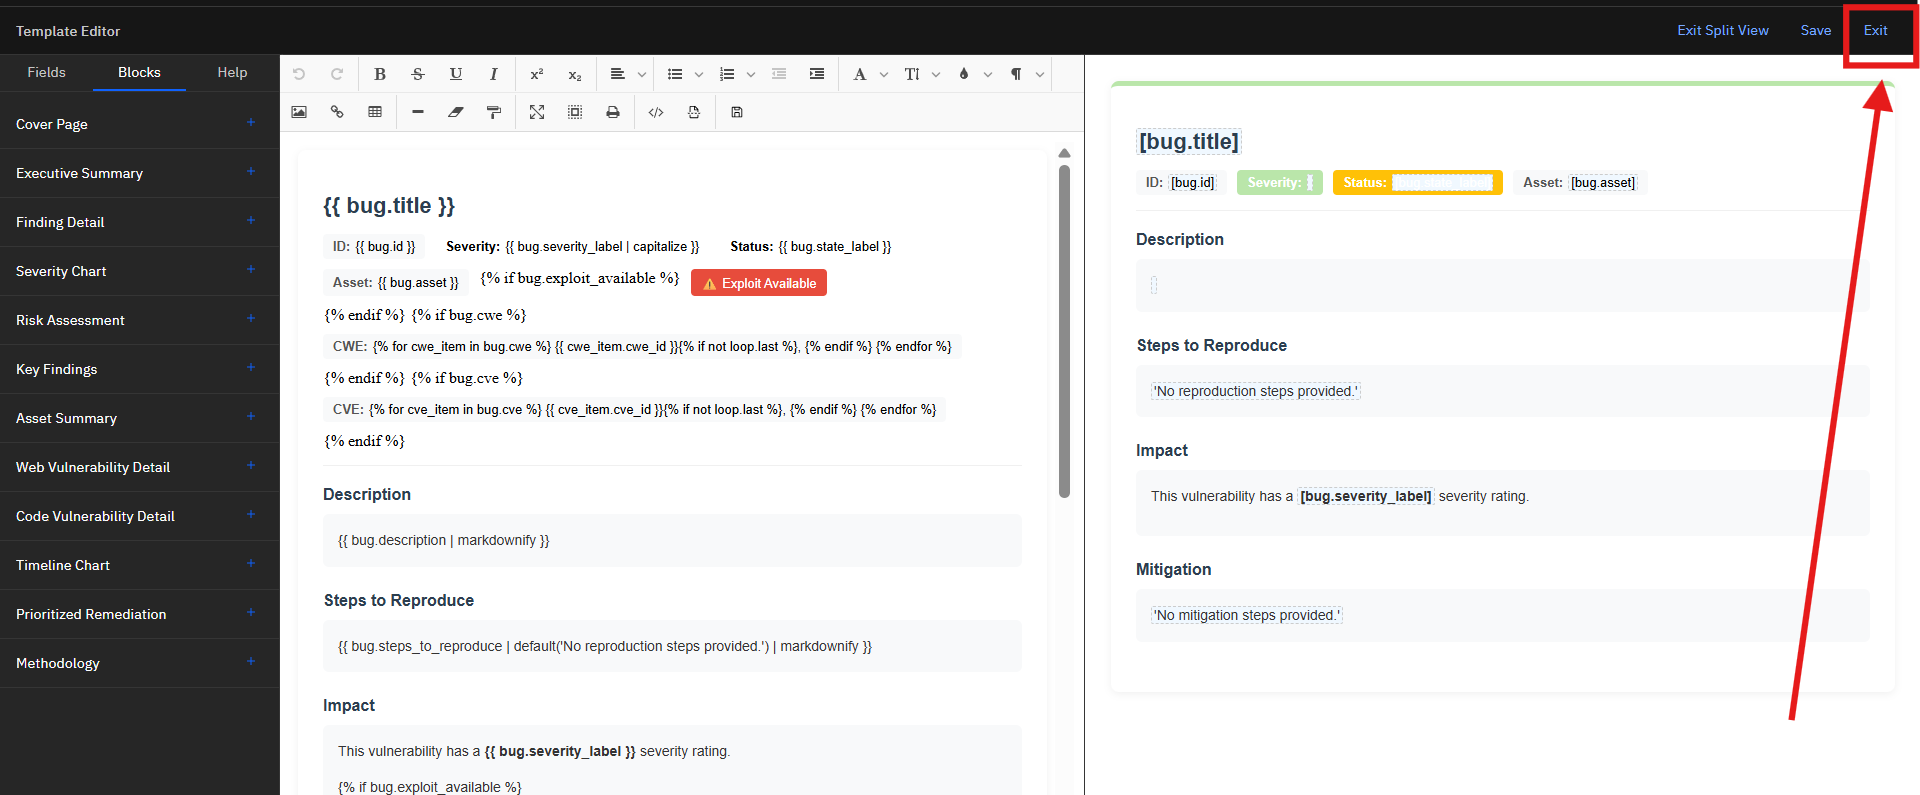
Your new template will appear as a card in the library alongside the Strobes Default templates, and will be available to select the next time you generate a report from the Findings page.
Tips
Start with a default template as a reference. Open any Strobes Default template to see how it's structured before building from scratch. Use the three-dot menu on a card to clone it, then modify the clone rather than starting completely blank.
Add the Cover Page block first. It sets the visual tone of the document and anchors the dynamic metadata at the top. All other blocks should follow it.
The Finding Detail block handles all the complexity. Don't try to write per-finding loops manually — just insert the block and the conditional logic for exploits, CWE, CVE, and missing fields is included automatically.
Use Split View while placing blocks. Each block renders differently depending on your data. Toggle Split View after inserting each block to confirm it looks right before moving on.
Field names are inserted exactly. Always use the + button in the Fields panel to insert variables — do not type them by hand. A single character difference (wrong case, missing dot) will cause the field to render blank in the final report.