
Custom AI Agents
Overview
Custom AI Agents are LLM-powered assistants that you can configure to automate security workflows within your workspace. Each agent can be customized with a unique name, an AI model, a specific role, detailed instructions, and an optional set of tools to perform assigned tasks.
To enhance an agent's capabilities, you can also upload documents, PDFs, or text files, allowing it to leverage organization-specific knowledge when responding to requests. All agents are managed from the Agent LLM page, where you can create, view, edit, or update them at any time.
Step 1: Click AI and Navigate to Agents
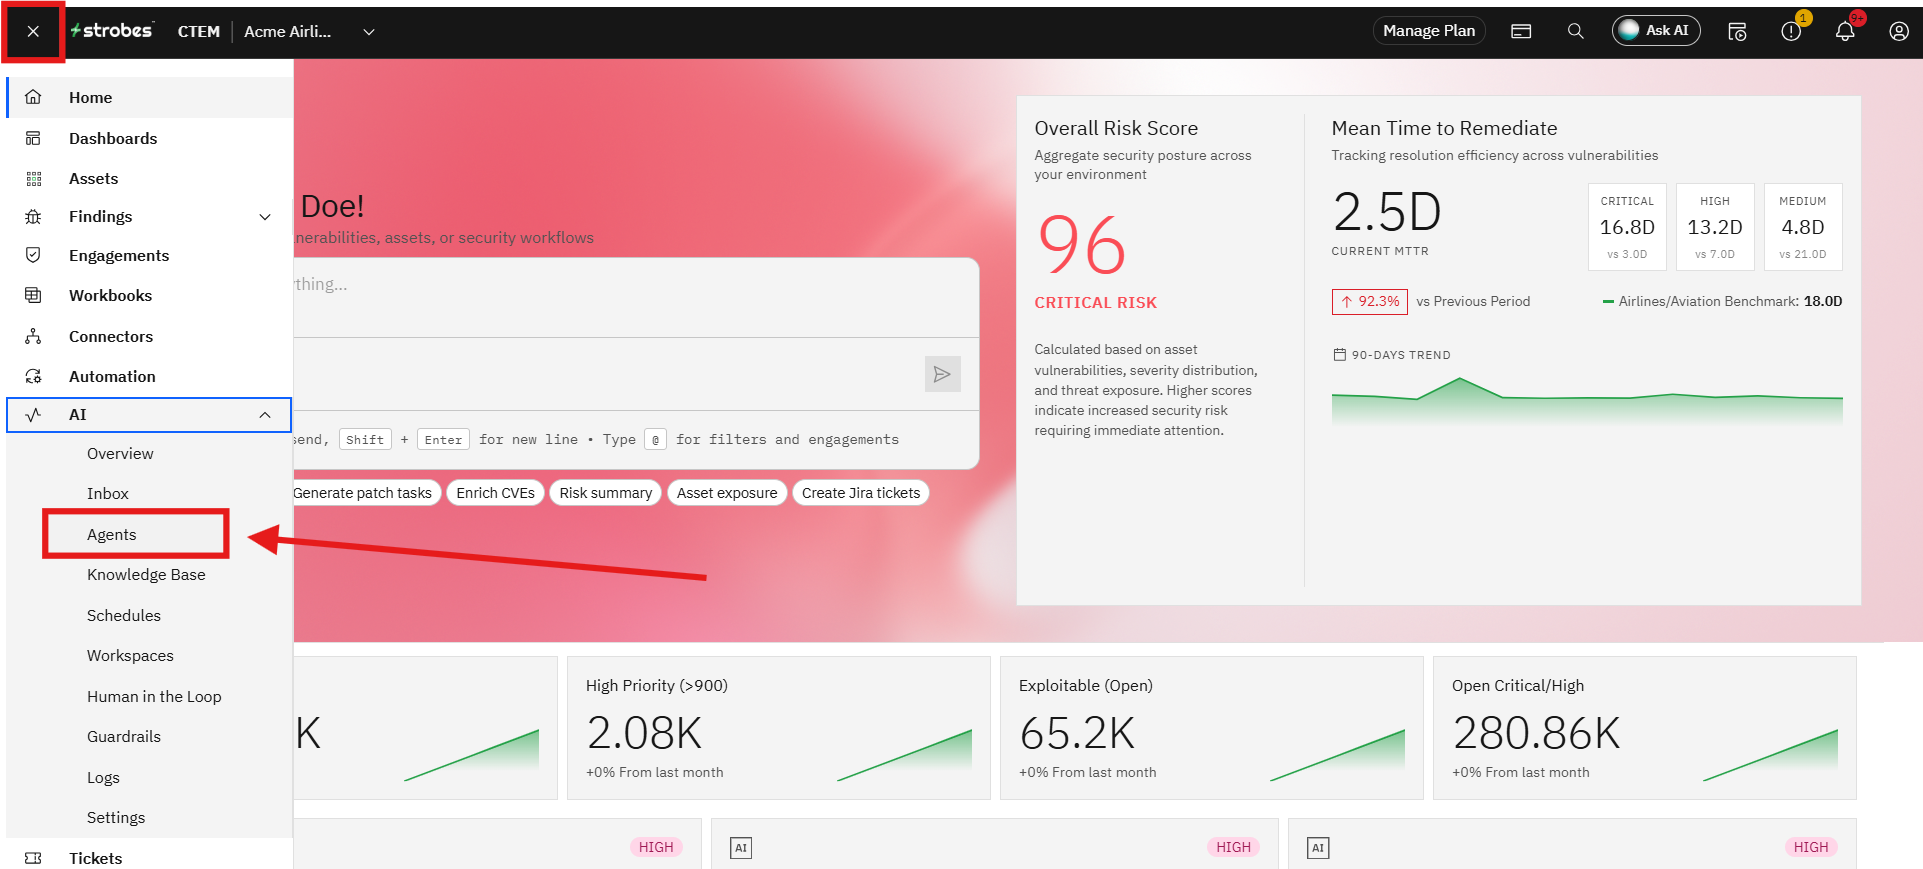
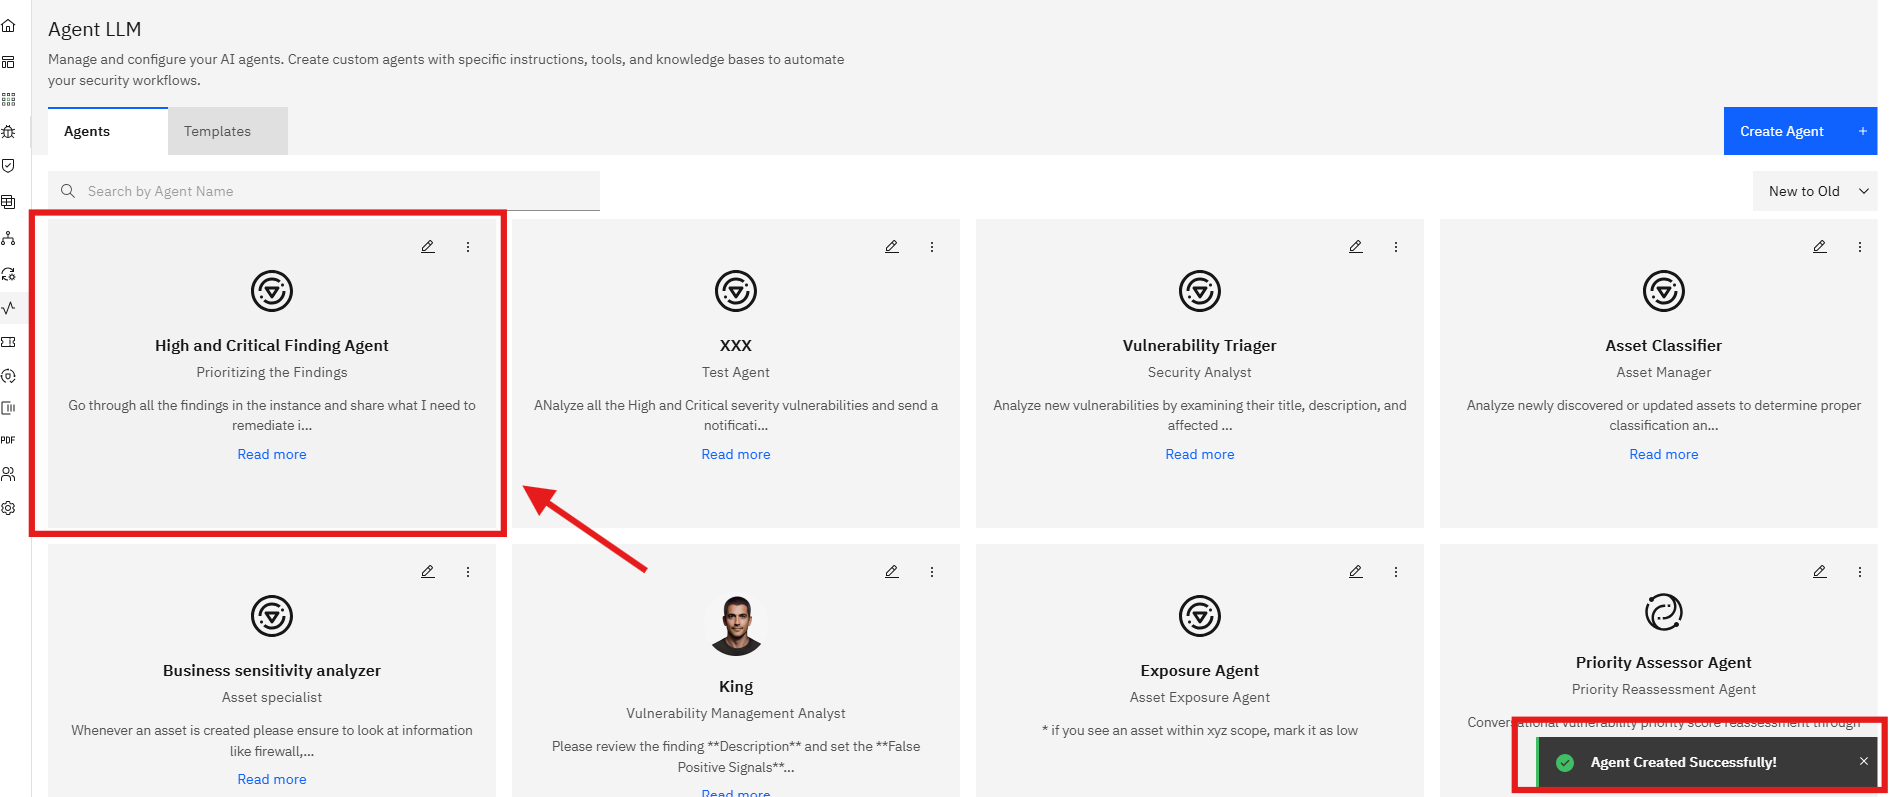
Click the Agent LLM icon in the left sidebar. The Agent LLM page opens, showing a grid of all existing agents and a Templates tab for pre-built starting points.
Step 2: Click Create Agent
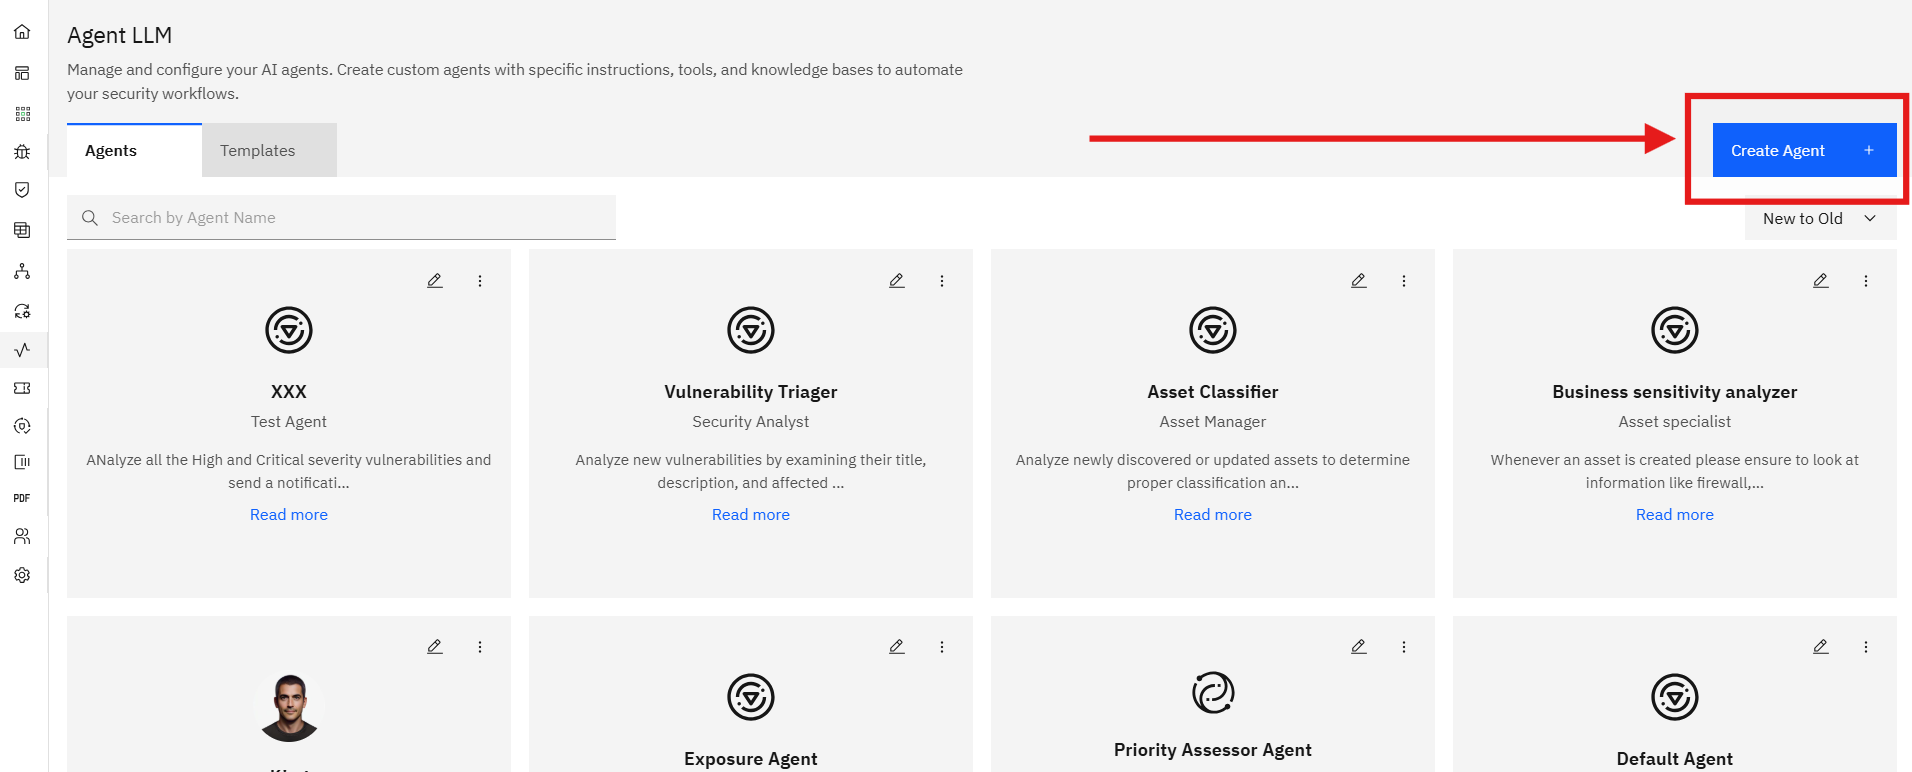
Click Create Agent + in the top right corner. The Create Strobes AI Agent panel opens as a four-step wizard.
Step 3: Configuration Details (Step 1 of 4)
Fill in the two fields on this step:
Agent Name (required) Enter a descriptive name for the agent. This is how the agent will appear in the Agent LLM list and anywhere it is referenced in the platform.
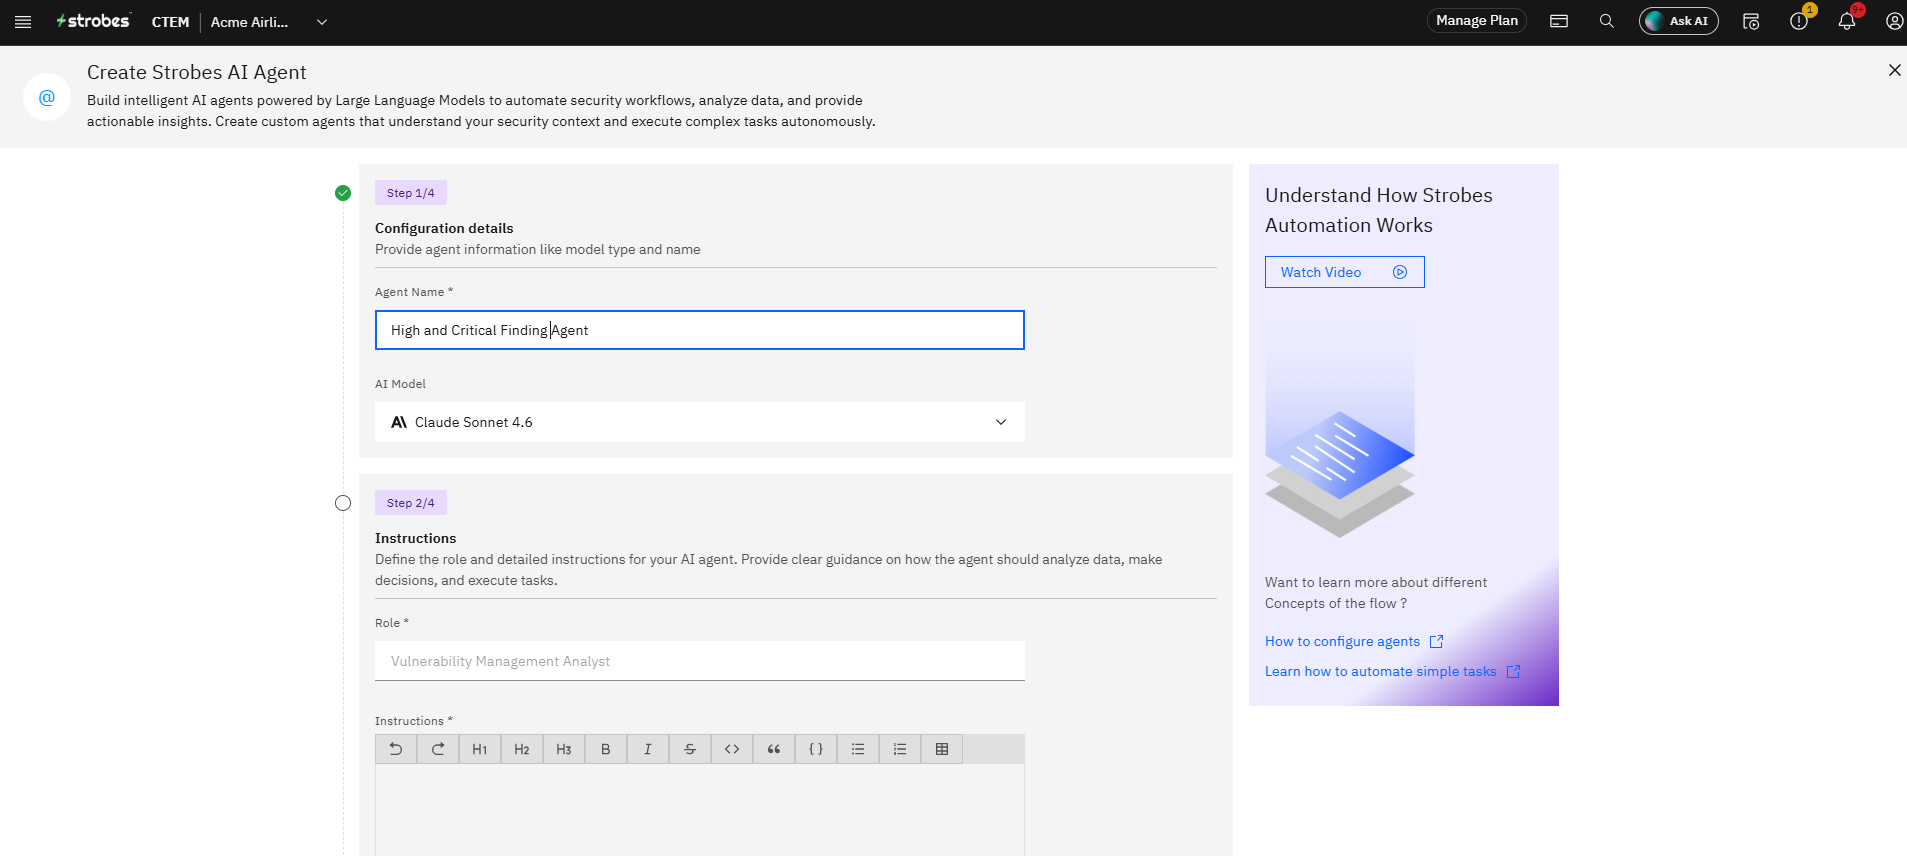
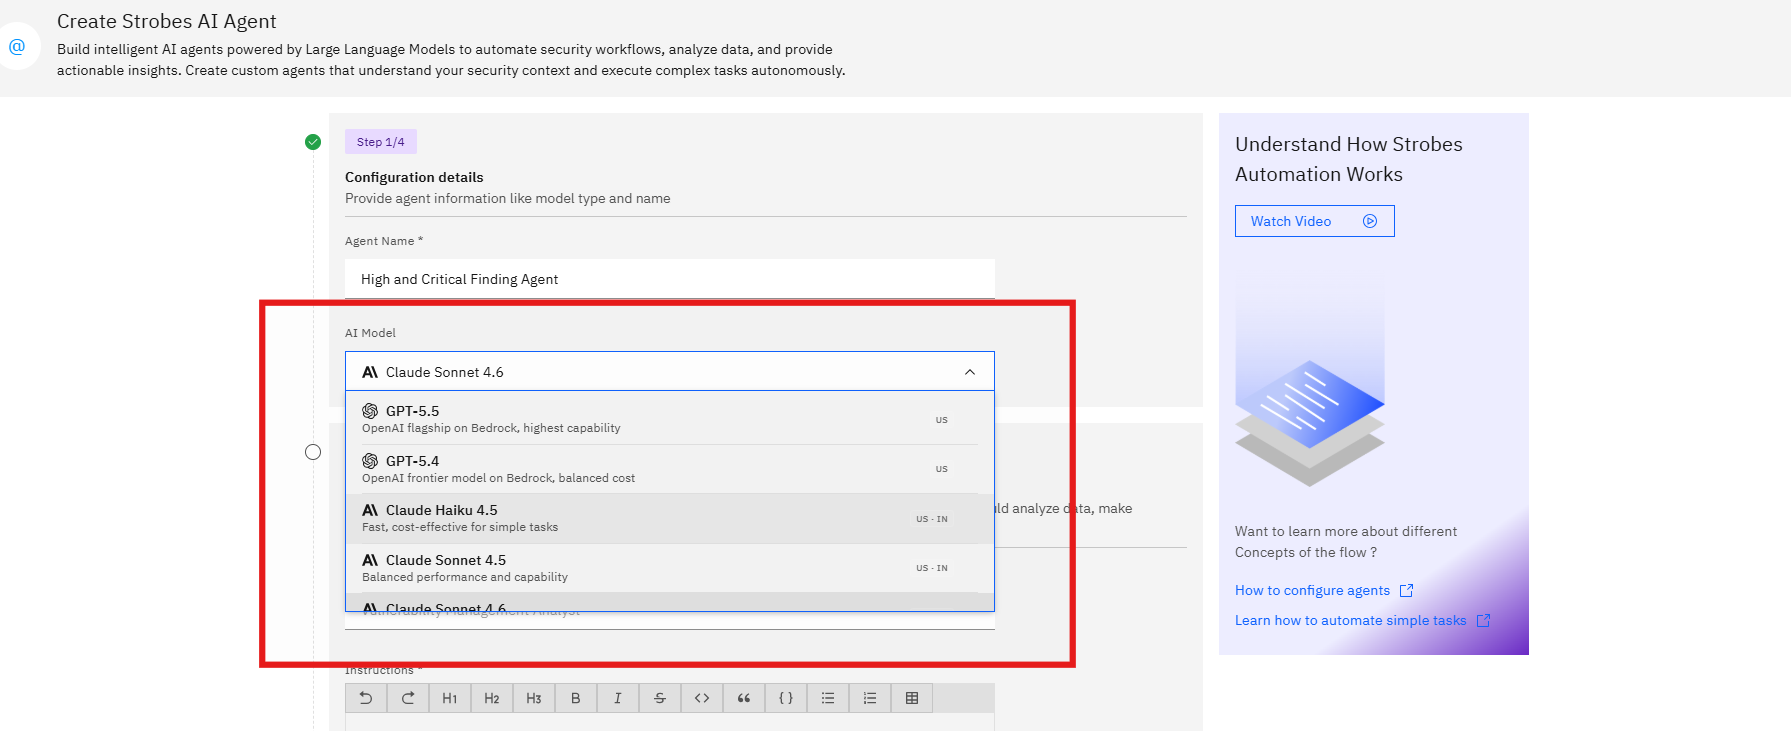
AI Model (required) Select the large language model that will power the agent. The available models are:
Once the fields are filled, click the Step 2/4 section header or scroll down to proceed.
Step 4: Instructions (Step 2 of 4)
This step defines what the agent does and how it behaves.
Role (required) Enter a short title that describes the agent's function, for example: "Vulnerability Management Analyst" or "Security Triager". This sets the agent's persona.
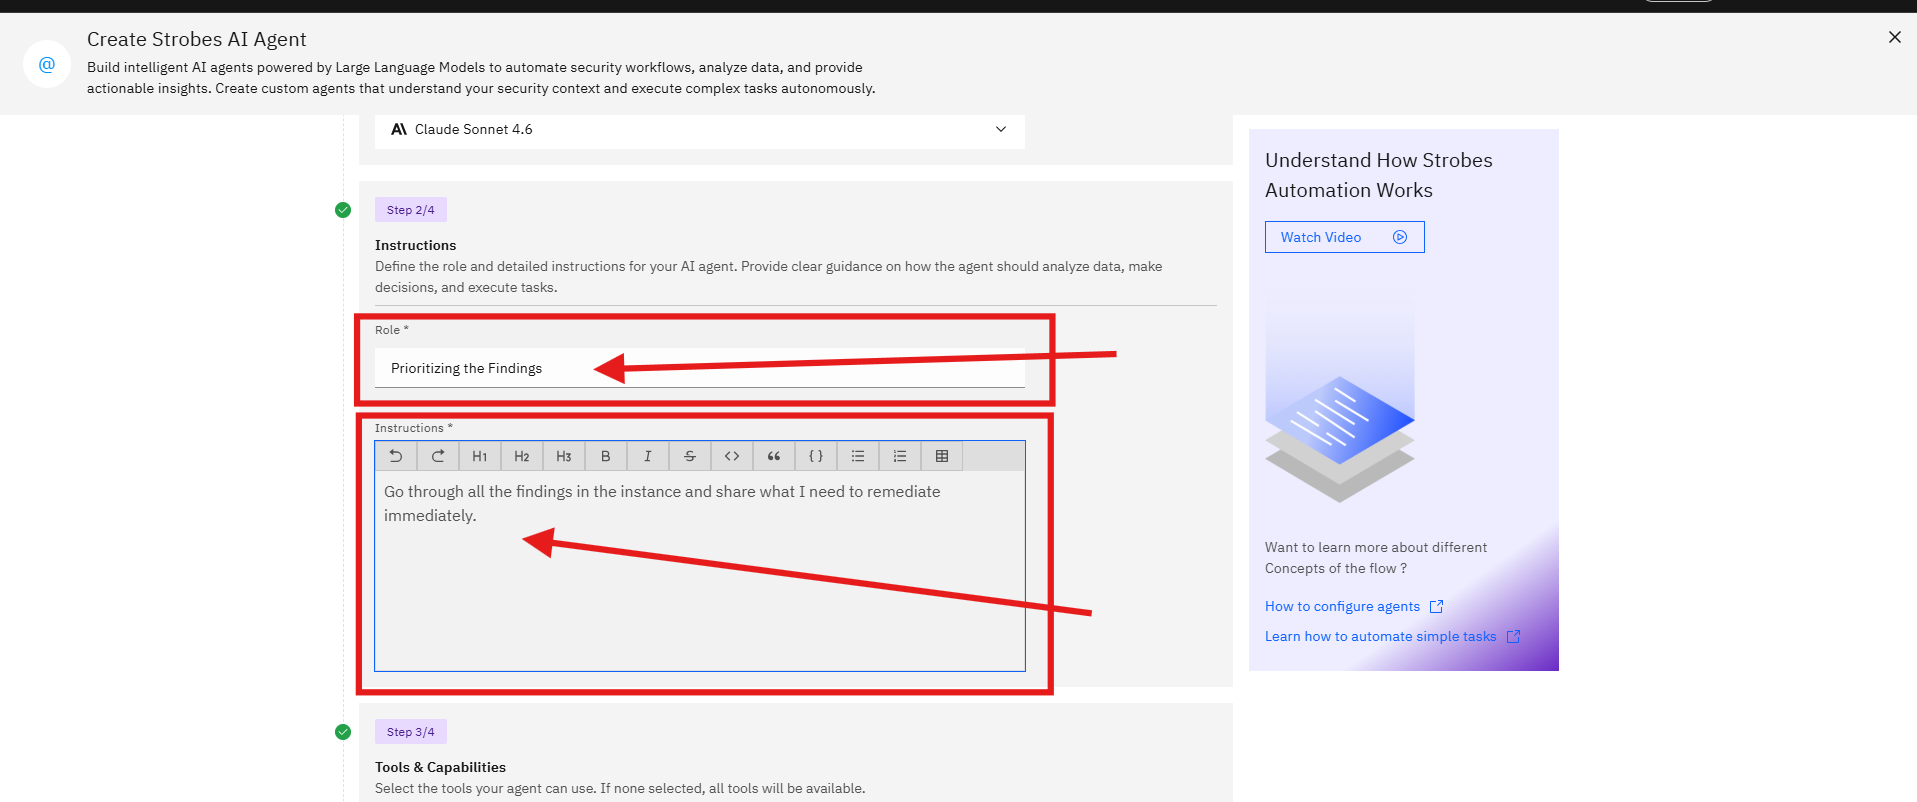
Instructions (required) Use the rich text editor to write detailed instructions for the agent. Explain what data it should analyze, what decisions it should make, and what actions it should take. The toolbar supports headings, bold, italic, strikethrough, inline code, blockquotes, code blocks, bullet lists, numbered lists, and tables.
Tip: Be specific.
Step 5: Tools & Capabilities (Step 3 of 4)
Select which tools the agent is allowed to use. If you leave this section empty, the agent has access to all available tools by default.
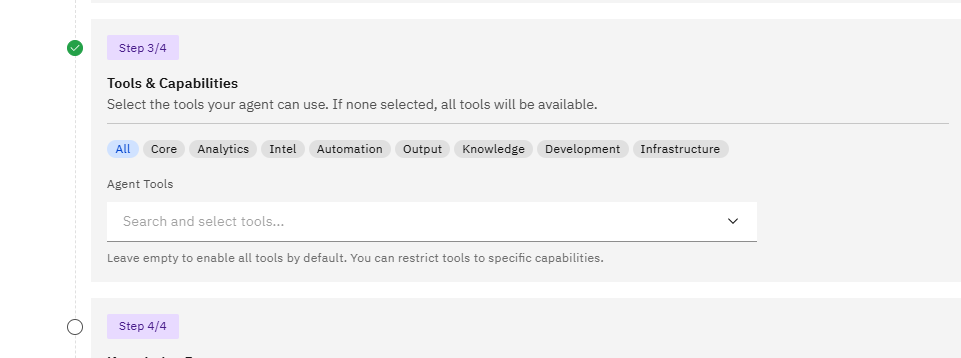
To restrict the agent to a specific set of tools, use the category filter tabs to browse by function area (Core, Analytics, Intel, Automation, Output, Knowledge, Development, Infrastructure), then use the Agent Tools search field to find and select individual tools.
Note: Restricting tools narrows the agent's scope and reduces the risk of unintended actions. For tightly scoped automation tasks, select only the tools the agent needs.
Step 6: Knowledge Base (Step 4 of 4)
Optionally upload documents to give the agent custom knowledge. The agent will use this information to provide more accurate, domain-specific responses.
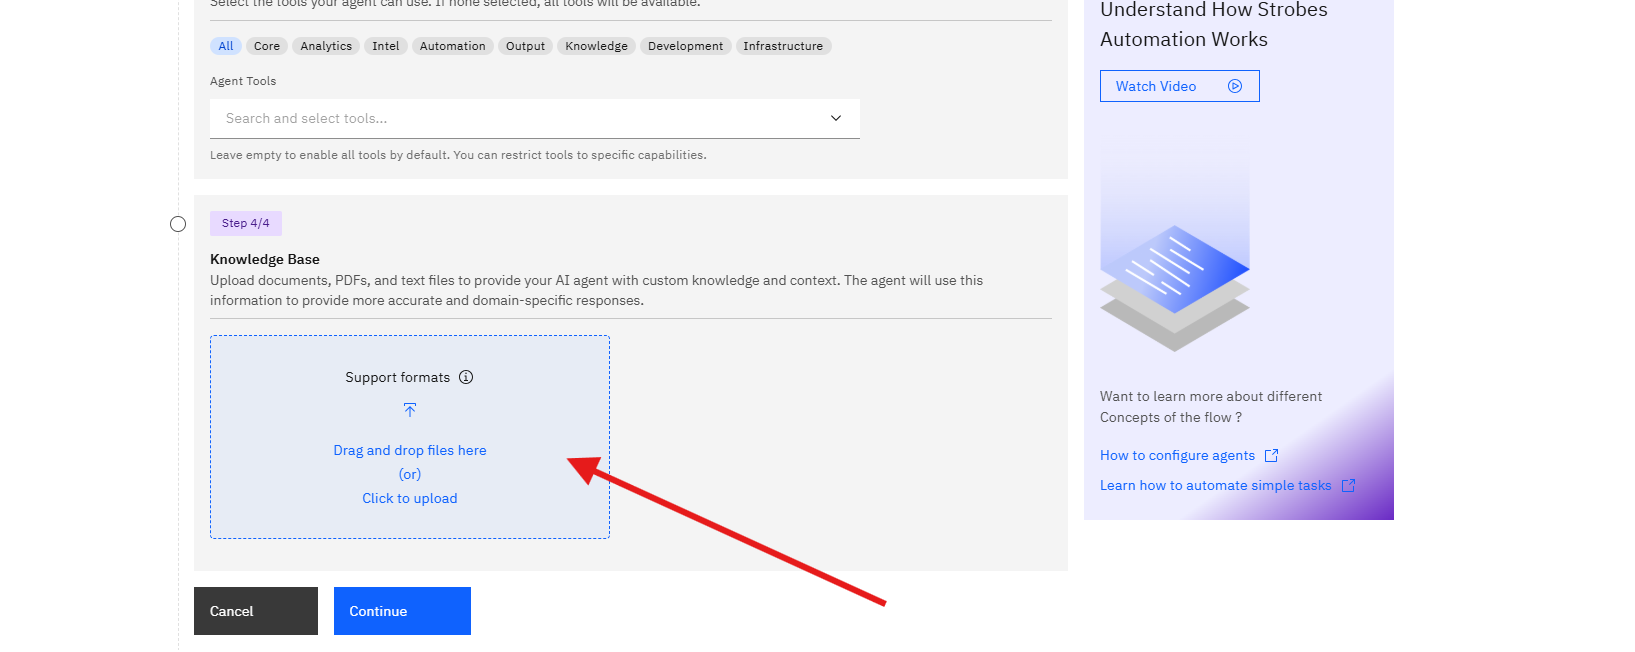
To add files, either drag and drop them into the upload area or click Click to upload to browse your computer. Supported file types are shown under the Support formats tooltip. Once a file is added, it appears below the drop zone with its name, size, and upload status.
Note: Uploading a knowledge base file is optional. If you have no files to upload, you can proceed directly to the next step.
Step 7: Create the Agent
Click Continue to submit the wizard. Strobes creates the agent and returns you to the Agents page.
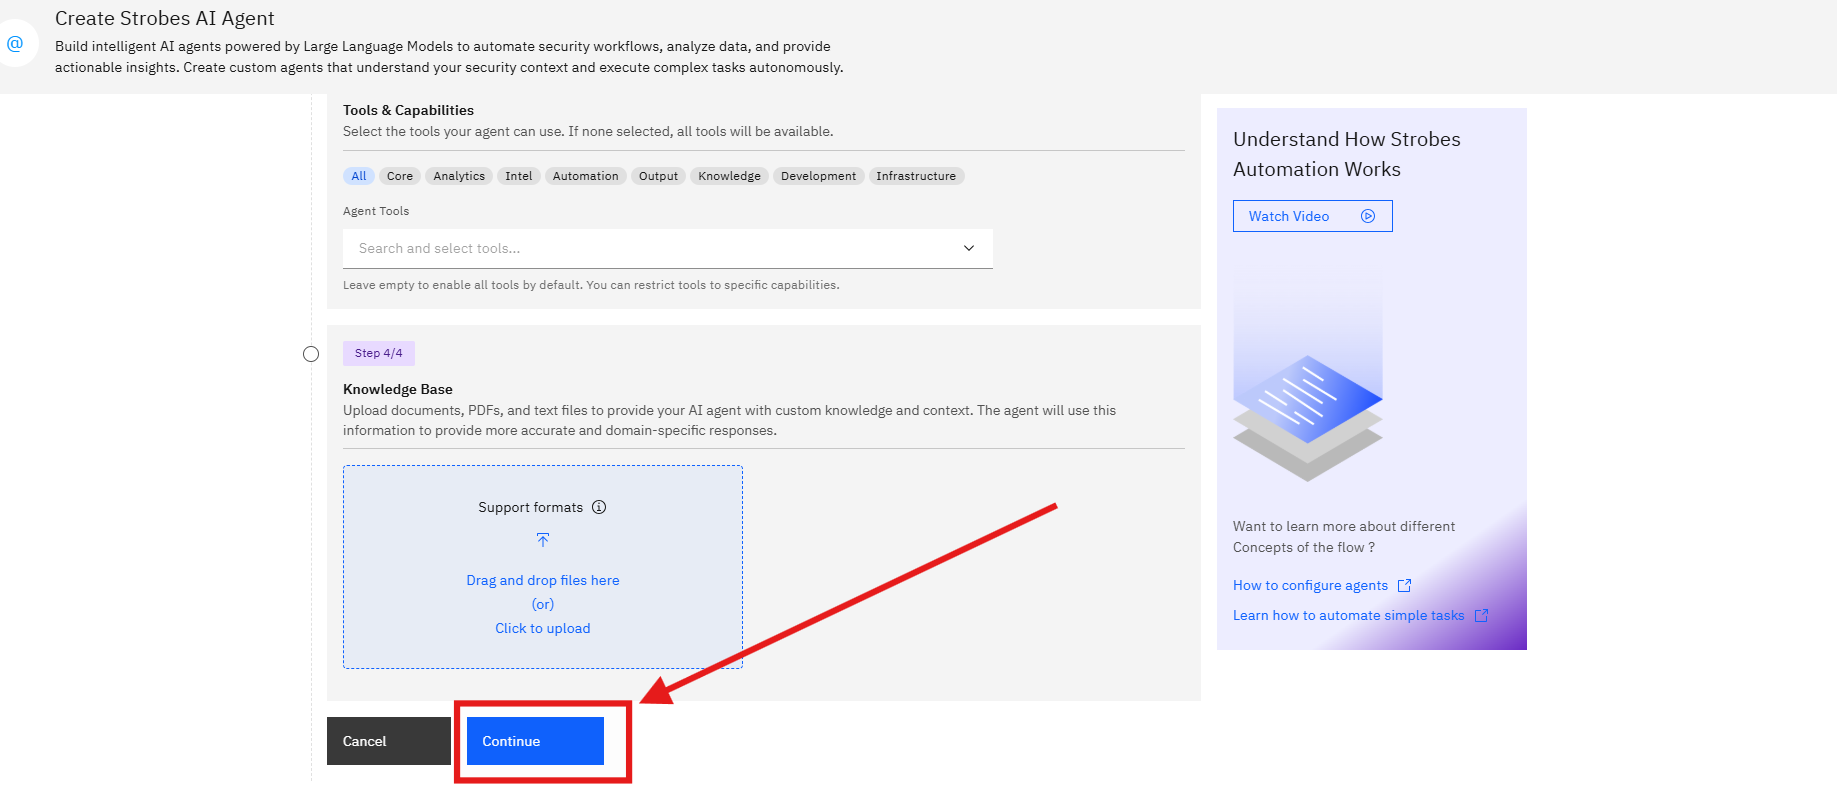
Two confirmation toasts appear: "File uploaded successfully" (if a file was attached) and "Agent Created Successfully!". The new agent appears as a card in the agents grid.
Tips
Use the Templates tab as a starting point. The Templates tab on the Agent LLM page contains pre-built agent configurations for common security use cases. Selecting a template pre-fills the wizard fields, which you can then customize rather than starting from scratch.
Give agents a focused scope. Agents with narrow, specific instructions and a restricted tool set are easier to test, audit, and trust. If you need an agent to handle multiple workflows, consider creating separate agents for each task.
Match the model to the workload. For high-volume, fast-running automation tasks, a lighter model like Claude Haiku 4.5 may be more efficient. For complex analysis or reasoning tasks, a more capable model like Claude Opus 4.6 or GPT-5.4 will produce better results.
Upload relevant runbooks or policies as knowledge base files. If your team has documented SLA rules, triage procedures, or classification guidelines, uploading them gives the agent the context it needs to act consistently with your internal standards.
Agents can be edited after creation. If you need to update an agent's instructions, model, or tools, use the edit icon on its card in the Agent LLM grid. You do not need to recreate the agent from scratch.